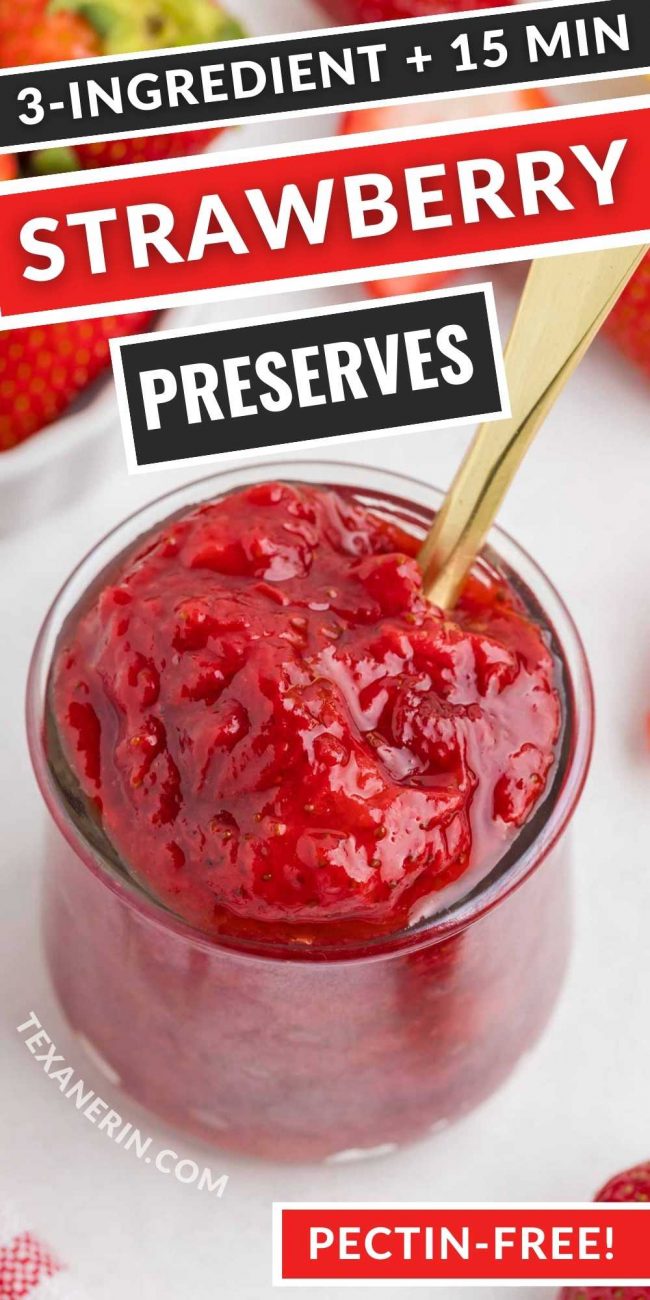
Strawberry preserves are a delightful way to capture the essence of fresh strawberries and enjoy them year round. This 3-ingredient recipe offers a balance of sweetness and tartness, making them perfect for various sweet treats – and they only take 15 minutes to make! This is a small-batch recipe, but you can easily quadruple the recipe – you just have to increase the cooking time.
I love how simple ingredients can come together so easily and quickly to create such a versatile treat. You don’t need any special ingredients for this recipe, and you just need a pot or saucepan.
Making strawberry preserves at home allows for control over the ingredients. There’s really no need to add preservatives or a ton of sugar. Whether spread on toast, swirled into yogurt, or used as a filling for pastries, it brings a burst of summer flavor to any dish.
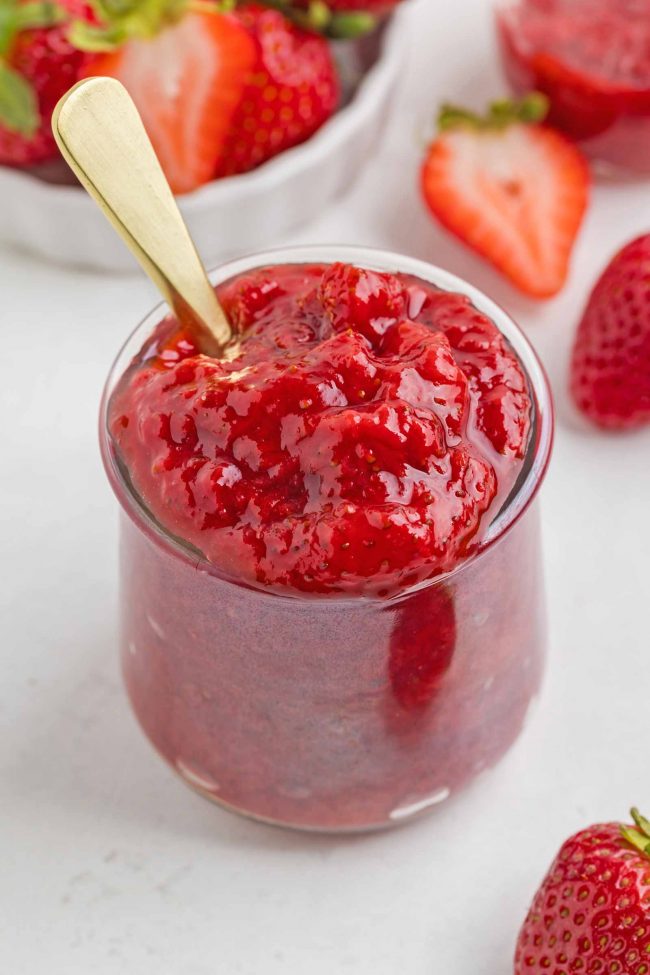
You just need strawberries, sugar, and a bit of lemon juice. The result is a jar of vibrant, fruity goodness that can be stored and savored over time.
These preserves are especially great for when you come home from strawberry picking and realize you don’t have space to store all your strawberries.
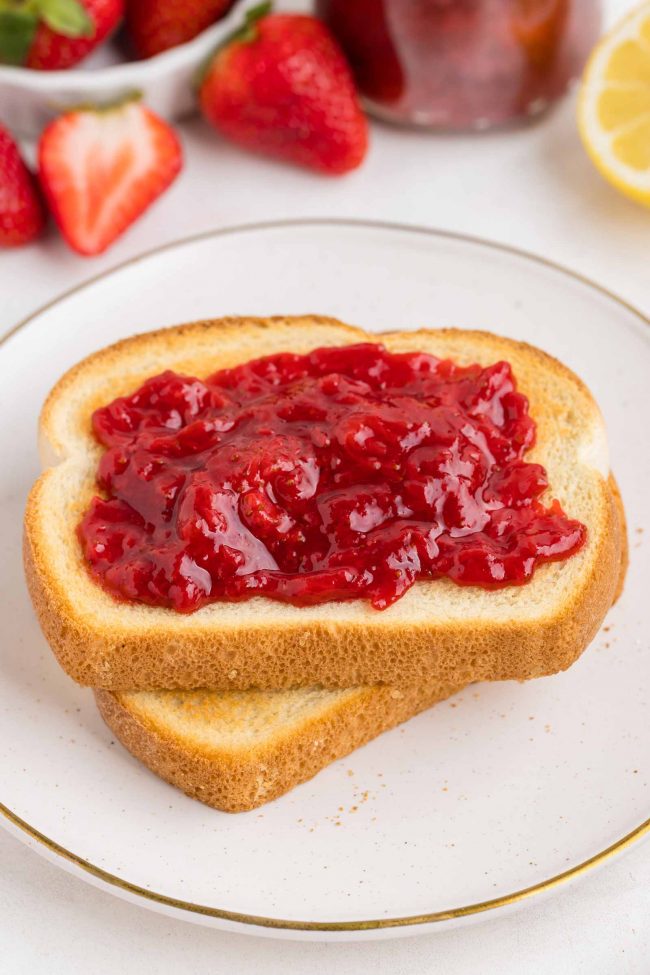
What’s the difference between jam and preserves?
The main difference between preserves and jam lies in the texture and the amount of fruit in each.
Preserves are made with whole or large pieces of fruit, along with sugar and sometimes pectin. The fruit is cooked until it reaches a thick, chunky consistency.
Jam is made with crushed or pureed fruit, along with sugar and usually pectin. The fruit is cooked until it breaks down and becomes a smooth, spreadable consistency.
Ingredients
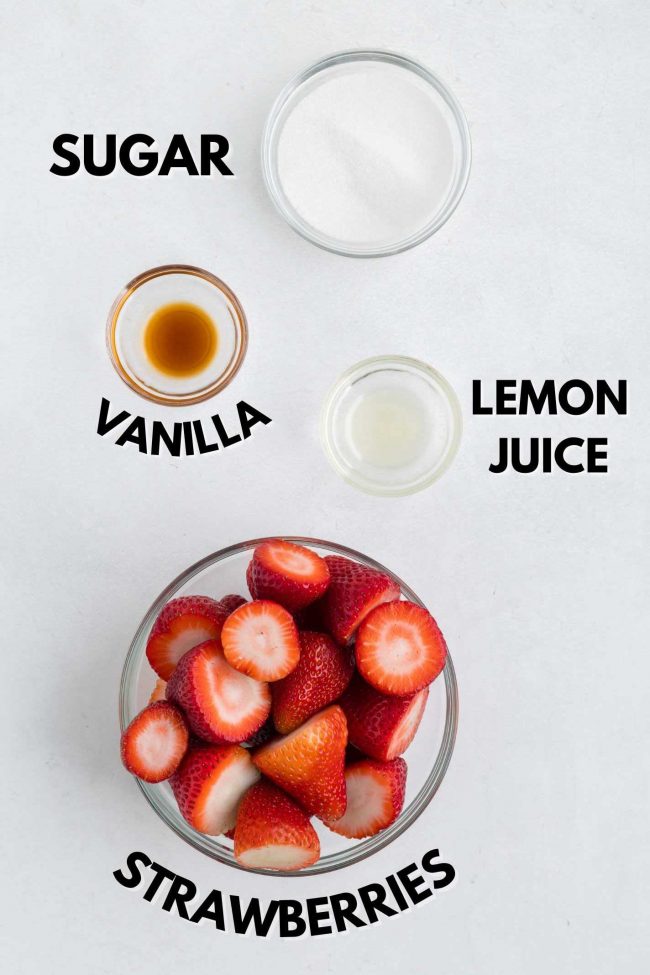
- Strawberries – I used fresh strawberries. You can use frozen berries as long as they’re tasty. I often use strawberries I froze after berry picking, and that results in preserves that are just as flavorful as if I had used fresh strawberries.
If you use store-bought frozen strawberries that have very little flavor, your preserves won’t have much flavor, either. Some store-bought frozen strawberries are flavorful! Just not all of them.
If you don’t like strawberries, another type of berry or stone fruit should work just fine. However, you might need to increase the amount of sweetener unless you’re using some super sweet peaches or something like that. - Sugar – if you don’t want to use granulated sugar, you can use 2-4 tablespoons of honey or maple syrup instead of sugar. You’d need to boil it longer and to a higher temperature.
I’m experimenting with different sweeteners in another preserves recipe and 220 °F (104 °C) was right for the version with sugar, but I had to bring it to 227 °F (108 °C) for the honey version. - Lemon juice – this doesn’t add any lemon flavor to the preserves. I talk about why it’s added to preserves below. If you’d like lemon flavor in your preserves, add about 1/2 to 1 tablespoon of lemon zest.
- Vanilla, optional – you don’t have to add it, but I always love a bit of vanilla in my strawberry treats!
Why no pectin?
Pectin isn’t a bad thing, but most people don’t have it on hand, so I always choose not to use it in my jam recipes.
Pectin is a natural thickening agent found in fruit. Strawberries are actually naturally low in pectin, but I find that the preserves come together just fine without it.
You might want to add pectin if you’re looking for a more gel-like consistency. Make sure you follow the package instructions for the right proportions.
Too much pectin can make the preserves too firm, while too little can result in a runny texture.
Why add lemon juice?
Lemon juice helps to activate the natural pectin in the strawberries. Pectin requires an acidic environment to properly gel, and the acidity of lemon juice provides this environment. This helps the jam to achieve the desired thick, spreadable consistency.
The acidity in lemon juice also helps lower the pH of the jam, making it less hospitable to bacteria and mold, thereby extending the shelf life of the preserves.
Lemon juice also adds a subtle tartness that balances the sweetness of the sugar and strawberries. This can enhance the overall flavor profile of the jam, making it more vibrant and less cloyingly sweet.
And finally, the acidity in lemon juice can help to preserve the bright red color of the strawberries, preventing them from turning brown during the cooking process.
How to make strawberry preserves
These photos are only here to give you an overview of the process.
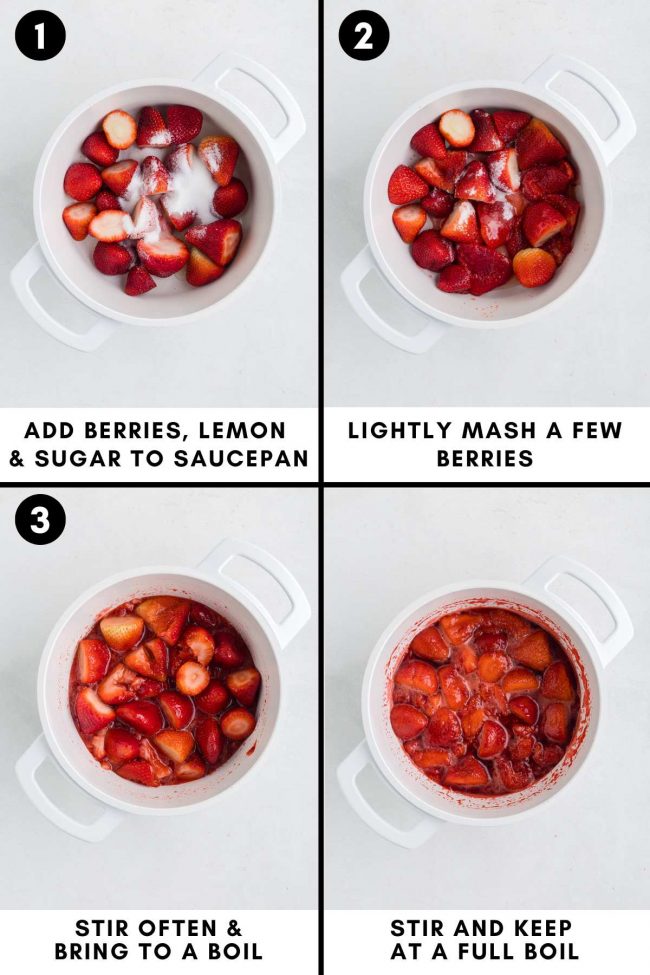
The full recipe is below.
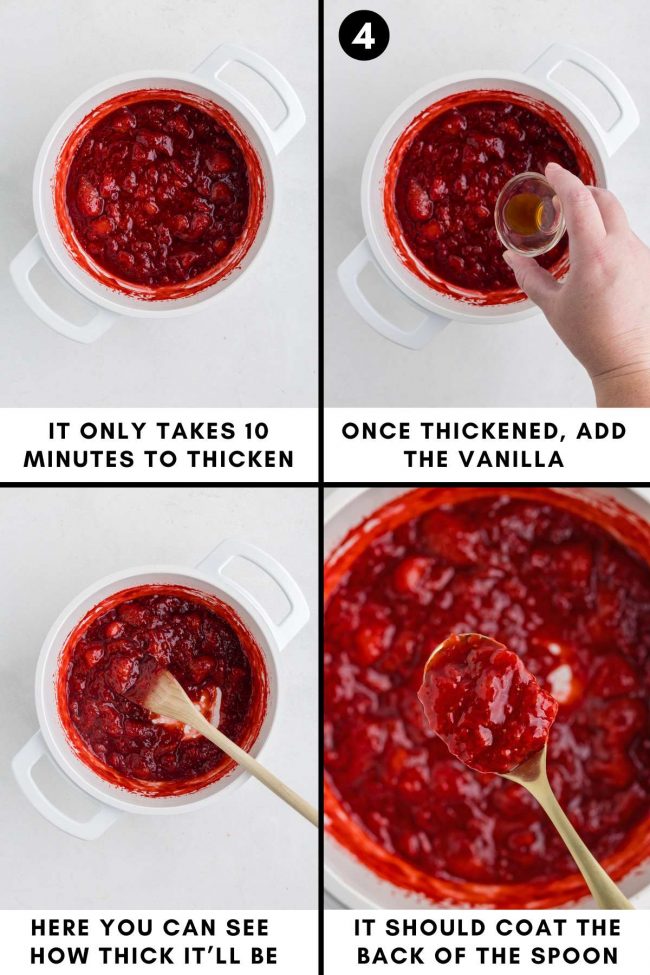
I don’t like huge chunks of strawberries in my preserves, but if you do, then cook over lower heat than the recipe calls for. You also might want to look into using pectin. Then you can cook the strawberries for less time.
Can these homemade strawberry preserves be canned?
I have to honest in that I don’t know a thing about canning. People say it’s unnecessary to be scared of it, but I am. So here’s a step-by-step guide on canning that might be helpful!
To answer the question – I really have no idea. I thought that you had to use a certain amount of sugar to safely can jam and preserves, but I just read that this is a myth. This guide to sugar-free jam is an interesting read if you’re interested in canning.
How to store
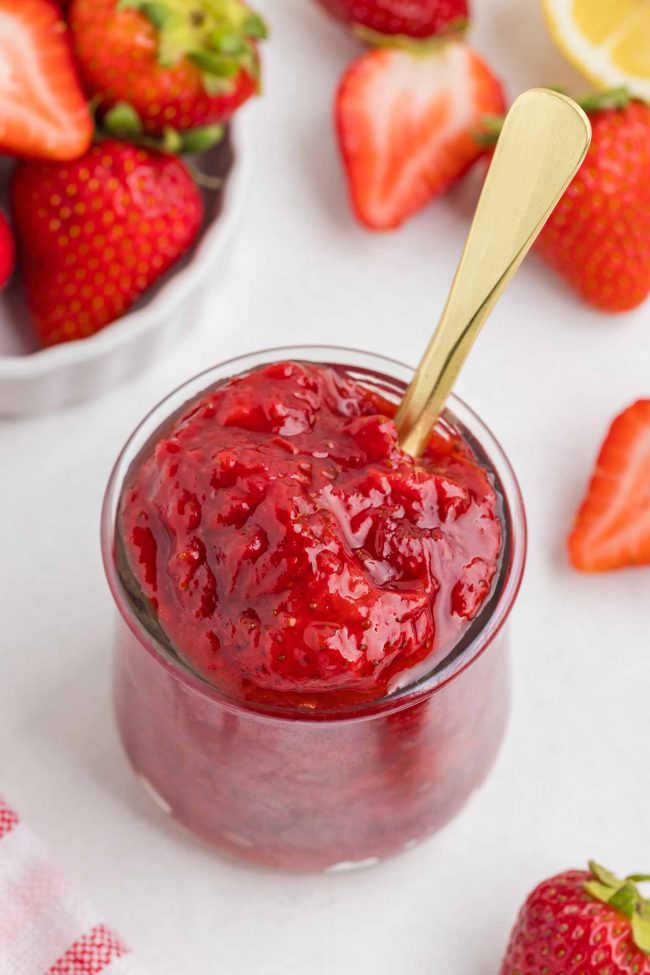
After the preserves have completely cooled, you should transfer them to a clean, airtight container and store them in the fridge. I keep reading that they should last for about 2 to 3 weeks.
I prefer to play it safe and always freeze what I haven’t eaten after about a week. Even better is to freeze them right after making them! If you don’t think you’ll eat all of the preserves in a week, just go ahead and freeze some once they’ve cooled.
How to freeze
You can use the same methods I talk about in my Frozen Bananas post.
Freeze them in the amount that you’d usually use in a recipe. If you have a recipe that you like that uses 1/2 cups of preserves or jam, then freeze 1/2 cup portions in a small Ziploc.
To always have smaller amounts ready to spread on toast, I use a silicone baby food mold to freeze my preserves.
To defrost it, you can put one of the frozen preserves cubes in a very small microwave-safe bowl and microwave it at half power for 10-20 seconds. It’s usually enough.
Or just defrost it in the fridge overnight. The preserves weirdly don’t get ice hard in the freezer, so an hour at room temperature also does the trick.
Using the silicone mold is also perfect for recipes where you need a small amount of jam or preserves, like this Strawberry Matcha Latte or Strawberry Latte.
You can freeze preserves for up to 1 year. Honestly, I do even longer. As long as they’re packaged properly, the quality doesn’t seem to suffer.
What to use preserves in and on
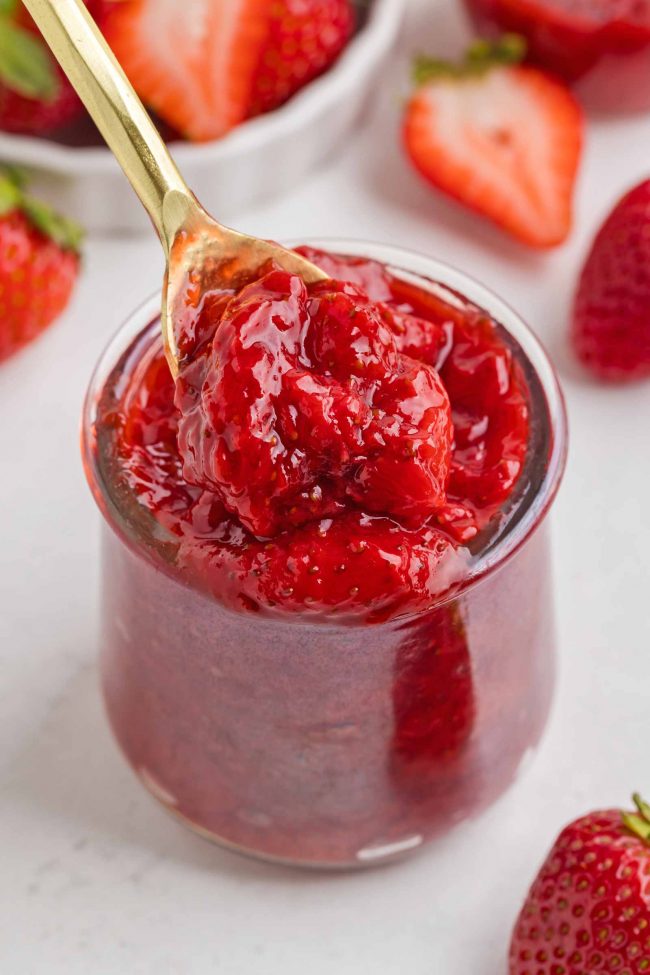
You’ve got your usual breakfast options. You can spread them on toast, bagels or English muffins or as a topping for pancakes and waffles.
They can also be stirred into oatmeal like this Chia Seed Oatmeal, which is only very lightly sweetened.
Or you could turn these PB2 Overnight Oats into PB&J overnight oats by adding a bit of preserves on top!
Strawberry preserves are also the quintessential way to fill Swedish pancakes. Any kind of preserves is great in them.
You can use them in place of any recipe that calls for jam, like these Strawberry White Chocolate Cheesecake Bars or Strawberry Oat Bars.
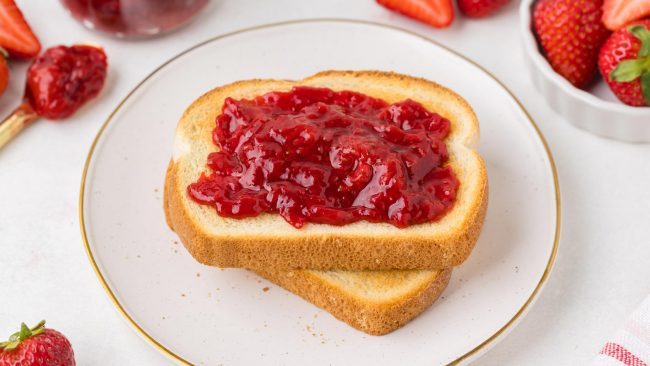
They’re great for so many types of desserts.
- Cake filling – use strawberry preserves as a filling for cakes, cupcakes, or between layers of sponge cake. They also make for excellent fake blood in eyeball cupcakes for Halloween. ;)
- Pastries – fill pastries, turnovers, or thumbprint cookies with preserves for a sweet treat.
- Cheesecake topping – spread over cheesecake for a fruity topping.
- Ice Cream – drizzle over ice cream like this vegan gelato or mix into homemade ice cream for a swirled effect.
Then there are snacks like PB&Js or serving them on a cheese platter with cheeses like brie, cheddar, or goat cheese.
Strawberry Preserves Recipe
- Prep Time:
- Cook Time:
- Ready in:
- Yield: almost 3/4 cup
Ingredients
- 1 pound (453 grams) fresh strawberries, hulled1
- 1/4 cup (50 grams) granulated sugar
- 2 teaspoons lemon juice
- 1/2 teaspoon vanilla extract
Directions
- Place a small plate in the freezer before you start cooking.
- To a 1-quart or larger saucepan (the larger the surface area, the less time you'll need to cook them!), add the strawberries, sugar and lemon juice.
- Use a potato masher or the bottom of a flat glass to lightly smash just a few of the strawberries. Smashing a few is enough to get some juices out to get things moving along.
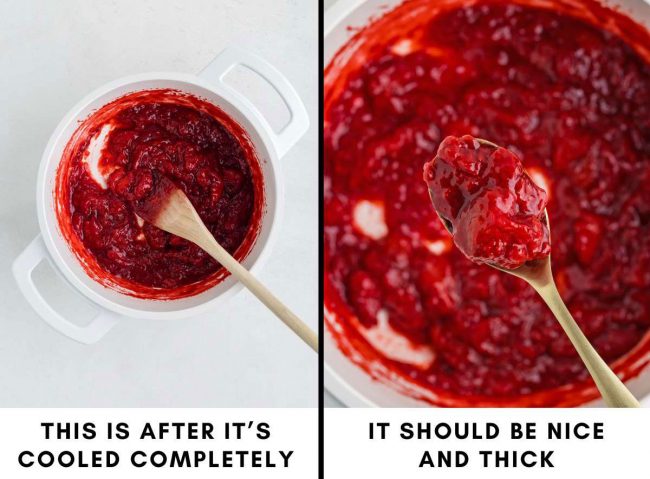
- Bring to a boil over medium-high heat while stirring frequently. Turn the heat to the lowest you can to keep it at a full boil. Let boil for about 9 minutes, turning the heat down, if needed, towards the end to prevent the strawberries from burning, until it reaches a temperature of 220 °F (104 °C). It’ll still be a bit runny but will thicken as it cools and more as it’s chilled.
- When you think the preserves are ready, drop a small spoonful onto the cold plate and let it sit for a minute. Push it with your finger - if it wrinkles and holds its shape, the jam is done.
- When it’s done, stir in the vanilla extract.
- Remove the saucepan to a wire rack to cool completely, about 1-2 hours.
- Transfer into clean jars and refrigerate for up to 1 week. Many sources say 2-3 weeks, but I like to play it safe and freeze whatever I haven't eaten after 1 week. It also freezes great and can be frozen for up to 1 year.


12 comments on “Strawberry Preserves Recipe” — Add one!
4 comments are awaiting moderation!
Hello! I made a double batch and am going to make a 4x batch today after our trip to the strawberry field. It was incredible. My kids are obsessed with it, and I don’t blame them! Love the vanilla in there.
Wow! I love that you’ll be quadrupling the recipe. :D And so glad that you and your kids are enjoying it so much! Thanks a bunch for your comment.
Went berry picking, didn’t know what to do with all and then we decided on preserves! What a great recipe. I love that this tastes like strawberries and not sugar with some added strawberry flavor! Best preserves I’ve ever had. Thanks a million!
Oh, yes! Good point I should made in the post. :) I totally agree with you. Thanks so much for your feedback! I’m really glad you liked it so much.
So yum and so easy. My kind of recipe. This jam is also delish when it is still warm over ice cream. Thanks for another great recipe.
I made with this my grandkids and we had so much fun. It was much easier than I thought it’d be! I’m I didin’t have to fiddle around with pectin because I do not know anything about that. Thank you very much for the wonderful recipe.
You’re welcome! I’m so glad that you had fun with your grandkids and I hope you all enjoyed it. :) Thanks for your comment!
What an easy-to-make strawberry preserve recipe. It looks so fresh and delicious!
I made this strawberry preserve with berries from my garden, one batch with normal strawberries and one with small wild strawberries. Delicious and so versatile! So far we’ve had the preserves on toast, on pancakes and on cheesecake!
I bought a whole mess of strawberries and realized they were going to go bad so I made these preserves and now I’m hooked! So fruit forward and easy to make at home.
I made this immediately after getting the newsletter. With fresh berries from the farmer’s market and it was fantastic. I can’t stop going back for one more spoonful!
I don’t blame you. ;) It’s hard to resist! I’m so glad that you enjoyed it. Thanks so much for your feedback!