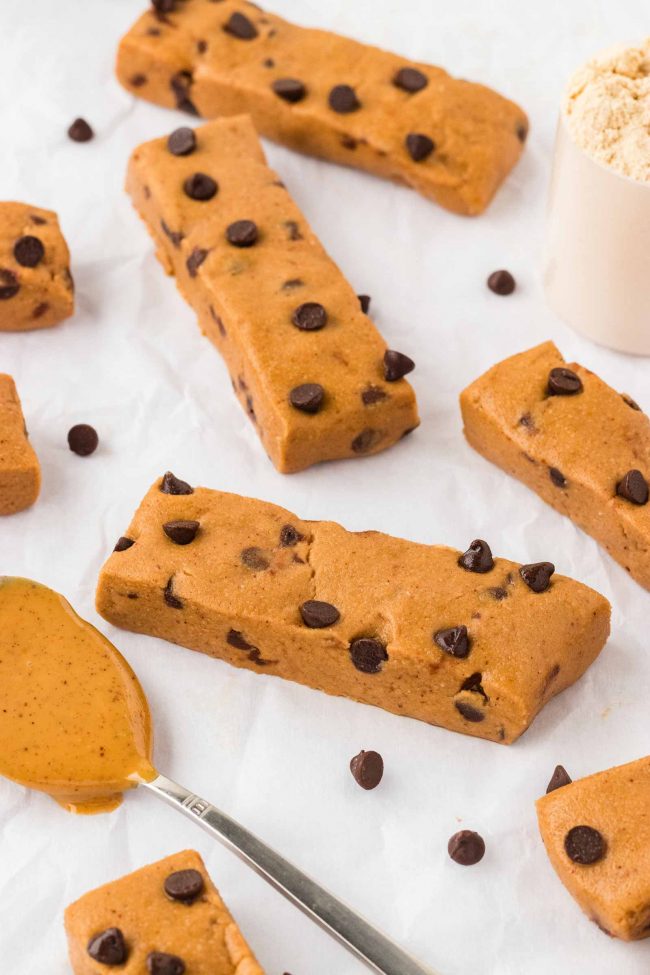
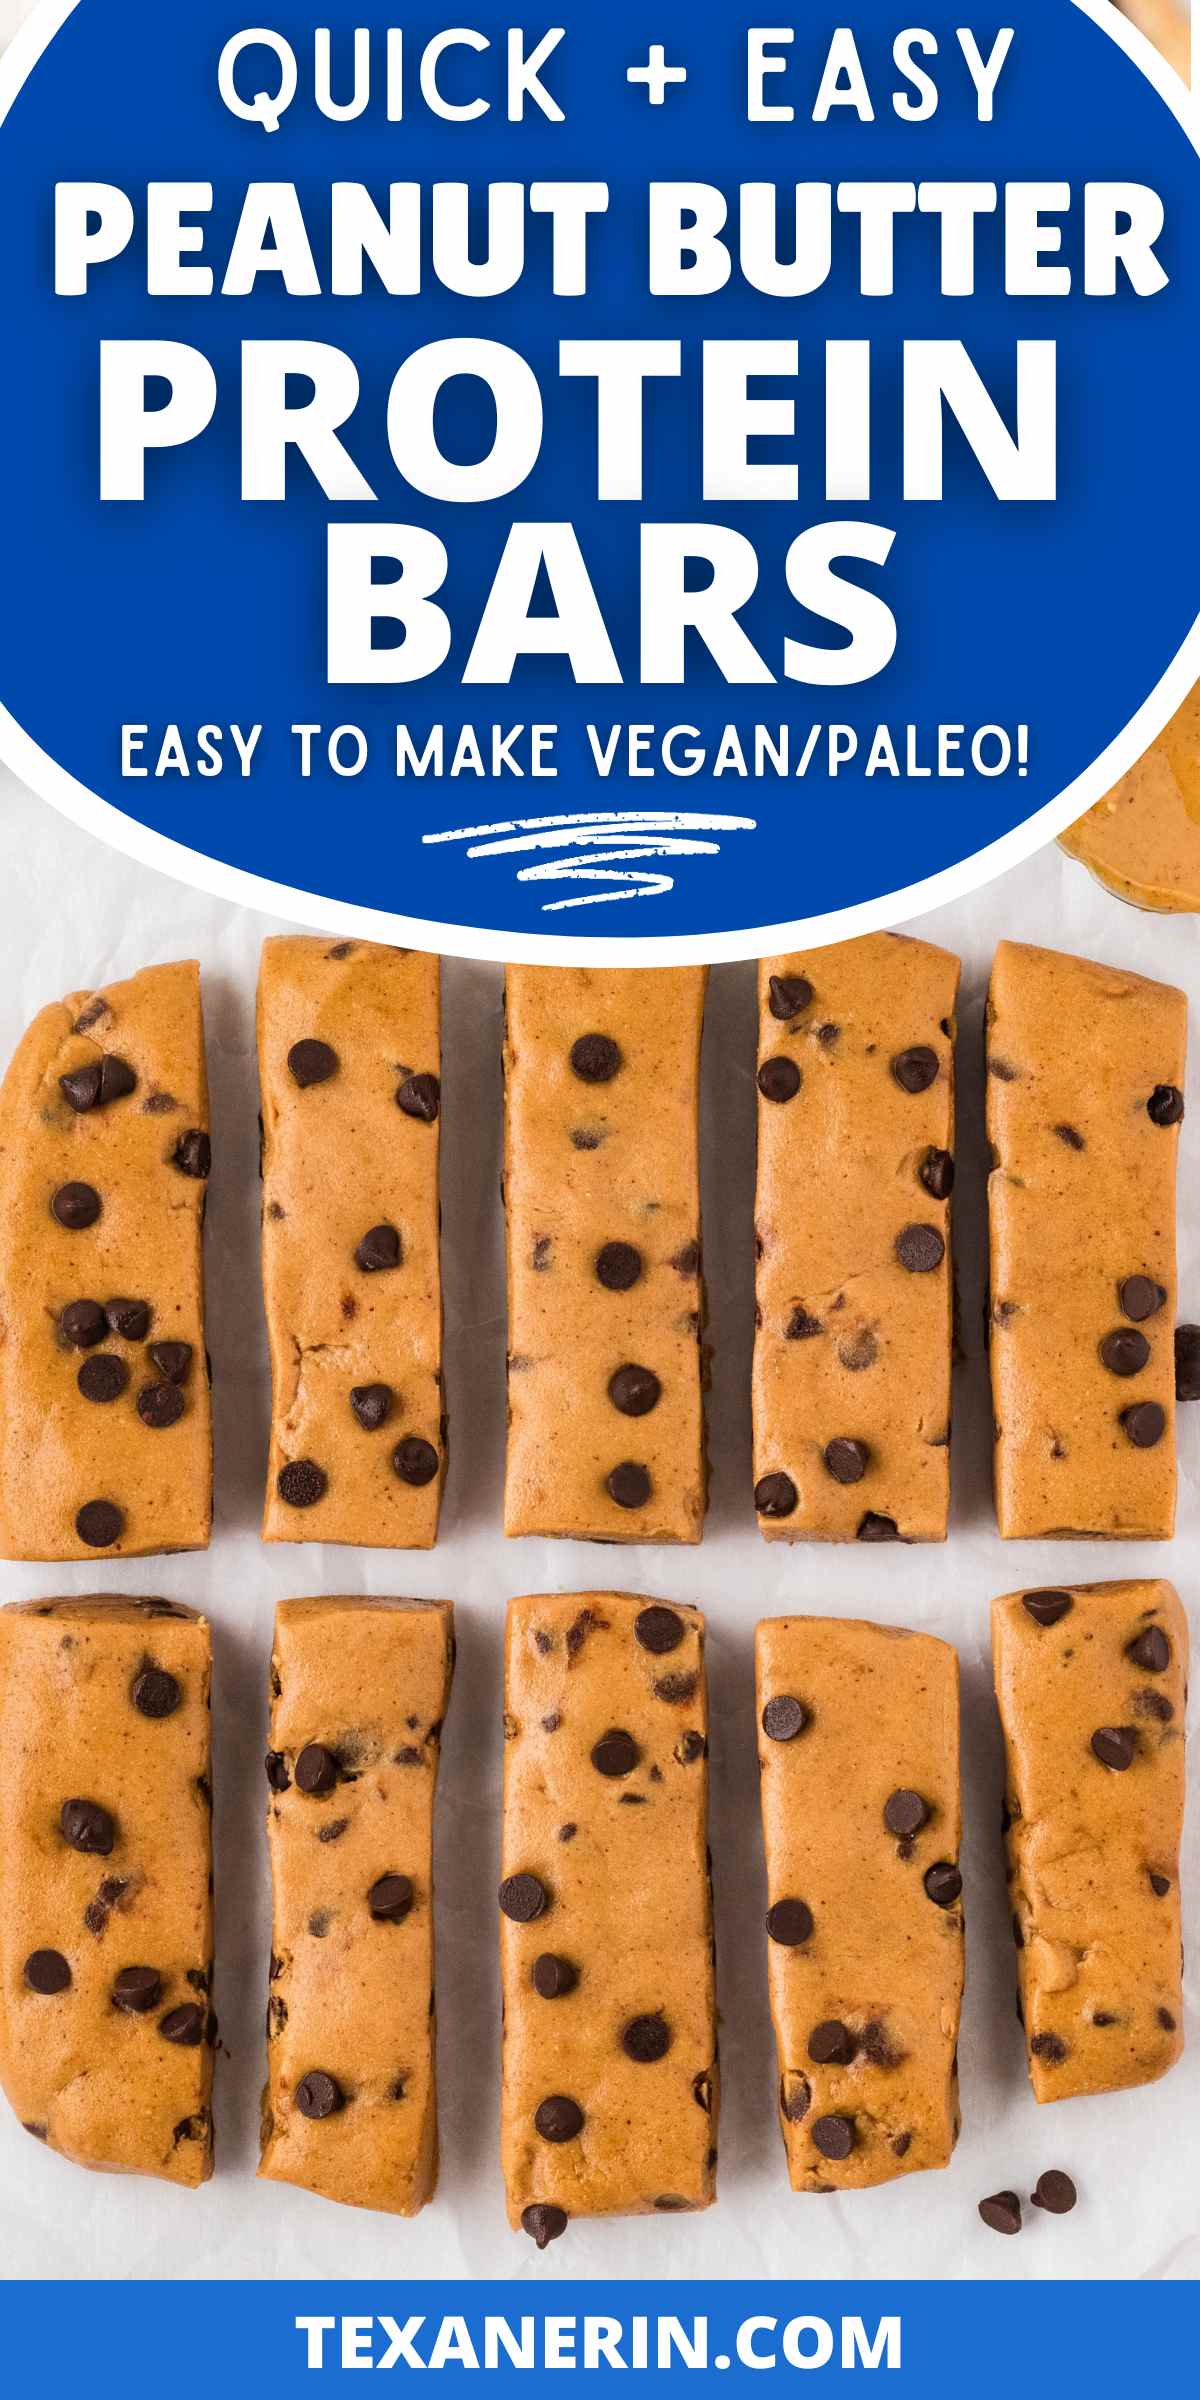
These peanut butter protein bars are the ultimate satisfying no-bake snack made with just a few ingredients. They’re also easy to make vegan, paleo and gluten-free.
If you’re looking for a quick and satisfying snack that packs a protein punch, these peanut butter protein bars are just the thing. Perfect for busy mornings, post-workout fuel, lunchbox treats or an afternoon pick-me-up, these bars are incredibly easy to make.
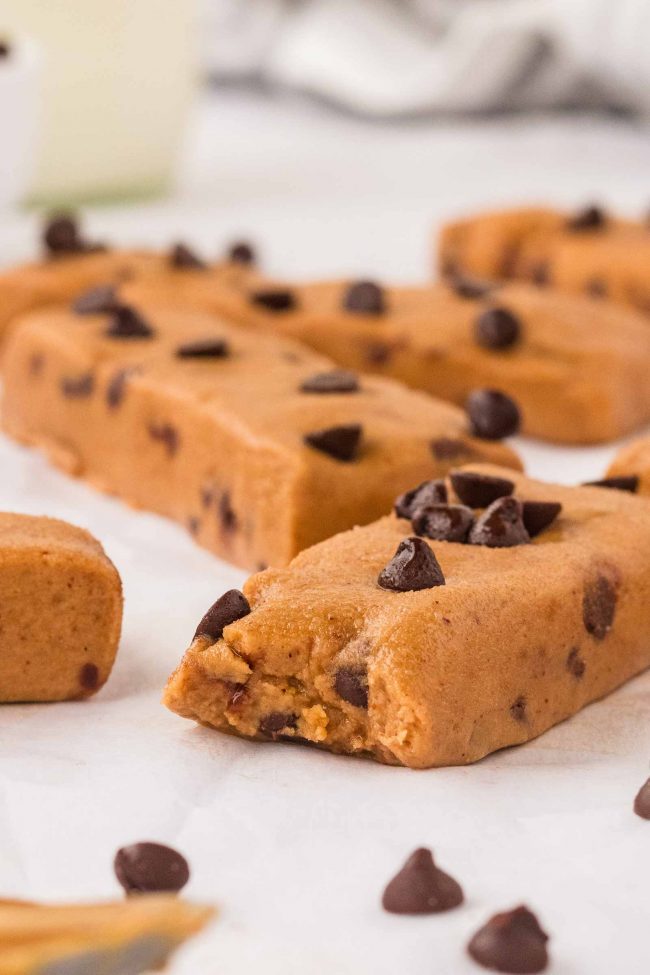
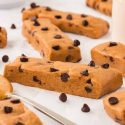
The rich, nutty flavor of peanut butter pairs beautifully with a hint of sweetness from maple syrup and mini chocolate chips, making these bars a real treat.
If you’re not a fan of chocolate chips, you can leave them out, but I found that they looked a bit boring and unappetizing without them.
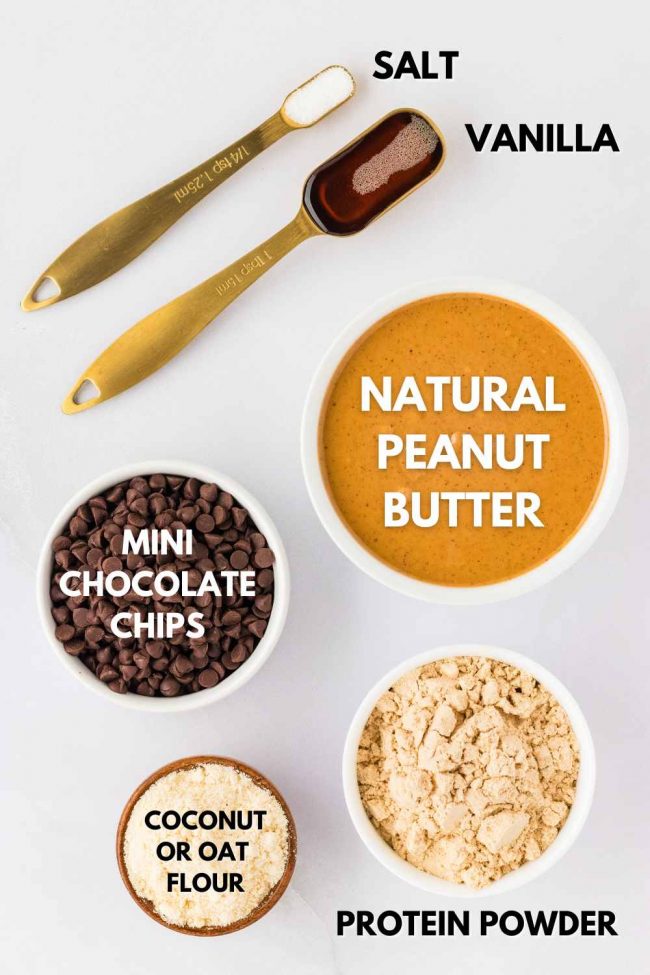
Ingredients
Here’s what you’ll need to make these protein bars. The full recipe with measurements can be found at the bottom of the post in the recipe box.
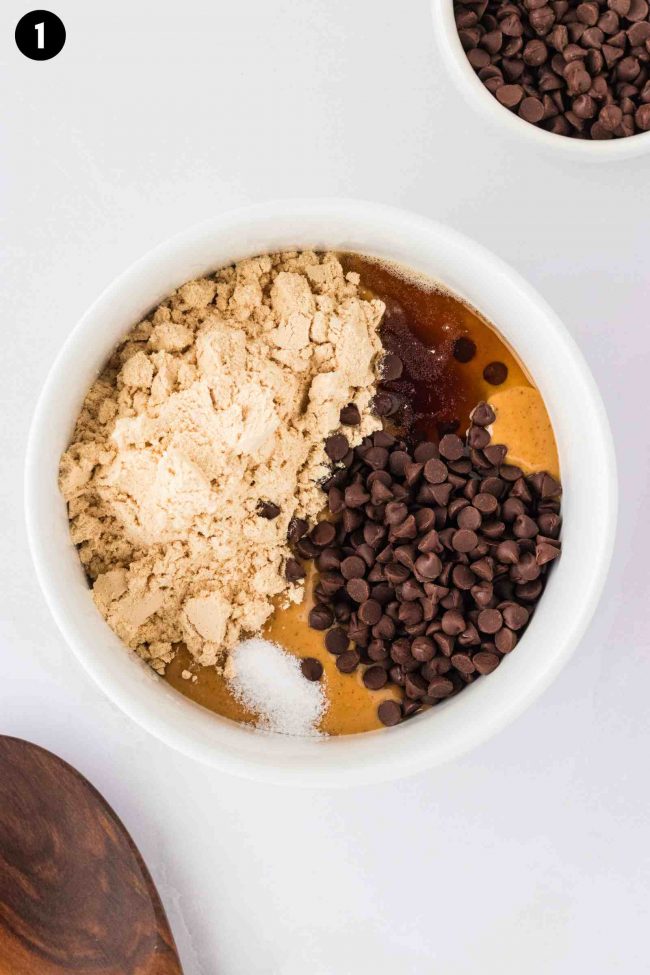
How to make them
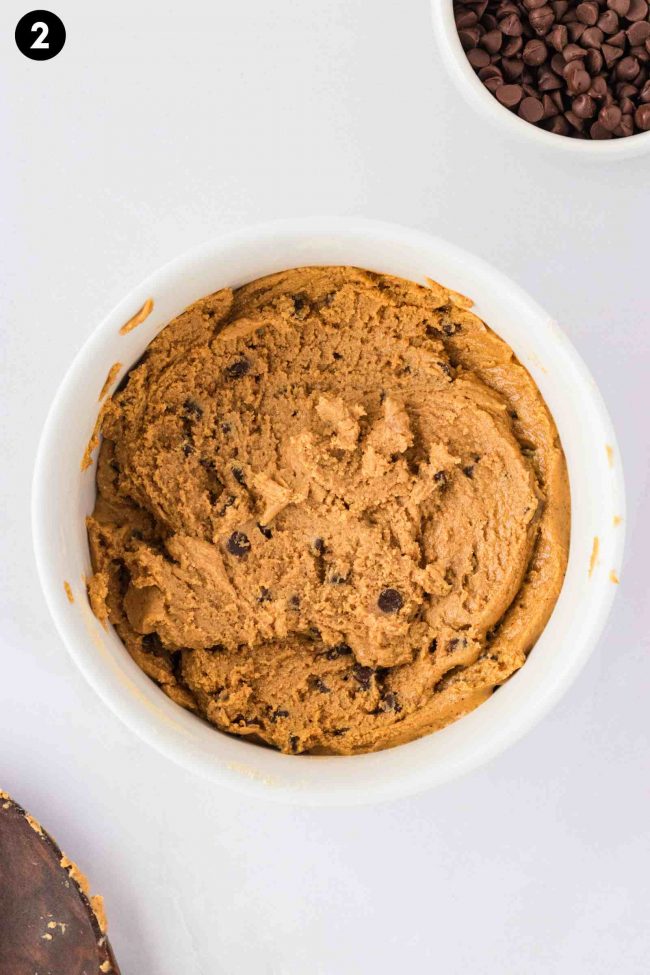
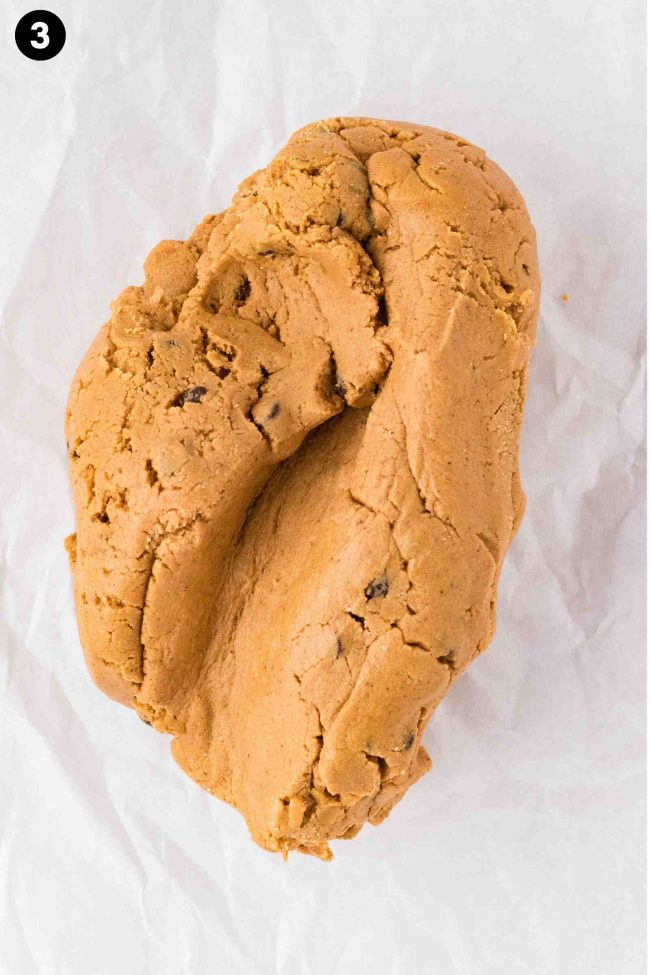
These bars couldn’t be any easier to make. You just add all the ingredients to a mixing bowl and stir until combined.
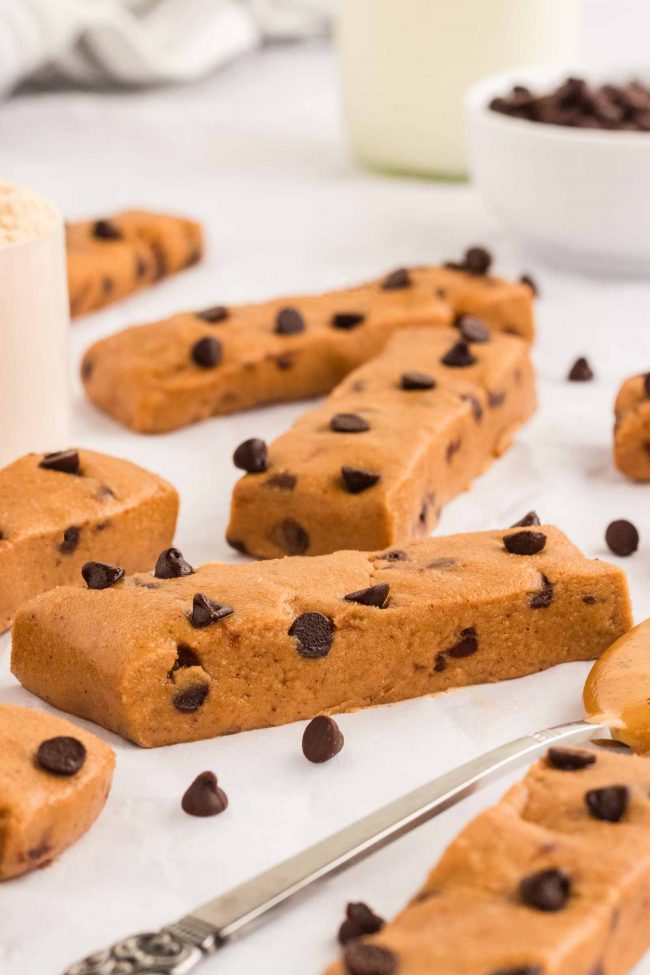
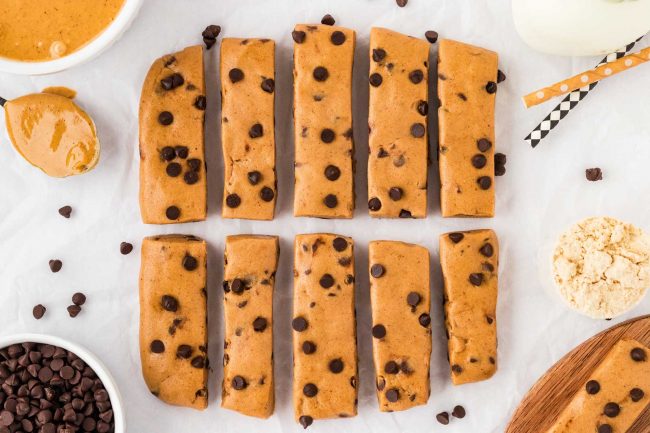
Then form a rectangle on a piece of parchment paper and cut into bars.
If the mixture is too dry, use your hands to mix the ingredients, and it’ll instantly come together. You don’t want the dough so dry that it cracks, but if looks don’t matter, then it’ll be fine if it does.
If the mixture is too wet, add 1/2 teaspoon of oat or coconut flour at a time until it’s firm enough to form a rectangle. Then cut into bars.
Can I use a different nut butter?
This recipe is somewhat flexible because these protein bars are no-bake.
Nut and seed butters can differ greatly, both in flavor and texture. The variation isn’t limited to the type of nut or seed, such as cashew versus sunflower seed butter; even different brands can have noticeably distinct consistencies.
Opt for nut butter without any added sugar or oil. If you want to make it yourself, you can whip up a batch in just 5 minutes using only peanuts. This post, How to Make Peanut Butter, has all the details.
Here are some other Homemade Nut Butters that’d work great in this recipe:
- How to Make Almond Butter
- Walnut Butter (you’ll probably need a little more sweetener if using this)
- Pumpkin Seed Butter
I have several other recipes but think using something like Macadamia Butter or Pistachio Butter would be a waste of those nut butters. They’re so expensive to make and really best enjoyed on their own!
Protein powder brands
For a vegan version, I usually use Dr. Murray’s 3-Seed Vanilla Protein Powder, but I’ve also used Orgain Organic Vanilla Bean Plant-Based Protein Powder. The Orgain version required a touch more maple syrup and wasn’t as tasty as the Dr. Murray’s protein bars.
For a paleo version, I’ve tested this recipe with Orgain Chocolate Ketogenic Collagen Protein Powder with MCT Oil. I think the taste is best with that one with Dr. Murray’s in second place.
Different protein powders absorb liquids at varying rates, which can affect the texture of your mixture. So you may or may not need to add some oat or coconut flour to make the bars firm enough.
With one type of protein powder, I needed to add 24 grams of oat flour because it was too wet, while I didn’t need any at all with the others. So with this recipe, you’ll need to make small adjustments based on the brand of protein powder.
Can I use a different brand?
Yes, but if the protein powder doesn’t taste good, it won’t taste good in these bars. Or really in anything else.
Can I use chocolate or unflavored protein powder?
I tried this recipe with Dr. Murray’s Chocolate Protein powder, but the result lacked chocolate flavor, and I had to add more cocoa and maple syrup to get the taste and consistency right. After 30 minutes, the dough was super dry and powdery.
It was awful. So I recommend sticking to the recipe to get the best texture and taste without wasting ingredients!
If you love chocolate, I recommend these Protein Brownies, as they’re loaded with chocolate flavor and taste like regular brownies.
As for unflavored or unsweetened protein powders, you’d have to adjust the sweetener to make them sweet enough. They wouldn’t have the right texture, so again, I’d stick to this recipe or find a recipe that specifically calls for unflavored or unsweetened protein powder for the best results.
If you don’t want your bars to be sweet, then you could certainly use the unsweetened protein powder.
Can I use a different sweetener?
Any liquid sweetener that is a direct sub for maple syrup would work in this recipe.
I can’t recommend liquid stevia, of which you’d only need a few drops, because you’d have to add more liquid, and it’d have a weird texture.
Can I bake these bars?
Definitely not.
If you’re looking for baked protein treats, try these Protein Chocolate Chip Cookies instead.
How to store
These peanut butter protein bars can be refrigerated in an airtight container for up to a month.
You can freeze them for up to 3 months.
To freeze them, place them on a baking sheet to transfer to the freezer for 2 hours or more. Once frozen, transfer to a freezer bag and date them.
Place them in the fridge overnight or on the counter for a bit to thaw them. They’ll only need a few minutes.
Paleo, gluten-free and vegan versions
For a paleo-friendly peanut butter substitute, try mixing cashew and sunflower butter in a 1:1 ratio. Cashew butter’s thicker consistency complements sunflower butter’s thinner consistency, creating the right balance for these bars.
Also make sure that you’re using paleo protein powder and coconut flour instead of oat flour.
If you’re gluten-free or vegan, make sure your protein is gluten-free and/or vegan.
If you’re gluten-free, also make sure to use oat flour that’s labeled as gluten-free. Or just use coconut flour, as that should be gluten-free.
More protein treats you might like
I hope you’ll enjoy these no-bake peanut butter protein bars. If you make them, please let me know how they turned out below in the comments. Thanks!
Peanut Butter Protein Bars (vegan option)
- Prep Time:
- Cook Time:
- Ready in:
- Yield: 10 bars
Ingredients
- 1 cup (256 grams) natural1 peanut butter
- 1/2 cup 2 vanilla protein powder
- 1 tablespoon (20 grams) maple syrup
- 1/4 teaspoon salt
- If it’s too wet: oat flour or coconut flour (with one type of protein powder, I didn’t need this. With another, I needed 24 grams of oat flour.)
- 1/4 cup (44 grams) mini chocolate chips
Directions
- Place all ingredients in a medium mixing bowl and stir with a wooden spoon until totally combined. If the mixture seems too dry, use your hands, and it will instantly come together more easily.
- If it’s too wet, add 1/2 teaspoon of oat or coconut flour at a time until it’s firm enough to shape into a rectangle. It should be firm enough that it doesn’t lose its shape if you were to stack them. You don’t want the dough so dry that it cracks (like you see in the bottom right of the below bar - but no problem if it does!)
- The one below was formed individually, but you can also just make a rectangle and cut them. Place on a piece of parchment paper.
- Cut into bars and refrigerate in an airtight container for up to a month.
Notes
- The peanut butter should just have peanuts and salt in it. If your peanut butter is unsalted, add more salt.
- For the protein powder, you'll want to go by volume and not by weight. The weight with my different types of protein powder was 46-63 grams
- For a paleo version, use sunflower seed butter instead of peanut butter. Make sure to use a paleo protein powder (I used 46 grams Orgain Vanilla Ketogenic Collagen Protein Powder with MCT Oil) and mini chocolate chips and use the coconut flour option.
- For a vegan version, use vegan protein powder (I've tried them with 63 grams Dr. Murray Vanilla Protein Powder or 46 grams Orgain Organic Vanilla Bean Plant-Based Protein Powder. ) and mini chocolate chips.
Join over 12,400 readers and sweeten up
your inbox with new posts for free!
This subscription is free of charge and can be canceled at any time.


There are no responses on “Peanut Butter Protein Bars” — Be the first one!
2 comments are awaiting moderation!