These mini caramel pecan tarts have a delicious grain-free and gluten-free graham cracker-like crust and an easy no-bake caramel pecan filling!
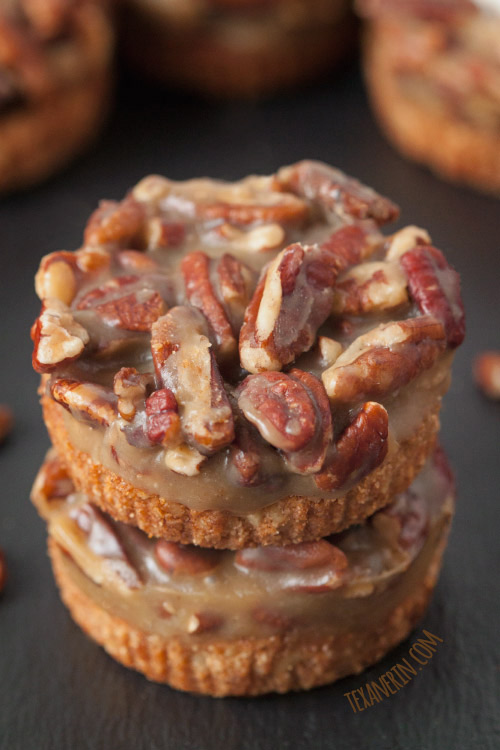
Today over on My Baking Addiction, I’m sharing these gluten-free mini caramel pecan tarts. I spent over a week trying to get this recipe down. Grain-free crusts are a pain! I really wanted to make caramel apple tarts, but the caramel kept leaking through the crust. I tried chilling the crusts, using an egg white wash, pre-baking the crust and nothing worked. So I had to come up with a filling that didn’t require any baking and wasn’t runny.
I haven’t tried the caramel using coconut sugar but I’m pretty sure it’d work. I have tried making actual caramel (where you melt the sugar) with coconut sugar and that was a big fail, but probably because I fail at almost everything caramel related. This caramel recipe, however, couldn’t be any simpler. You mix everything together and simmer for 8 minutes. I’ve made it a few times and haven’t messed it up yet so I guess my success wasn’t just a fluke. ;)
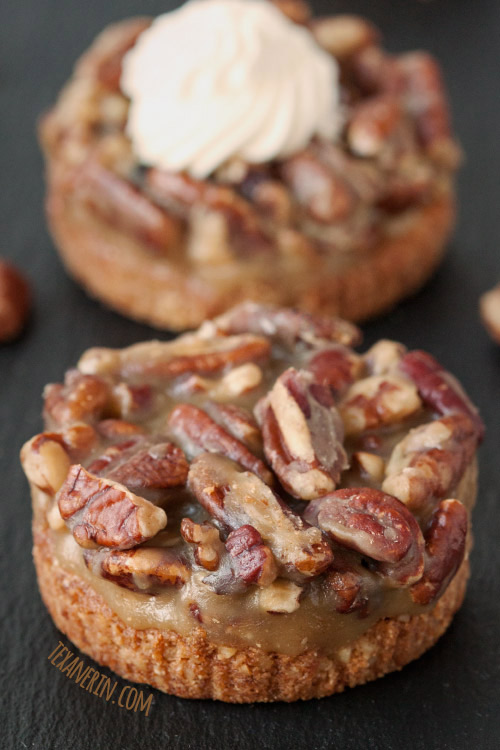
It’s important to let the caramel cool before pouring it over the crusts or else the crusts will just suck up the caramel sauce. And then you’ll want to cry, like the 13 times I failed at making mini tarts last week.
You can use any type of nuts in these tarts. I used pecans because it seemed right for Thanksgiving, but I did my practice batches with walnuts, because they’re so much cheaper here, and they were just as good!
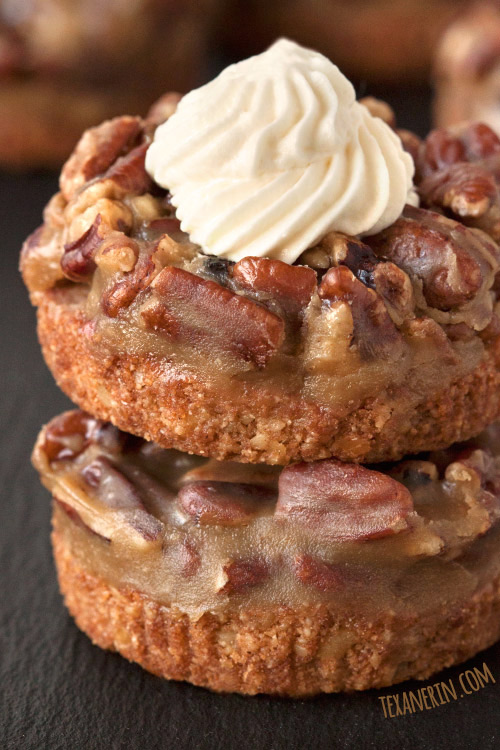
If you don’t want to make these caramel pecan tarts in mini form, using a 9″ tart pan should work (though I haven’t tried it and can’t guarantee it). The beautiful thing about this recipe is that all you need to bake is the crust. Don’t screw up the caramel and you’ll be good!
Want something low-carb? Give this Sugar Free Pecan Pie a try! This Paleo & Keto Pecan Pie also looks amazing.
I hope everyone has a great Thanksgiving! There’s worry of bird flu in poultry over here right now so my Thanksgiving will be turkey-less. I hope y’all feel thankful for your turkey. ;)
Looking for a vegan and dairy-free alternative? Here you go!
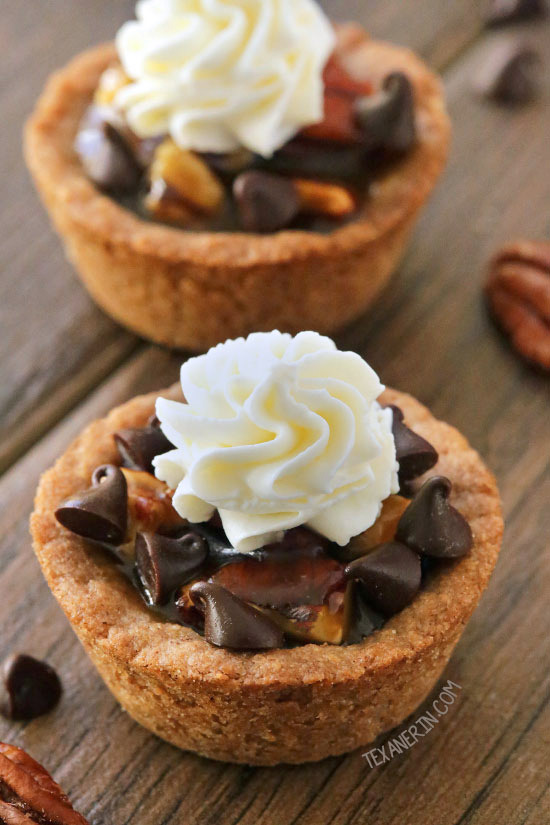
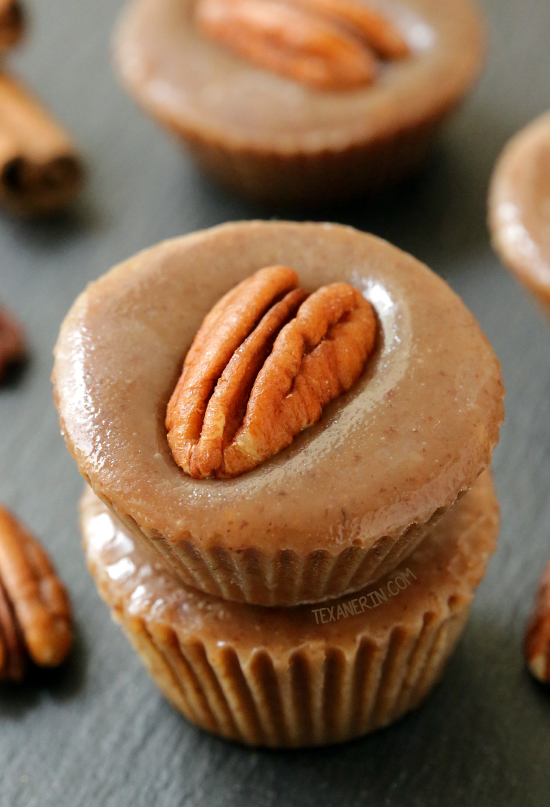
Grain-free and Gluten-free Mini Caramel Pecan Tarts
- Prep Time:
- Cook Time:
- Ready in:
- Yield: 18 mini tarts
Ingredients
- 1 1/4 cups (125 grams) almond flour or almond meal
- 1 cup (110 grams) pecans or walnuts
- 4 teaspoons (12 grams) coconut flour, sifted if lumpy
- 5 tablespoons (70 grams) unsalted butter
- 1/4 cup (50 grams) coconut sugar or brown sugar
- 2 teaspoons cinnamon
- 1/8 teaspoon salt
- 3/4 cup (180 grams) tightly packed dark brown sugar
- 2/3 cup (160 milliliters) whipping cream
- 7 tablespoons (98 grams) unsalted butter
- 1 teaspoon vanilla
- 3/8 teaspoon salt
- 2 1/2 cups (275 grams) chopped pecans
For the crust:
For the filling:
Directions
- Preheat the oven to 375°F (190°C). Line two muffin pans with 18 muffin liners.
- Prepare the crust. Place all the crust ingredients in the bowl of a food processor fitted with the S-blade and pulse for 15 seconds or until there are no large chunks of nuts left. The nuts should be 1/8" or smaller in size.
- Press 20 grams, about a rounded tablespoon, of dough onto the bottom of the each liner. Try to press it in the nooks and crannies of the muffin liner.
- Bake for 7 minutes or until golden brown. Let cool for at least 20 minutes while preparing the rest of the recipe. Don't skimp on the cooling time or the caramel may leak through.
- Place the chopped pecans on a baking sheet and roast for 4-6 minutes or until starting to smell toasty. They burn quickly so keep a close eye on them. Remove from the oven.
- Prepare the caramel. Heat the sugar, cream, butter, vanilla and salt in a heavy bottom saucepan (do not use non-stick) over medium heat.
- Stir until combined and then simmer for 8 minutes. Do not stir. If needed, tilt the pan to redistribute the mixture.
- Remove from the heat. The caramel will be quite thin at this point. Let it cool for 20 minutes or until considerably thickened and just barely pourable. Stir in the nuts and then spoon about 2 tablespoons of caramel pecan mixture onto the top of each baked crust.
- Place the pans in the refrigerator for 2-3 hours or until the caramel has firmed up.
- Serve cold or at room temperature. These can be left at room temperature for 8 hours.
- Refrigerate in an airtight container for up to 4 days.
Notes
- I haven't tried making this dairy-free. If I had to guess, I'd say use 4 1/2 tablespoons of coconut oil instead of 5 tablespoons butter in the crust, full-fat canned coconut milk instead of cream in the caramel, and 6 tablespoons of coconut oil instead of 7 tablespoons butter in the caramel. I haven't tested this so if you try it, let me know how it comes out!
Source: My post on My Baking Addiction: Gluten-free Mini Caramel Pecan Tart. Caramel adapted from Chocolate Nut and Caramel Shortbread Tart.


69 comments on “Mini Caramel Pecan Tarts (grain-free, gluten-free)” — Add one!
2 comments are awaiting moderation!
I LOVE these tarts and I’ve been making mine GF&DF.
In the crust I swapped out butter for Almond Oil Plant Butter. Worked just fine!
For the filling I swapped out cream and used Thai full fat canned coconut milk and once again Almond Oil Plant Butter for the butter.
I also used coconut sugar in place of brown sugar
Oh, wow! Thanks for sharing your subs. I’ll have to try them that way, too! I’ve been meaning to for years. I’m so glad that they worked out well. Thanks again!
Can these mini tarts be frozen?
You can. :)
I eat Paleo so was wondering what would I substitute for the whipping cream.
Please check out the notes section of the recipe. :)
Would you be able to use this crust with mini cheesecakes too? I saw your other recipe for mini cheescakes with a gf crust and thought it might taste better with pecan meal with the almond flour 😜
I’m pretty sure it would! If you try it, let me know how it goes. :)
I recently found out I’m allergic to corn, wheat and potatos. So, I’ve been having a hard time finding treats I can enjoy
I made these for the Super Bowl laat night and my entire party loved them. I cant wait to try other recipes from you now. Thank You.
That’s great that everyone enjoyed them! I hope you’ll enjoy the other recipes just as much. :) I have loads of recipes that are free of those ingredients so I hope you’ll find something you like! Thanks for your comment.
can i use plain flour instead of coconut flour
Unfortunately, coconut flour’s not interchangeable with any other type of flour as it absorbs so much more liquid. Sorry about that! I’d recommend a different type of crust if you don’t have access to coconut flour.
What kind of crust would you recommend instead if you don’t have coconut flour?
Hi! I’m sorry for just now answering! I’ve had the stomach flu the last few days. :/ I’d recommend a graham cracker crust if you don’t have coconut flour on hand. I unfortunately haven’t tested out a graham cracker crust with a muffin pan, so I have no idea how much of the mixture you’d need per muffin mold, how long to bake, etc. Sorry I can’t be more helpful. I hope you’re having a nice Christmas, if you celebrate!
I try to go sugar free also…can this be made with splenda brown sugar?? I don’t know if splenda brown sugar will caramelize like regular brown sugar.
I’m sorry for the slow reply! I don’t think it’ll work in this recipe because of the caramelization issue. I’m not sure but I don’t think this could be made sugar-free. Sorry about that!
These are sooo good! I have made them a few times and love them. They are such a wonderful treat that I don’t hesitate to make them often.
Thank your for a wonderful recipe.
I’m so happy to hear that you’ve been enjoying the tarts! Thanks a bunch for your comment. :)
Made these with coconut oil imstead of butter and they came out great!!! So glad to have a great website for gf desserts!
Hi there! Did you use the same amount of coconut oil? I’d be interested in trying that! Thanks so much for your comment and I’m happy you found the blog and will enjoy the other recipes just as much. :)
I used the same amounts as it would have been for the butter (I didn’t see the note you had made about it until it was too late). I had to bake the crusts a bit longer but I think that is because they were thicker.
Oh, good to know! Thanks a bunch for your answer. :)
HI, would love to make them, but wondering if you know the calorie count?
I don’t have that info but you can copy and paste the recipe here for the nutritional profile, if you’d like. :)
My youngest was diagnosed with a severe wheat allergy over the summer, so finding great recipes for the holidays was a major personal goal. I did not want her to feel she was missing out on the usual baking and treats. I have to say that these fit the bill beautifully; absolutely delicious, and a hit with the gluten-free and wheat eaters alike!
One question, though: I followed the recipe, but my crusts came out a bit crumbly. Your pictures look like your crusts are more solid. Any suggestions or pro tips for how to make them better next time around?
I’m so happy you were able to find a recipe that went over well with the gluten-free and wheat eaters! My crusts were pretty solid. Did you use butter or another type of oil? If you used butter and the mixture felt crumbly, you could add a little bit of water until they don’t feel crumbly. The crust should hold together when pressed. If the mixture didn’t feel crumbly before baking, then perhaps you could bake them a little less next time. I hope that helps! Thanks so much for your feedback and have a great new year. :)
I love that these are already GF and I don’t have to adapt anything! You’ve saved me so much time..thanks!!
You’re welcome! I hope you get a chance to try them. :)
I just love mini desserts. This one is no exception. I’d eat a whole batch.
A whole batch sounds reasonable. ;)
To make it dairy free, you can use ghee in equal amounts to butter. (I THINK it’s in equal amounts). These look DELICIOUS!
Thanks, Sarah! And thanks for the tip. :) But I’m not so sure ghee is dairy-free. This says, “Ghee is made from milk and hence it is a dairy-product. However, people who have dairy intolerance can generally consume ghee since ghee does not have casein (a type of milk protein) and lactose (milk sugar) which some people find difficult to digest.” So if people are avoiding dairy (not because of an intolerance but because of something else), shouldn’t they avoid ghee, too?
I’m allergic to pecans, but I love little tarts and I can totally get on-board with caramel and grain-free anything!
I bet these would be good with peanuts. I definitely want to try that. :D
I love mini desserts, this one is outstanding. I think they would be perfect for the holidays.
Or, you know, an everyday breakfast. ;)
So impressed you came up with a grain free gluten free version! They look fantastic!
Thanks so much, Anita! :)
holy moly…I could totally go for one (or three) of these! I love that they’re gluten free, too!
Thanks, Lauren!
I love little bite size treats! I don’t feel so bad when I go back for seconds!
Haha. When I think like that, I go for 6ths and 7ths and then feel terrible. ;)
Wow, your persistence totally paid off – these look sinfully delicious!
Thanks so much, Heather!
These are delicious! I couldn’t quite fit 2 tbsp of topping onto each crust but I made it work. I’ll have to make more before Thanksgiving because I think my husband will eat half of these tomorrow. ;) Thanks for the recipe!
Haha. Well I’m happy your husband enjoyed them enough to possibly eat half the batch! ;) Thanks so much for your feedback and happy Thanksgiving!
Fantastic recipe idea! I think I’ve found my dessert choice for this Thanksgiving. Also, thank you so much for the vegan recommendations. I’ll get back to you on that one.
I hope they’ll work out if you try it! I’m definitely going to try a vegan version of that crust soon but after making these tarts 14 times, I couldn’t bring myself to start experimenting again for a vegan version. ;)
We’re on the same page, kinda sorta today — your little minis look so adorable!
Oooh… but yours have bourbon and chocolate! Yum! :D
I really wish I could reach into my computer and grab one to eat! These look fantastic!
Thanks so much, Martha!
These are so cute and the perfect size!! Have a happy Thanksgiving!
Thanks and happy Thanksgiving to you, too! :)
Oh I’m sorry you won’t get to have any turkey but boy do these tarts look amazing! Happy Thanksgiving!
Thank you and I hope you have a great Thanksgiving, too!
These do look tasty. If you celebrate Thanksgiving this time of year hope you have a wonderful day.
I do! And happy Thanksgiving to you, too. :)
What perfect treats for Thanksgiving!
Thanks, Angie!
Erin, these Caramel Pecan Tarts look terrific!
We’re in Florida this week and it’s pecan-everything down here! I think I might give these a try for Thanksgiving, I know these would be very much appreciated by our Southern crowd. Happy early Thanksgiving!! I know my Germans won’t give you the day off but I hope you’ll get to celebrate a little anyhow ;)
There’s bird flu in poultry over here right now. I am not happy. :( I hope you have a great time in Florida!
You nailed it. These are gorgeous and I bet they taste just as good!
They do indeed! ;)
I agree, grain-free crusts are tricky to work with! It looks like you’ve got it down though – these look perfect! Caramel with nuts is such a yummy combo.
Yeah, I’m thinking the possibility of me making a grain-free pie crust is about NONE. ;) I’ll stick with these mini tarts!
These are so adorable! Yummmmmm
Thanks, Kristi!
Hello gorgeous, now get into my mouth ; )