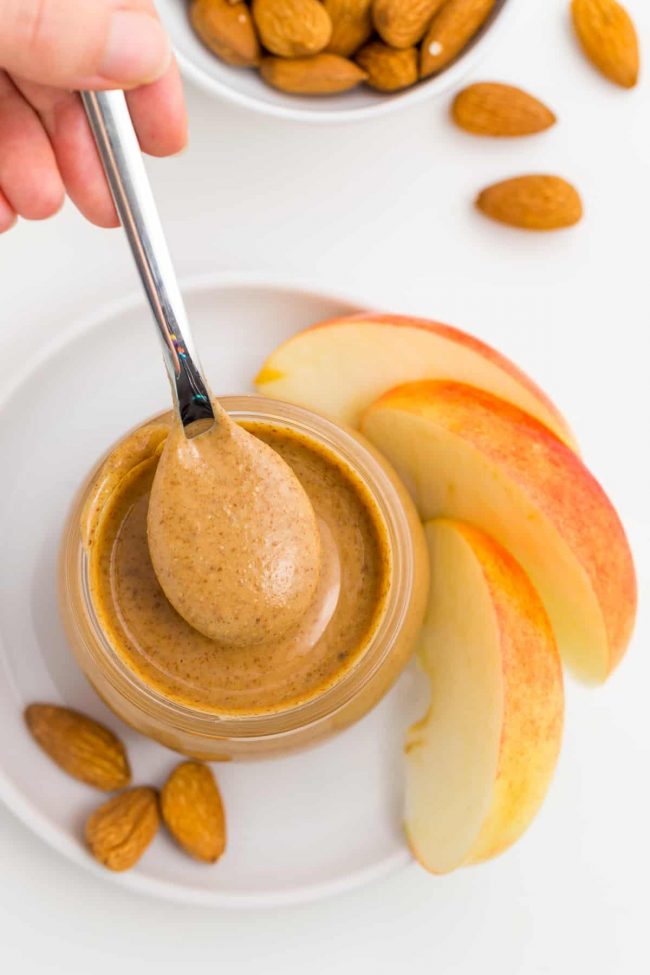
Wondering how to make almond butter? Here’s your ultimate guide covering everything you need to know. You just need almonds and a food processor or a high-speed blender. In about 10 minutes, you’ll have your own homemade almond butter at a fraction of the cost of store-bought.
I love using almond butter in desserts, especially in no-bake treats like these Vegan No-bake Cookies and my favorite candy recipe, this Paleo Fudge. It also adds an amazing flavor to my most popular recipe, these Paleo Chocolate Chip Cookies.I go through huge amounts of nut butter when developing a recipe. There’s no way I could afford to do that if I were using store-bought almond butter. So I learned how to make almond butter early on in my blogging days.
I roast them, let them cool a bit, toss them in the food processor, and then I have runny, smooth almond butter for a fraction of the price of what I can find in stores or even online.
For a while, I was making almond butter in my high-speed blender, but our neighbor actually complained to the super. It was disturbing his peace, apparently. And his dog’s.
So now I take my food processor, go to the pantry, close the door, and make almond butter.
You can make so much more with a food processor or the large pitcher of a blender like the Ninja I recommend below. Instead of using 1 1/2 cups of almonds, I can use more like 6.
Ingredients
You just need raw almonds! You can use pre-roasted or flavored almonds and skip the roasting step, but warm nuts are much quicker and easier to process than room-temperature nuts.
How to make it
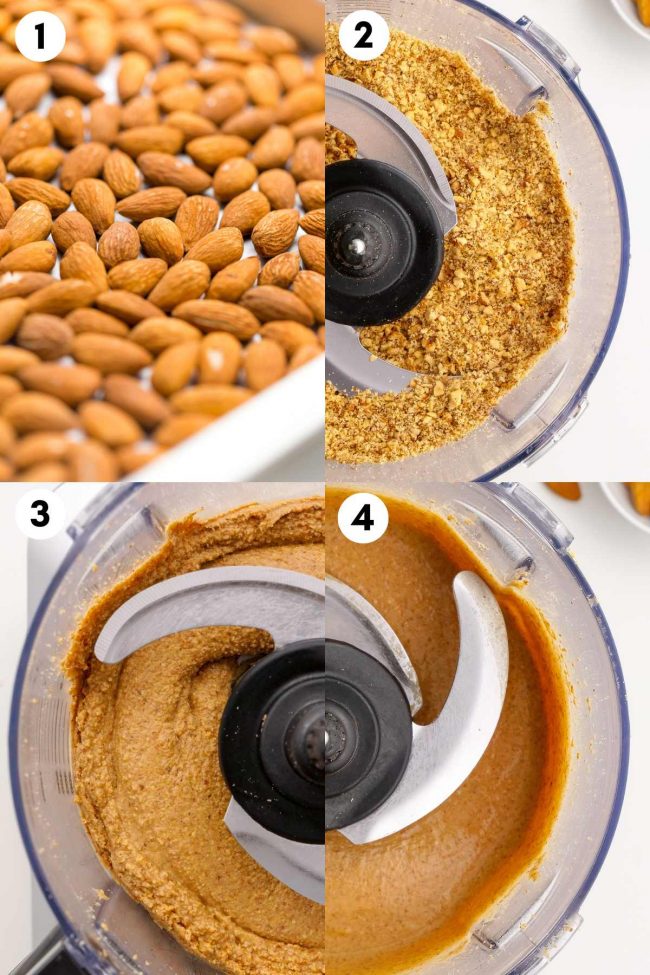
Below you see the stages.
- Whole, roasted and slightly cooled almonds
- Chopped almonds and then a dry powder, like almond flour
- A paste-like, thick mass
- Runny, smooth almond butter!
Yield
1 1/2 cups (186 grams) of almonds yields 2/3 cup + 1 tablespoon (186 grams) almond butter. So, that’s a 2:1 ratio of almonds to almond butter.
That means if you need 1 cup of almond butter, you need to use 2 cups of almonds.
But this ratio is only by volume! If you need 400 grams of almond butter, use 400 grams of almonds.
Equipment
]You need a food processor or a high-speed blender.
Food processor — a 1,000-watt processor will do the job. Before deciding on which one to buy, I recommend reading the reviews and searching for “butter.” You can also search the questions section on Amazon product pages for “butter.” In the top sellers, someone has usually already asked if nut butter can be made successfully with the food processor.
Blender — a regular blender won’t work, and you’ll kill your blender. You need something like a Blendtec or Vitamix.
When I looked at food processors a few years ago, most people recommended this Cuisinart for making nut butter.
That one is currently $289 and came out in 2015. I wanted to find a newer and cheaper one.
Nowadays, when you search for something like “best food processors for making nut butter,” you mostly find AI-written articles on websites consisting of nothing but AI-written articles.
So I recently spent an entire day trying to find the best affordable food processor for nut butter. So that excludes Vitamix and Blendtec.
I found this test where they (real actual people! not robots) have tested loads of blenders and tested several different aspects, including almond butter making performance. The Ninja rated a 9.5 out of 10.
There are a few personal blenders that have single serving-sized jars that are slightly better (I can’t imagine how, though) at making almond butter, but the Ninja Foodi Power Pitcher System [CO351B, SS351] is your best bet if you want a full-sized blender jar in addition to the smaller one meant for making nut butter. Right now, it’s $159.99 but it was as low as $119 in April.
If you’re in Europe, I believe that this is the EU version.
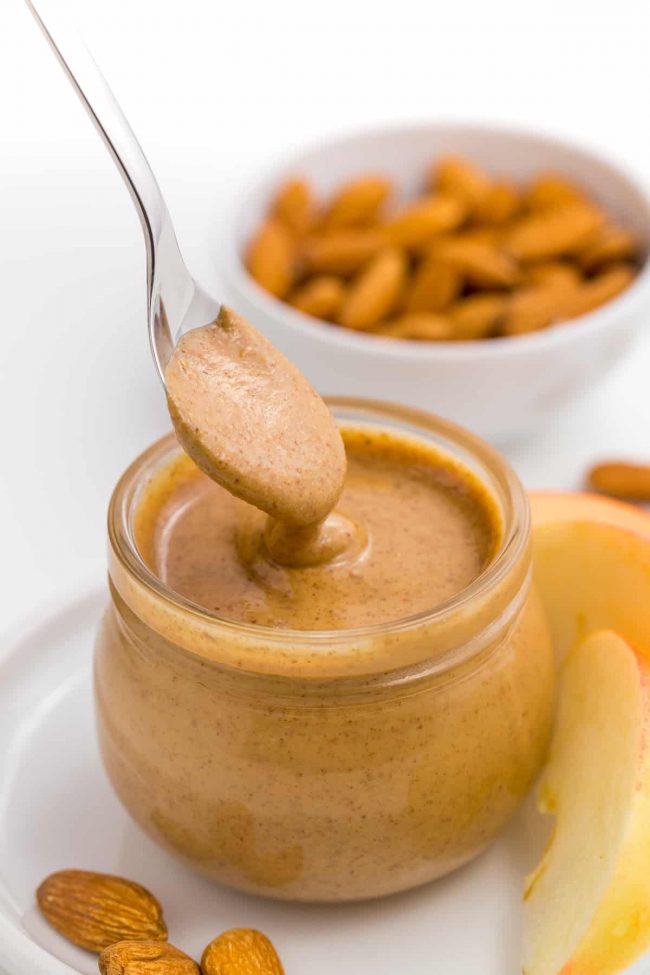
Here’s where you can see an overview of the other tests they did on the Ninja.I was sold, so I bought one for my photographer and one for me. I’m pretty amazed by the results. The almond butter is just as creamy as the nut butter I make with my Blendtec.
Questions?
I thought about all the possible questions that might arise when making almond butter. If I’m missing something, let me know!
Nuts:
- Can I use another type of nut?
For peanuts, read my post on how to make peanut butter. For walnuts, you can check out my walnut butter recipe. You can use the recipe below for pecans, hazelnuts and cashews, but you’ll probably need to adjust the roasting time. If you want to use hazelnuts, you’ll probably want to get rid of hazelnut skins first.
How long you have to process the nuts depends on the type of nut and your food processor or blender. Almonds take way longer than the above-mentioned nuts. - Do I have to roast the nuts?
If you want to make raw almond butter, I recommend finding a recipe for raw almond butter. I’m guessing you have to add oil to get it totally smooth. When you roast nuts, you bring out their oil, which makes processing much easier.
- How full should I fill the food processor? What if I only want a small amount?
If you don’t fill the processor enough, you won’t get anywhere. You need enough nuts so that the blade is fully covered, and then add some more.
Should you not need much almond butter, then see the questions in the storage section below.
If using a food processor, you’ll likely need to use 3 cups of almonds (or even more to get the blades covered if you have a large one).
If you’re using the small jar of a high-speed blender meant for making nut butter, there’s a max line on the jar. You can fill nuts up to that line.
Adding things to the almond butter:
- Can I add liquid stuff like honey, vanilla, etc.?
If you add anything liquid other than oil (which you do not need!), then the almond butter will seize. It’ll be clumpy and pretty much ruined. So please don’t try that!
In this maple cinnamon almond butter recipe, I roasted the nuts in maple syrup first (so that they were basically candied) and then added cinnamon after processing. And it’s incredibly delicious! - Can I add spices and salt?
You can! If you want vanilla, use the seeds of a vanilla bean. A little cinnamon is also nice.
My recommendation is to make your almond butter, and once it’s your desired runniness, pour some almond butter in a little bowl, add a little of whatever you want to add, and see if it works. This is a much better way than adding something to your almond butter and ruining your whole batch! - Don’t I need to add oil? Lots of other recipes say to add oil!
You don’t need a fancy new food processor to make almond butter. I used to use one from the former East Germany, meaning it was really old. I have no idea why some recipes call for oil. Just keep processing, take breaks if necessary, and don’t give up!
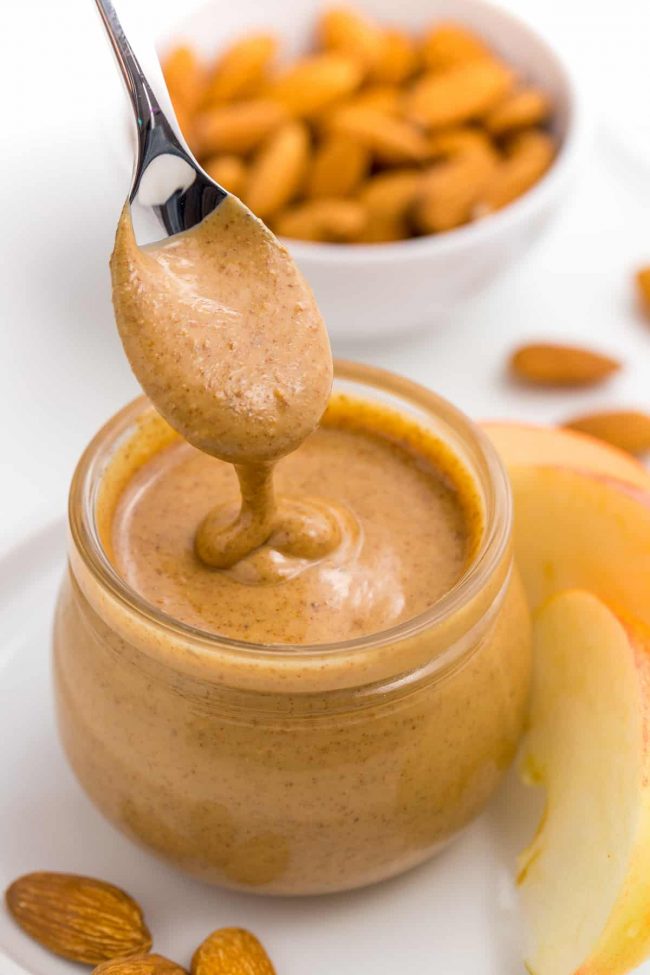
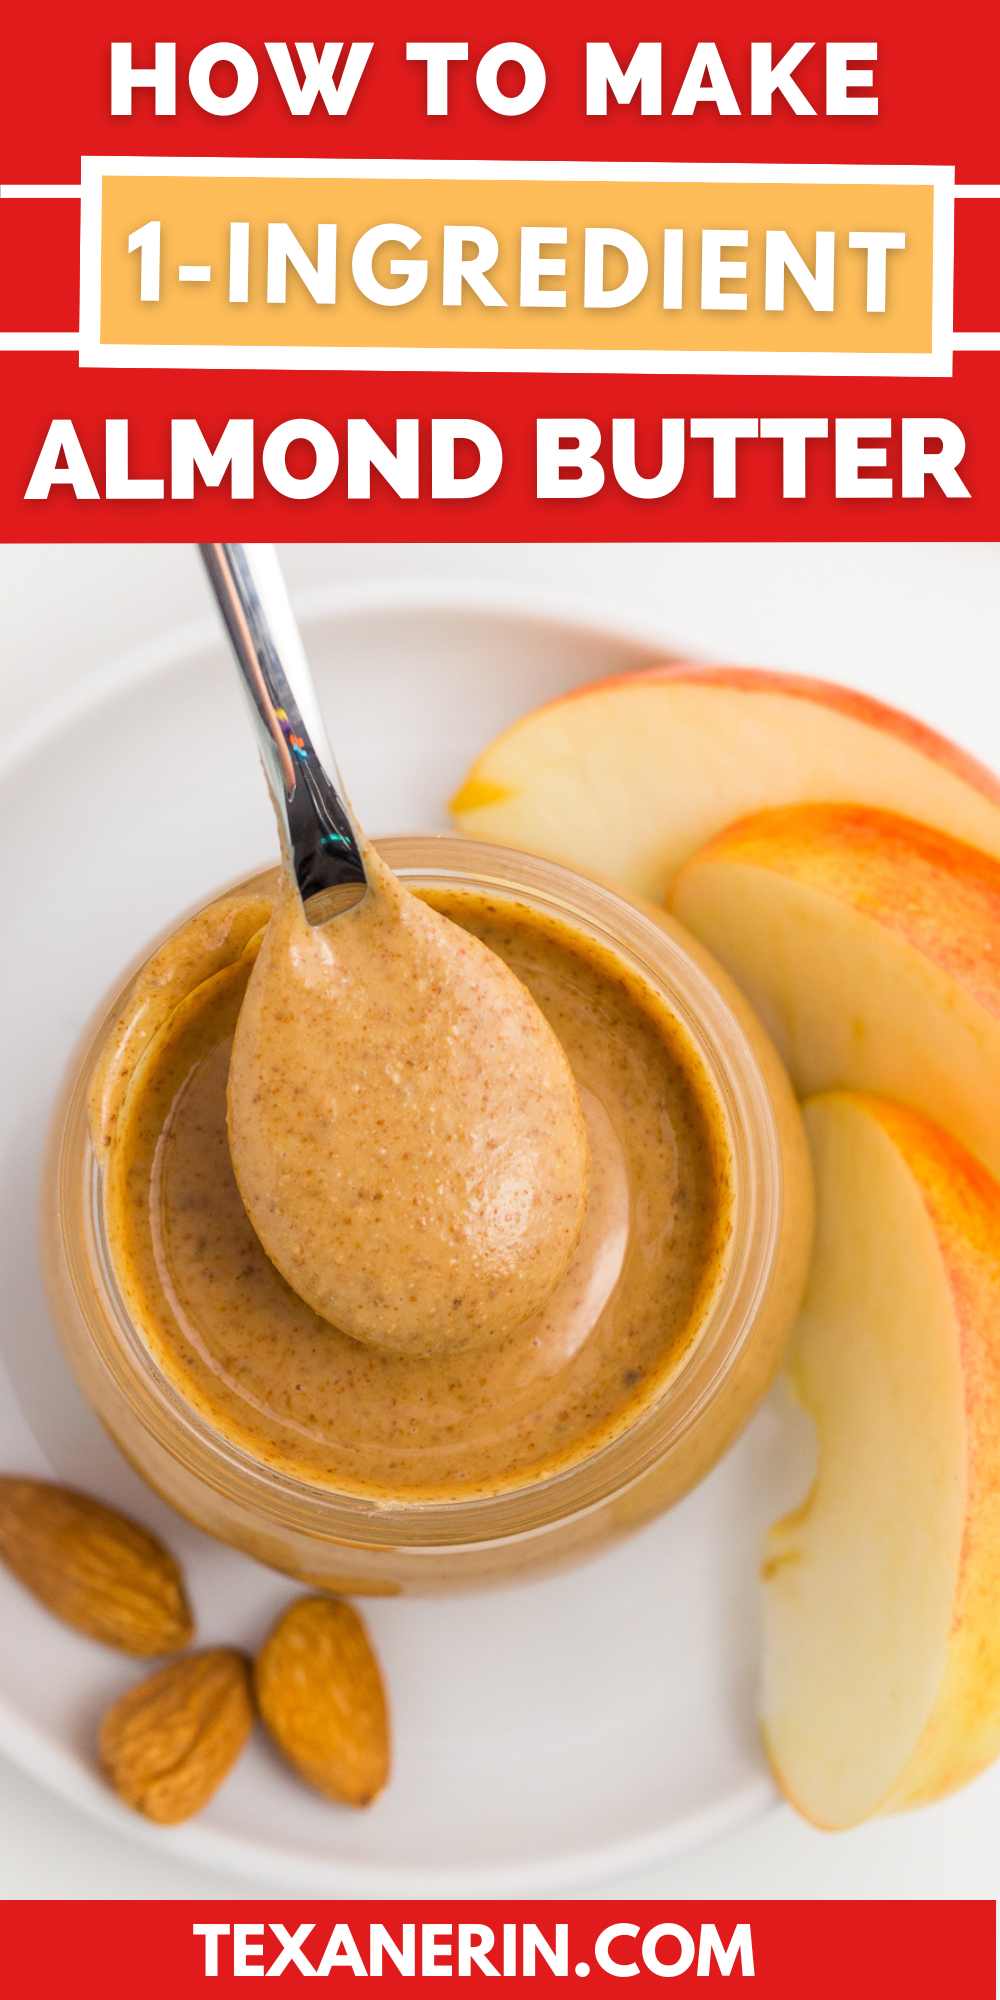
Do you see how runny my almond butter is? I’ve never needed oil to get to this consistency!
If you want to add oil, you certainly can.
Storage:
- Does homemade almond butter have to be refrigerated?
Definitely refrigerate it! The oil can go rancid. I read that you can store opened almond butter on the shelf for up to 3 months, but I don’t think I’d recommend that, especially since homemade almond butter doesn’t have any preservatives.
I don’t leave mine at room temperature for longer than 1 week. It’s just safer to keep refrigerated. - How long does it stay good?
I’ve left my almond butter in the refrigerator for embarrassingly long periods without anything funky happening to it. But I’m going to say 3 months to be on the safe side.
Also, be sure to always use a clean spoon. If you use something that was previously in jam, your mouth, whatever – your almond butter will mold in no time. And make sure not to use almonds that are about to expire if you want your almond butter to last for a while. - Can I freeze almond butter?
Yes! For up to 4-6 months. Make sure to use an air-tight container.
- Does it separate like some natural almond butters?
I’ve had that happen a few times. When the jar gets lost at the back of the refrigerator for half a year, but even if it doesn’t visibly separate, you should stir it before every use to make sure the oil is evenly distributed.
- How will I know if it’s gone bad?
You’ll be able to smell it. It’ll smell like oil paint, paint thinner, or something along those lines. You’ll know! Throw it out immediately. And if you didn’t notice a smell but it tastes bitter, that also means it’s rancid and time to throw it away.
Troubleshooting:
- My almond butter isn’t coming together! What can I do, and what did I do wrong?
Are you sure your food processor can handle making nut butters? If you are, you just need to be patient. Some food processors take longer than others.
Also, did you process the nuts while still warm but not hot? That helps the process along. Using room temperature almonds takes a lot longer. If your processor is getting hot, take a break. Remove the bowl from the base, open the lid, and let sit for 10-20 minutes or until it’s cooled quite a bit. We don’t want you to kill your food processor!
My favorite recipes with nut butter
Other than the ones I listed at the beginning of the post, here are some other favorites.
I hope you’ll enjoy this almond butter! I’d love to hear from you if you make it. Please leave a comment below or tag #texanerin on social media so that I can see it. Thanks! :)
How to Make Almond Butter
- Prep Time:
- Cook Time:
- Ready in:
- Yield: 1 1/2 cups if using 3 cups of almonds
Ingredients
- 1 1/2 cups (186 grams) raw almonds if using a small high-speed blender nut butter jar1
- 3 cups (372 grams) or more raw almonds if using a food processor2
- 1/4 to 1/2 teaspoon salt
Directions
- Preheat the oven to 350°F (175°C) and roast the almonds on a baking sheet for 8-12 minutes or until fragrant, stirring after every 5 minutes.
- Let cool for just 5-10 minutes, and then transfer the nuts to the food processor and process until creamy, scraping the sides of the bowl as needed, about 6 to 12 minutes. Do not overheat your food processor! Take breaks if your food processor starts to warm up too much. In the first stage, you’ll have something that looks like almond meal. Then it’ll form a thick mass. Then it’ll break down into a liquid. After that, blend for another minute so it’s easily pourable.
- You’ll only be able to use about 1 1/2 cups of almonds. Roast the almonds using the above directions and let cool completely. Then use the smaller Twister jar (or the equivalent – this is the smaller jar with a blade attached to the lid that you use to manually scrape the sides of the jar. This jar is meant for making nut butter.) and process at medium-high speed for 1-3 minutes. If your blender gets too hot, take breaks. Let the blender and ground almonds cool a bit, if needed, then blend again. Do not overheat your blender!
- Make sure it's room temperature or cold before using in a recipe.
- Refrigerate in an airtight container for up to 3 months.
For the food processor:
If using a high-speed blender like a Blendtec or Vitamix:
Notes
As an Amazon Associate, I earn from qualifying purchases. For more info, see my disclosure.


Made this with walnuts, its a simple but great recipe. Explaining the different stages was very important, I would have added a little oil half way through if the process had not been explained, and that would have ruined it. Please try it, it’s well worth it 👍
Thanks again for your feedback! I’m so glad you liked it. :)
Look so easy, definitely have to try making my own, never done it before!
You should definitely try! :)
I’m going to try this in my food processor. I was going to get rid of it, as it is big and clunky and takes up so much cabinet space, but now I’ve found a purpose for it, so it stays!
Woohoo! Glad it now has a purpose. :D
Love homemade nut butters, so much tastier than store bought! This one looks delicious!
I agree! :)
This is so easy, I can’t believe I don’t do it more often!
Right?! So much cheaper, too!
Oooh, that looks so creamy and delicious! Thanks for sharing!
You’re welcome! :)