This hazelnut latte is sweet and nutty with warm espresso, steamed milk and a dab of whipped cream for the perfect morning or afternoon treat. It’s easy to make at home, gluten-free and can easily be made vegan.
This hazelnut latte is super simple to make and perfect for those days when you need something a little extra special.

Here’s a look at what you’ll need. It’s not much!
I go into detail about each ingredient below.

Hazelnut syrup
I just posted this Hazelnut Coffee Syrup, which we’ll use here, so if you haven’t whipped it up yet and don’t want to use store-bought syrup, now is the time.
If you make the hazelnut syrup in advance, this hazelnut latte shouldn’t take more than 5 minutes to whip together.
I originally made it to go with this Starbucks Oleato Copycat, which is a great tasting treat with added health benefits.
You can use the syrup for other drinks, like cocktails. It would be extra tasty in this Frangelico Espresso Martini or for a vegan cocktail, or you can make Vegan Espresso Martini with a drizzle of hazelnut syrup.
If you don’t have time to make homemade, Starbucks Naturally Flavored Hazelnut Coffee Syrup is a tasty and convenient option. It tastes great and the ingredients aren’t all that bad (potassium sorbate, natural flavor, citric acid, water and sugar).
How to make espresso without a machine
Espresso machines are perfect for making espresso, but they’re super expensive. Luckily, there are other easy ways to make espresso without a machine.
Using a French press to make French Press Espresso is one of the best ways to get that robust espresso-like coffee into your mug.
But an Italian Moka pot produces an intensely rich coffee that falls just under a regular espresso or cold brew but actually beats the French press and drip coffee in terms of potency.
Cold Brew Espresso is another great option, but it takes planning because it needs to be brewed overnight. It’s a great option in the summer, and then you can have iced hazelnut lattes.
And the last way to get espresso without a machine is to buy an instant espresso packet from the store.
As for which type of coffee bean and grind you’ll need, check out this Espresso Beans vs Coffee Beans post.
How to steam milk
In all of my coffee recipes, I’ve used foamed milk. In today’s recipe, we’re steaming the milk, which refers to any kind of milk that has been warmed and emulsified by a steam wand on an espresso machine.
Steamed milk is the signature mark of a proper latte. Steaming changes the milk’s texture, producing tiny bubbles and making it smooth and creamy. This thin foam layer makes a velvety texture to add to lattes and cappuccinos.
In addition to a steaming wand, having a metal pitcher is ideal. It’s best to store the metal pitcher in the refrigerator so that it’s cold before you steam it — the colder the milk, the better the texture of the foam.
If you don’t remember to refrigerate the pitcher, rinse it with cold water before you start the steaming process.
To get perfectly steamed milk, use whole milk. It froths better because it has the highest milk fat. 2% works ok, but it won’t be as rich.
If you’re using non-dairy milk, see below for more information.
To steam milk, you just need to find the right angle.
- Fill the metal pitcher about ⅓ full with milk because it will expand the more air that is added during the steaming process. If you have a thermometer to attach to the rim, it helps monitor the temperature to get it just right without burning the milk.
- Before inserting the wand into the milk, give a burst of steam from the rod by quickly turning it on and off and wiping it down using a clean kitchen towel.
- Insert the steam wand just below the surface of the milk. Tilt the pitcher a little to create a vortex effect.
- Turn the steam on and watch as the milk spins. Lower the rod all the way into the pitcher until it reaches halfway up the rod. If you keep the tip of the wand too close to the surface, you’ll incorporate too much air resulting in stiff foam like a meringue. If it’s taking on too much air, the wand will hiss and become loud.
- Once the temperature reads about 120°F ( 49 °C), raise the pitcher to the starting position to prevent more air from entering and hold it there until it reaches 130°F ( 55 °C).
- Turn off the steam, remove the pitcher, then do a quick blast and wipe it clean with the kitchen towel.
- Swirl the milk, and gently tap the pitcher to settle the bubbles and pour over your espresso.
Many folks don’t have an espresso machine, but we can still make this hazelnut latte happen.
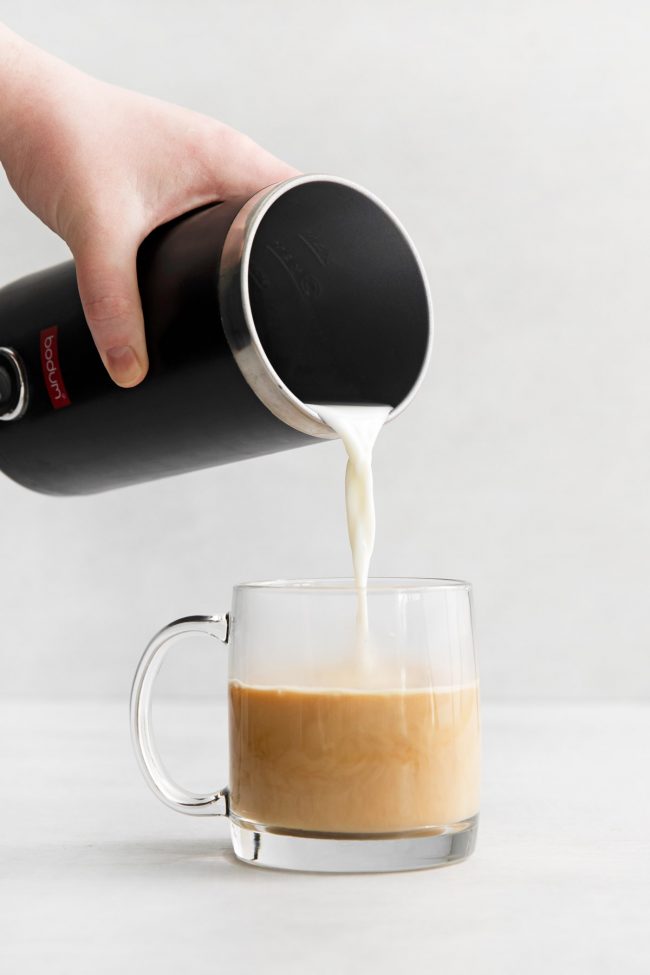
How to make steamed milk without a steamer
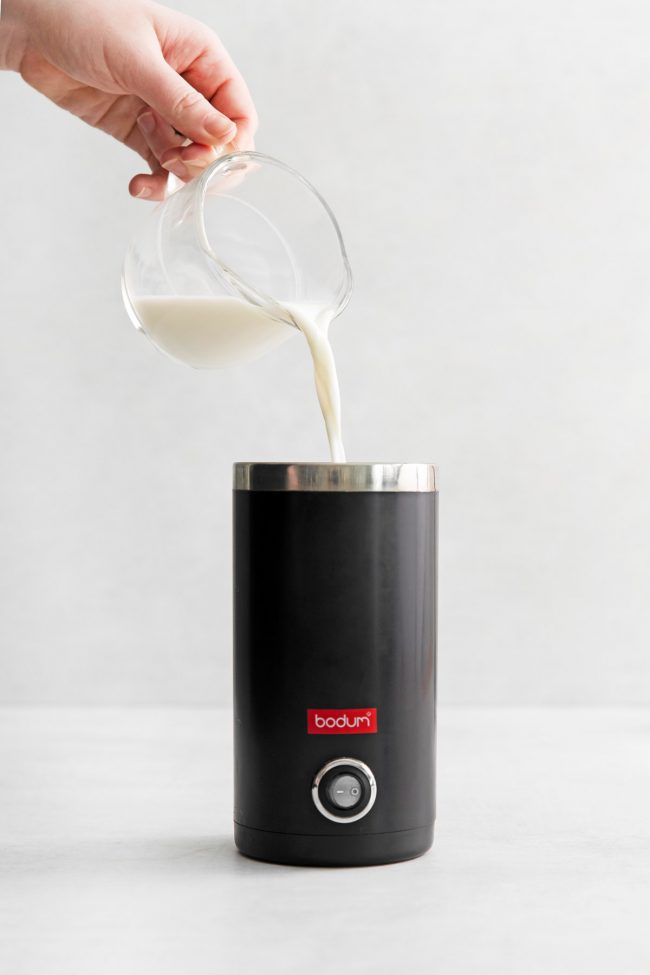
If you don’t have an espresso machine with a steam wand, you can get similar results by using one of the techniques below. An electric milk frother also does a great job!
Start by warming the milk on the stovetop until the steam rises from the surface.
Then take your pick:
- French press — Transfer the warmed milk to the carafe of the French press and cover it with the lid and plunger. Vigorously pump the plunger up and down until it reaches a foamy consistency.
- Handheld milk frother — Transfer warmed milk to a stainless steel pitcher or jug and use a handheld milk frother. Tilt the pitcher like you would using a steam wand and insert the frother just below the surface of the milk to pull in a little air. Then lower the frother to create that vortex until it reaches desired consistency.
- Whisk — a basic handheld whisk will add texture to warmed milk. Whisk the milk on the stove in a small saucepan on low heat. As the milk reaches a temperature of 125°F ( 52 °C), it resembles loose foam, remove it from the heat and pour it over your espresso.

What’s the difference between steamed and frothed milk?
Both techniques are excellent ways to create smooth, velvety coffee drinks.
Steamed milk, using a steam wand, creates what is known as a microfoam of tiny air bubbles suspended in the milk.
Frothing milk is called “dry” in the coffee world, and it’s when milk comes out foamy through aeration but does not use steam, and it also holds its shape longer.
So frothing milk relies on aeration, and steaming milk relies on heat from pressurized steam. You can also froth milk hot or cold, but steamed milk can only be achieved through hot steam.
You can also use frothed milk in this drink! Whichever you prefer.
Gluten-free and vegan
Make sure to use gluten-free and vegan hazelnut syrup or make your own. Some store-bought syrups may contain additives, food colorings, or possible gluten-containing or non-vegan flavorings, so you’ll want to read the labels. Most hazelnut coffee syrups are gluten-free and vegan.
If you’re vegan, you’ll also want to use plant-based milk. Any nut milk would be great, and if you want even more hazelnut flavor, use unsweetened hazelnut milk.

Whipped cream
Why not! It’s a treat in and of itself. But if you’re not feeling it, you could leave it out.
If you want a naturally-sweetened option, you could use this 30 Second Honey Whipped Cream.
You can use regular whipped cream or for a vegan version, check out How to Make Vegan Whipped Cream.
Toppings
Besides luscious whipped cream, I like to add some hazelnut bits, but you could also give it a dash of cocoa to make it a bit chocolaty.
Anything you like that goes with hazelnut flavor will do.

What to serve with this latte
I may be going a little overboard on hazelnut here, but just a kiss of Homemade Baci Perugina, which are bite-sized Nutella hazelnut chocolates would be nice. They’re naturally gluten-free and vegan.
Or these vegan Raw Hazelnut Chocolate Brownies would be terrific.
Vegan Flapjacks, which are oat-based sweet bars, would give you a little crunch and a bit of chocolate with your latte.

Other coffee inspirations
That’s it for today! If you try this hazelnut latte, we’d love to hear what you think. So please leave us a comment below and have a terrific day. :)
Hazelnut Latte (traditional or vegan)

- Prep Time:
- Cook Time:
- Ready in:
- Yield: 1
Ingredients
- 2 tablespoons hazelnut coffee syrup
- 2 ounces (1/4 cup (60 ml) / 2 shots) espresso
- 1/2 cup (120 ml) whole milk or cashew milk for vegan, steamed
Directions
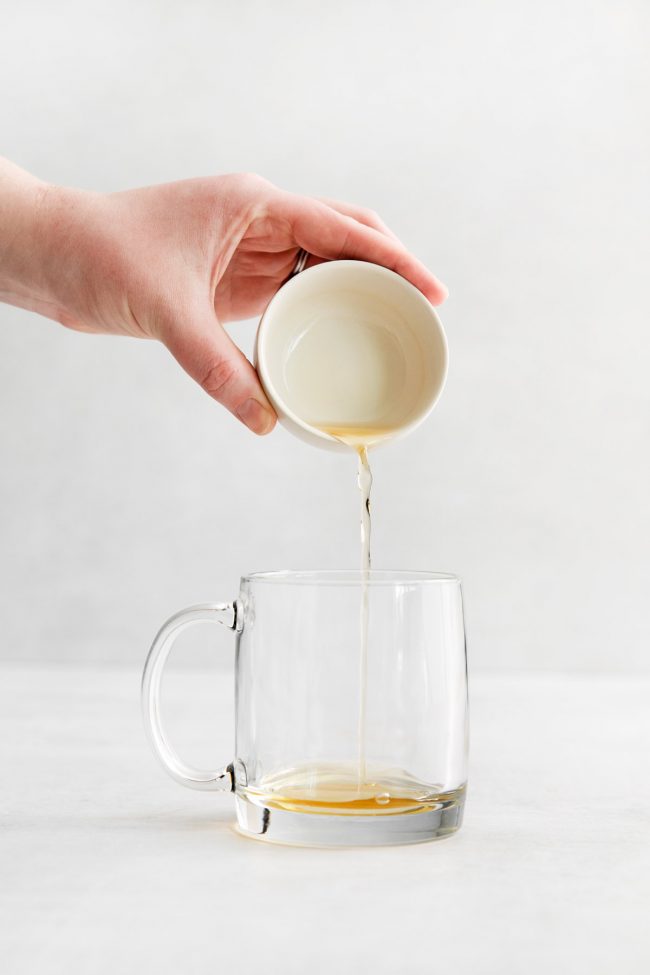
- Pour the syrup into the bottom of a mug.
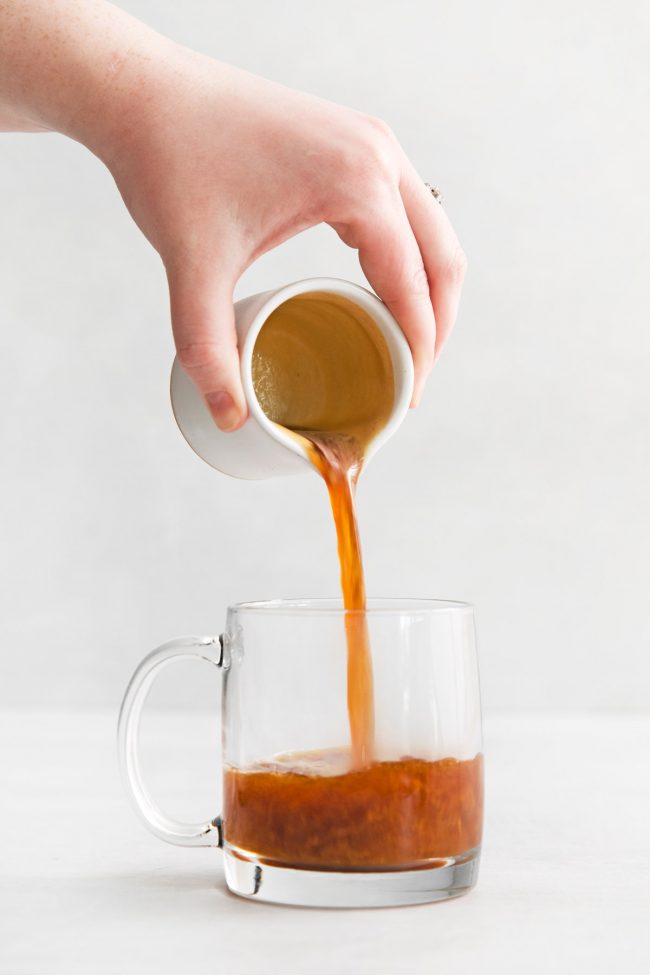
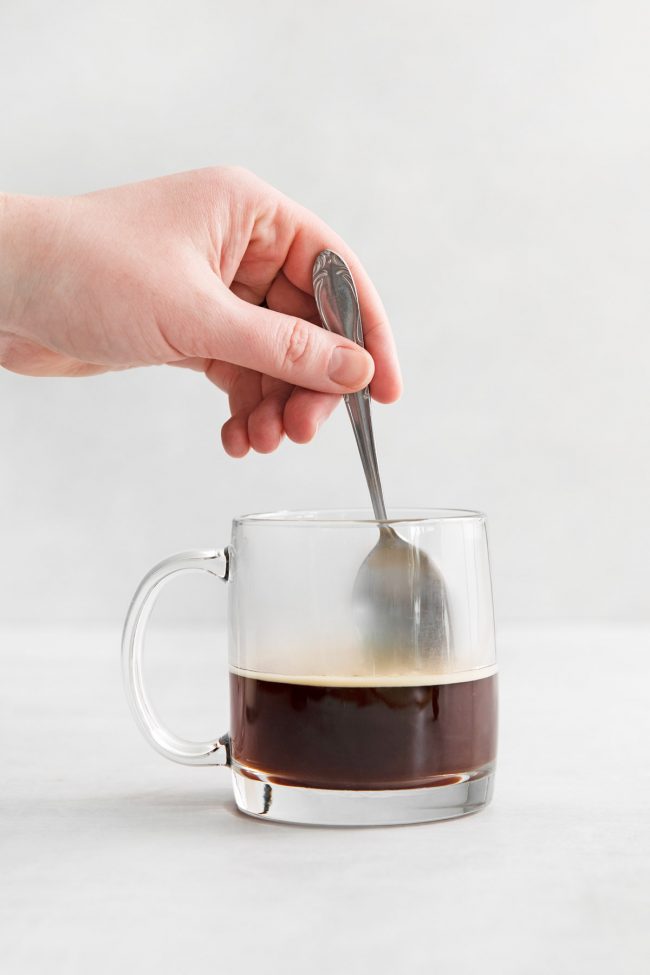
- Pour the espresso on top and give it a quick stir.
- Pour the steamed milk on top. Serve!


10 comments on “Hazelnut Latte” — Add one!
9 comments are awaiting moderation!
I made this for my hubby, he has started working from home and was missing his morning hazelnut latte with an extra shot. It was what he grabbed as he walked into the offie along with a pastry.
I love having him at home during the day so I tried to recreate his coffeeshop order.
He was so impressed.
I used our milk frother to whisk the milk and then topped with whipped cream and a little chocolate sprinkle powder.
He LOVED it!!
THANK YOU
Aww, you are so nice to recreate the office experience for your husband. :) I’m thrilled that it was a success! Thanks a ton for your comment. :D
I’ve had one of those little handheld milk frothers forever and never used it – until now! This latte was just delicious and I’ll be making it all week. Thank you!
I’m so happy we found a use for the milk frother! 🎉 That’s awesome. Thanks a bunch for your comment! I’m glad that you enjoyed it.
This was so good! I made this gluten free and vegan and used dairy free heavy whipping cream. It was so good. Loved it and excited to be able to enjoy a coffee shop luxury at home!
Aww, yay! That’s great to hear! I’m so happy that it came out well for you. Thanks for your comment! :)
This latte was the perfect afternoon pick me up! So smooth and creamy and delicious!
I’m glad you think so! Thanks for your comment. :)
It was great. The perfect amount of hazelnut flavor without being too overpowering. I would make this again.
I’m glad to hear that! I’m glad that you liked it. :) Thanks for letting me know!