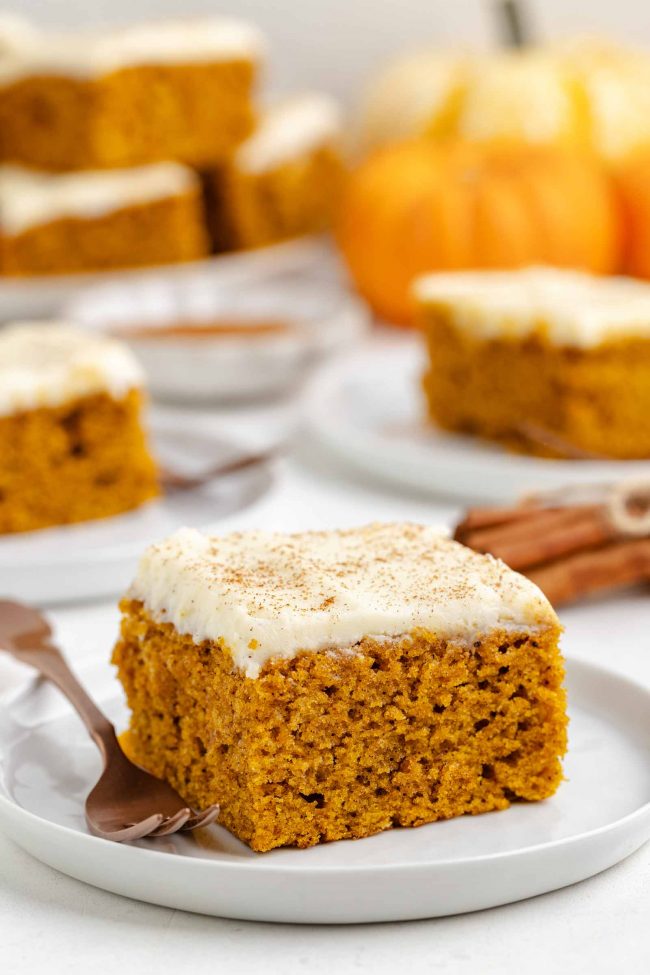
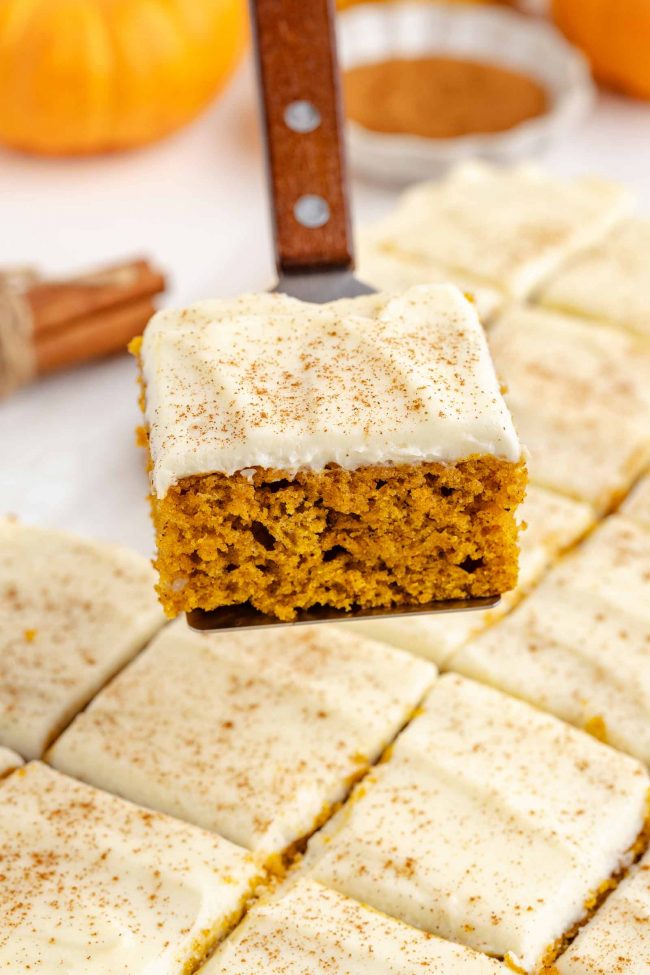
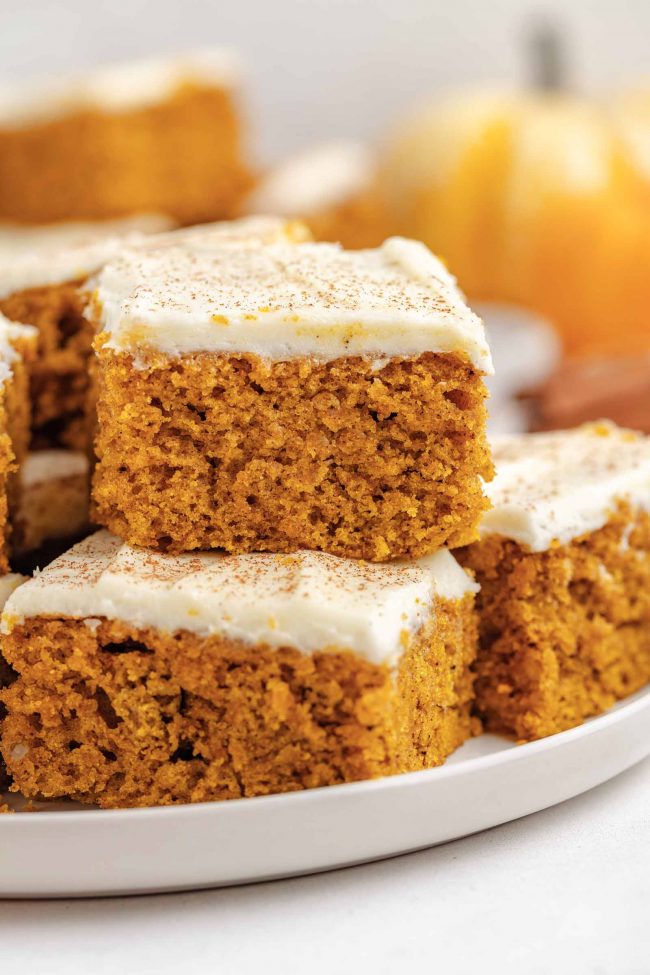
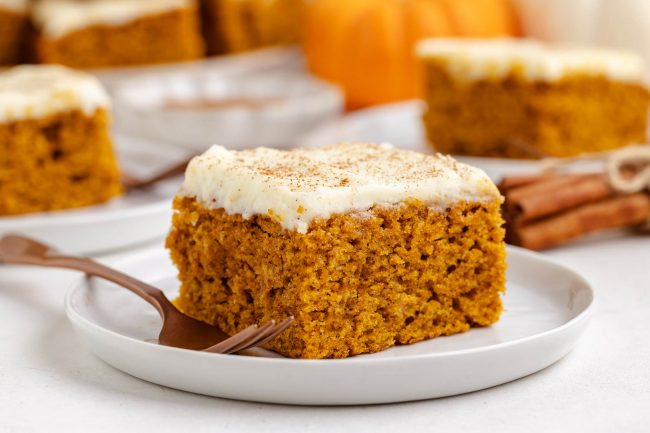
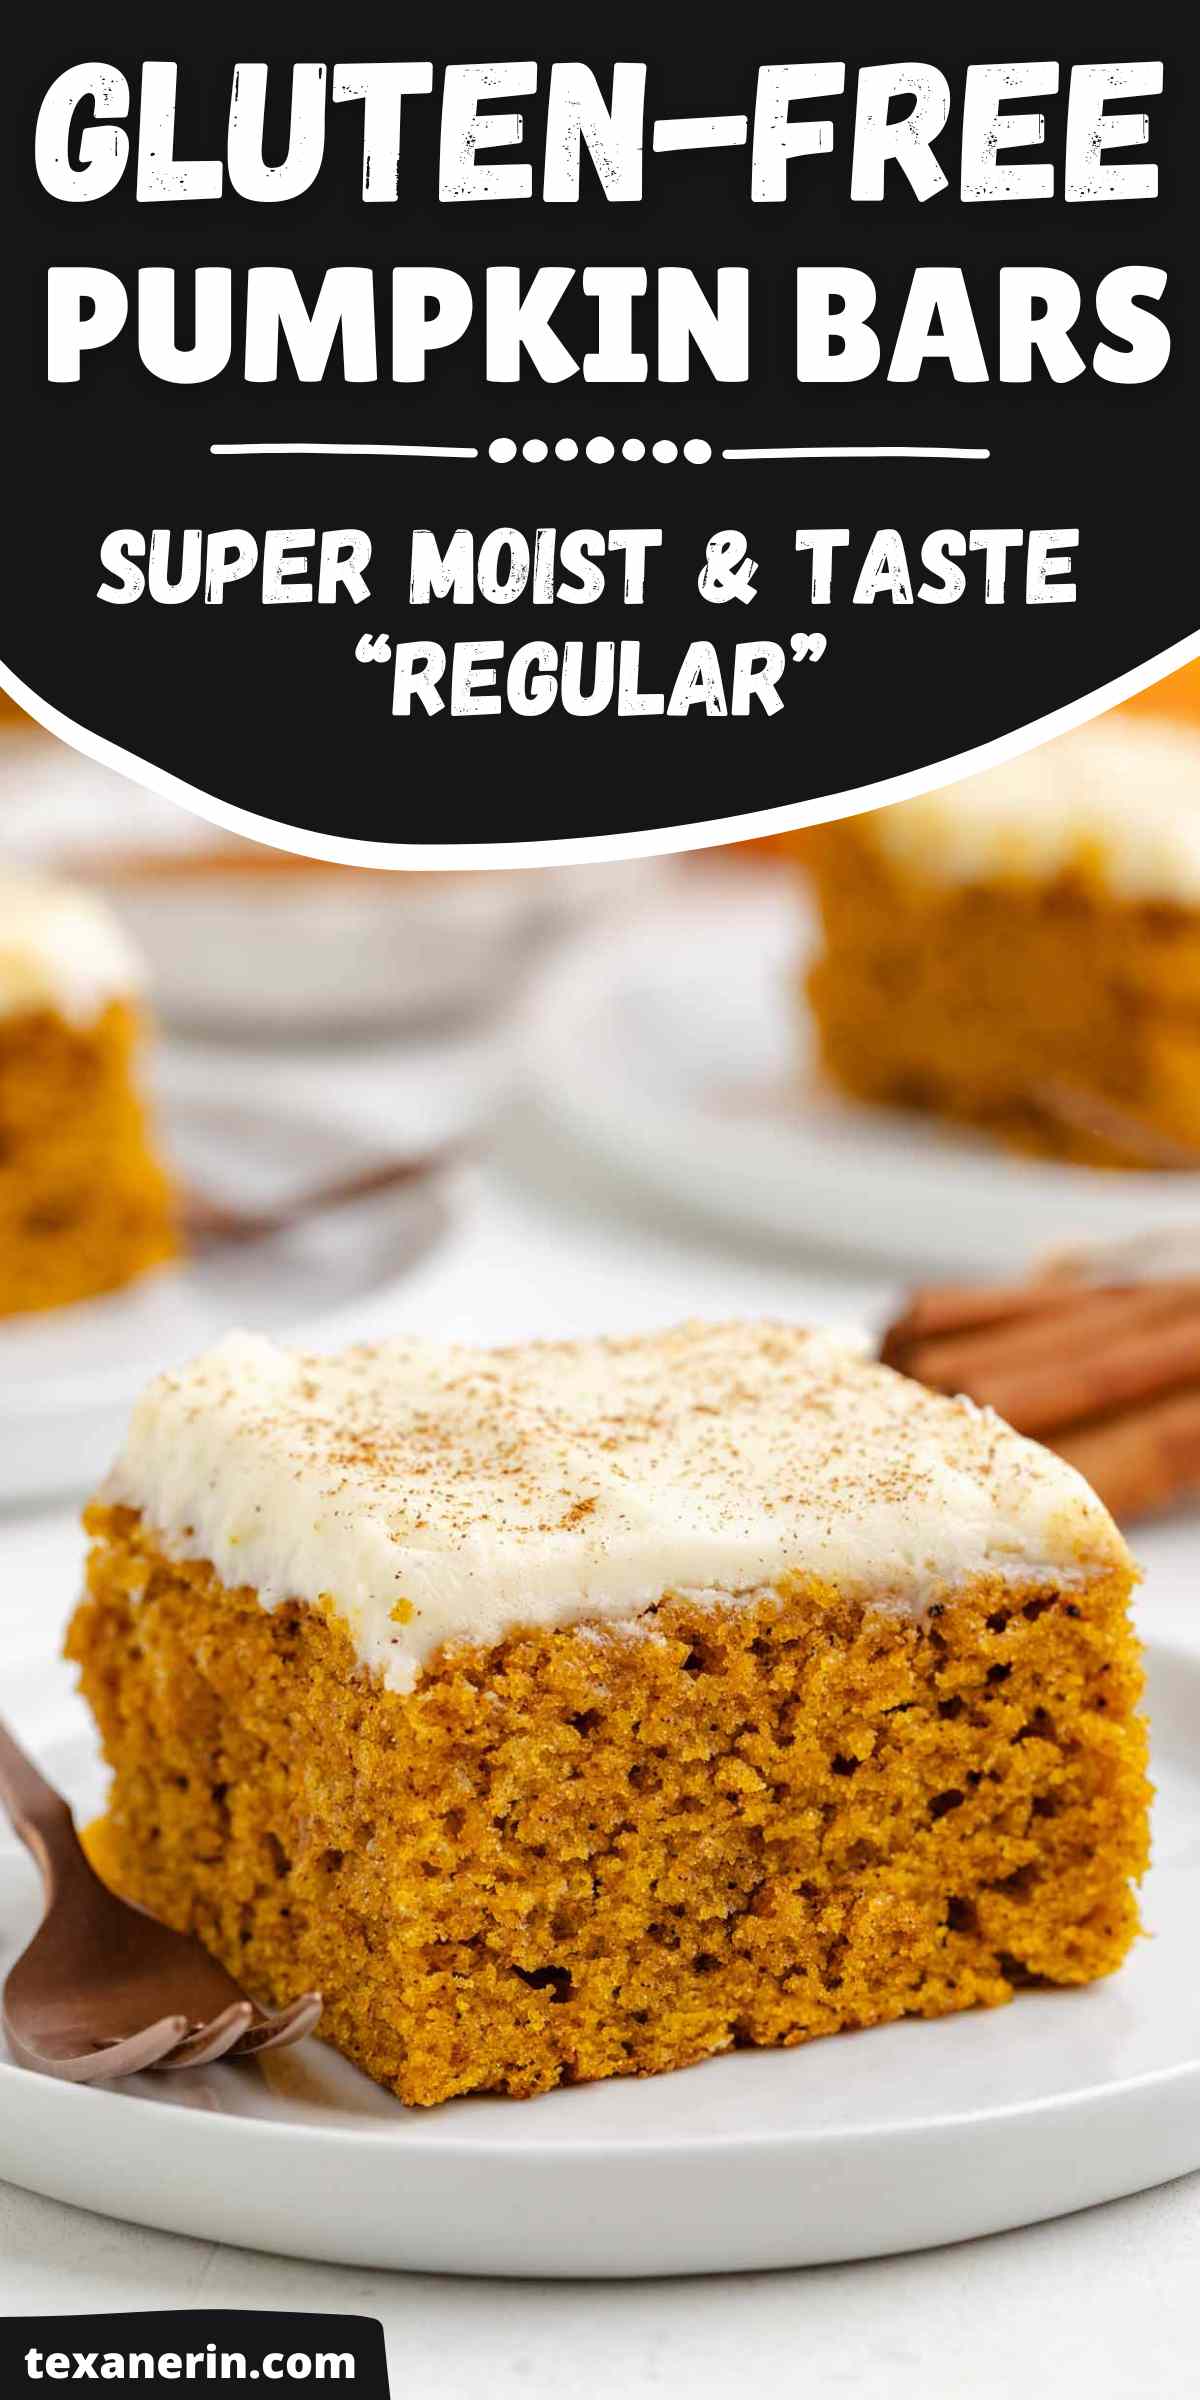
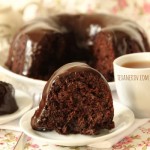
These gluten-free pumpkin bars are the ultimate fall dessert, packed with warm spices and topped with a rich cream cheese frosting. Whether you’re looking for a treat to bring to holiday gatherings or a cozy dessert to enjoy at home, these bars are sure to satisfy. If you’re not gluten-free, they can be made with all-purpose or whole wheat flour.
When I google pumpkin bars, I see almost the exact same recipe on all the top results. I recognized it because I’ve made it several times myself.
It’s an Ina Garten recipe (although you wouldn’t know because nobody credits her – everyone just magically came up with exactly the same recipe 🤔), and it is delicious. But I like this one even more!
I worked on this recipe for ages a few years back and am so happy with the results! The texture is perfect, and you definitely can’t tell that they’re gluten-free.
The ingredients
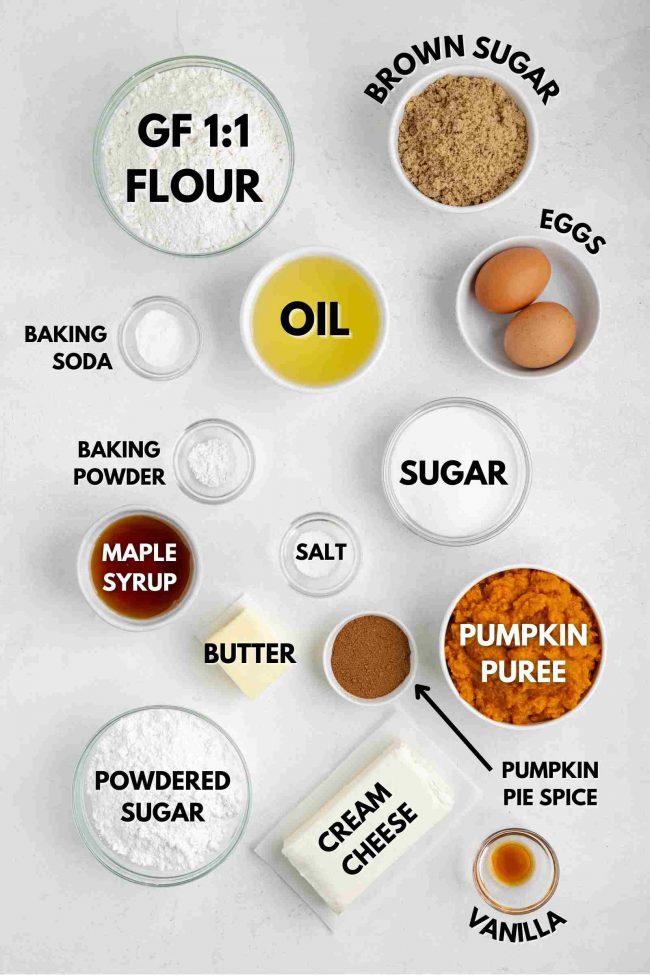
- Gluten-free flour – I go into detail about which flours you can use below.
- Baking soda and baking powder – these leavening agents help the bars rise and achieve a light, fluffy texture. They’re not interchangeable, and you need both of them.
- Pumpkin pie spice – a blend of cinnamon, nutmeg, ginger, and cloves that gives these bars their signature pumpkin spice flavor. If you don’t have any, I’ve included the measurements for each spice.
- Brown sugar and granulated sugar – you can alternatively use all coconut sugar. Your bars will be darker in color.
- Maple syrup – adds a warm, natural sweetness that complements the pumpkin and spices.
- Oil – you can use olive oil or refined, melted and still warm coconut oil or any oil you like.
- Pumpkin puree – use canned pumpkin puree for the best consistency.
- Eggs – I tried this recipe with chia eggs, and it came out rubbery. So I can’t really recommend attempting this recipe with egg subs.
- Cream cheese and butter – no subs here.
- Powdered sugar – sweetens the frosting while keeping it light and smooth. No subs possible.
- Cinnamon – a light dusting of cinnamon on top of the frosting enhances the warm flavors of the pumpkin and spices. But you don’t have to use it!
- Salt and vanilla
As an Amazon Associate, I earn from qualifying purchases. For more info, see my disclosure.
Flour type
I’ve tested this recipe with Bob’s Red Mill 1-to-1 Gluten-free Baking Flour and King Arthur Flour Gluten-free Measure for Measure Flour and prefer the former by just a bit in this recipe.
Sometimes King Arthur works better, but sometimes Bob’s is the winner.
Bob’s yields a MUCH flakier pie crust in my Gluten-free Pie Crust recipe, but King Arthur results in an airier vanilla cake with this Vintage Heart Cake recipe.
It really varies from recipe to recipe. Somehow, I thought the Bob’s version of these bars was lighter than the KAF version. But really – you can use either brand!
If you don’t have either brands – buckwheat, almond flour, oat flour, and other single flour gluten-free flours won’t work. You must use a blend that’s a direct sub for all-purpose flour.
Don’t have pumpkin pie spice?
If you don’t have pumpkin pie spice, you can use:
- 1 1/2 teaspoons ground cinnamon
- 1 teaspoon ground ginger
- 1 teaspoon ground nutmeg
- 1/2 teaspoon ground cloves
Homemade versus canned pumpkin puree
When it comes to baking, I always opt for canned pumpkin puree. It’s convenient and ensures consistent results.
The water content in homemade pumpkin puree can vary greatly, which might affect the texture of your bars. While homemade pumpkin puree is great for savory dishes or soups, I recommend canned for baked goods.
You need a whole 15-oz can for this recipe, so you won’t be left with any leftovers that you need to worry about using up.
How to make ahead
You can easily make these gluten-free pumpkin bars ahead of time! Simply bake the bars as directed and allow them to cool completely.
Once cooled, wrap the pan tightly with plastic wrap or foil and store them at room temp for up to 2 days before frosting.
If you’re making the frosting ahead of time, you can store it in an airtight container in the fridge for up to 2 days as well. When you’re ready to serve, let the frosting soften a bit at room temp, spread the frosting over the bars, dust with cinnamon, and enjoy!
How to store
Once frosted, store your pumpkin bars in an airtight container in the refrigerator. They’ll stay fresh for about 4-5 days.
If you prefer to serve them at room temperature, take them out of the fridge about 30 minutes before serving.
How to make them
The full recipe is below. You just have to scroll a tiny bit more!
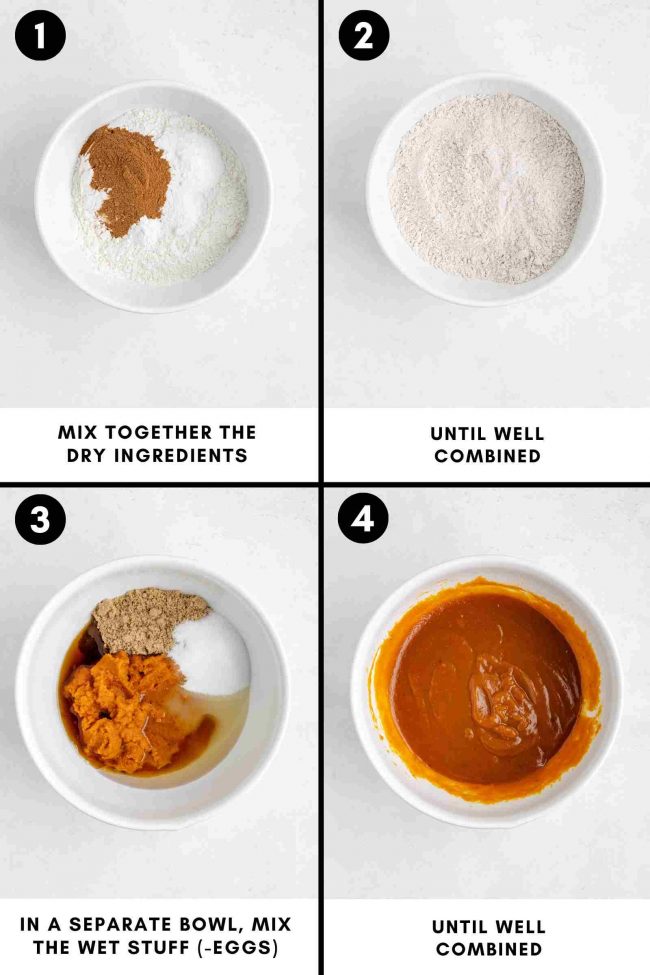
These photos are just here to give you an overview of what each step will look like.
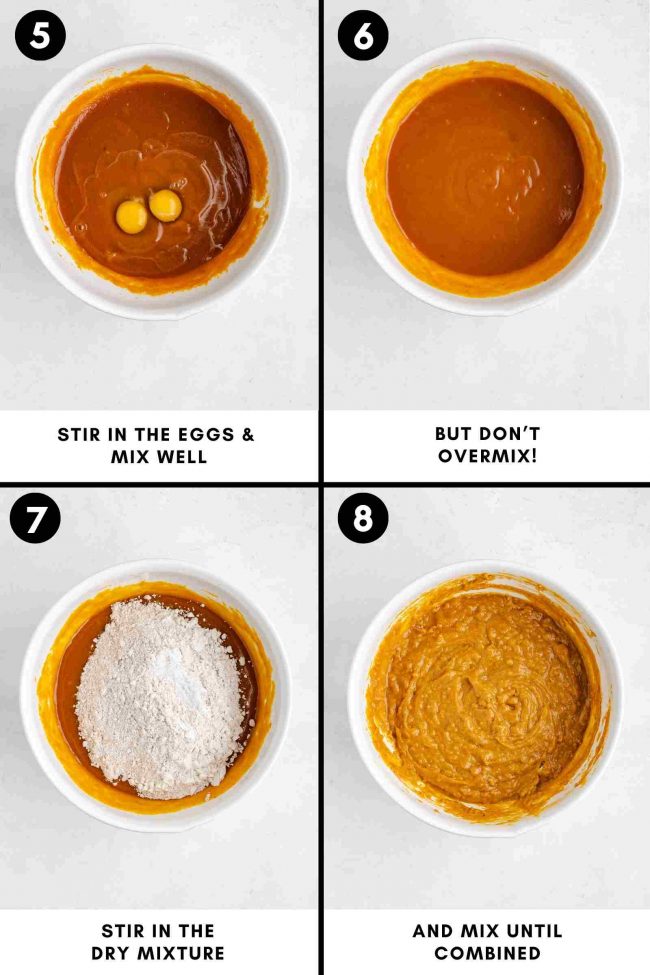
You can see that the batter is a little lumpy, and that’s fine. You just don’t want any huge lumps.

How to freeze
These pumpkin bars freeze beautifully, making them perfect for making ahead and enjoying later. To freeze:
- Wrap the frosted or unfrosted bars tightly in plastic wrap, then again in aluminum foil, or place them in a freezer-safe container.
- Freeze for up to 3 months.
When you’re ready to enjoy them, let the bars thaw in the fridge overnight or at room temperature for a few hours.
Variations
- Nuts – stir in 1/2 cup of chopped pecans or walnuts to add a little crunch to your pumpkin bars.
- Candied pecans or walnuts – instead of dusting cinnamon over the top, you could sprinkle some chopped Maple Walnuts or Candied Pecans just before serving.
- Chocolate – I think cream cheese frosting goes much better with pumpkin than chocolate does, but if you want, you could add a handful of mini chocolate chips to the batter and then top it off with some Chocolate Fudge Frosting.
How to make as muffins
The base recipe makes for excellent muffins! It yields 20, and they freeze great, so you can enjoy them for a few weeks.
- Preheat the oven to 325 °F (163 °C). Line two muffin pans with 20 paper or silicone liners. I used parchment paper liners, and the muffins released easily.
- Divide the batter evenly between the liners.
- Bake for 21-25 minutes, or until a toothpick inserted into the side of a muffin comes out clean.
- Let the muffins cool in the pan for 5 minutes, then carefully transfer them to a wire rack to cool completely, about 1 hour. If made with olive oil, they may have a slight olive flavor while warm.
I hope you’ll enjoy these gluten-free pumpkin bars! If you try them out, I’d love to hear your thoughts below in the comments. Thanks! :)
Gluten-free Pumpkin Bars

- Prep Time:
- Cook Time:
- Ready in:
- Yield: 20
Ingredients
- 2 cups (268 grams) Bob's Red Mill 1-to-1 Gluten-free Baking Flour1 (for a non-GF version, you can use 2 cups (250 grams) all-purpose or whole wheat flour)
- 1 1/2 teaspoons baking soda
- 3/4 teaspoon baking powder
- 4 teaspoons pumpkin pie spice2
- 1/2 teaspoon salt
- 2 large eggs (50 grams each, out of shell), room temperature
- 1 cup (200 grams) brown sugar or coconut sugar
- 1/2 cup (100 grams) granulated sugar or more coconut sugar
- 1/4 cup (80 grams) maple syrup
- 3/4 cup (177 ml) oil (you can use olive oil or refined, melted and still warm coconut oil or any oil you like)
- one 15-ounce (425-gram) can pumpkin puree
- 1/3 cup (75 grams) unsalted butter, softened
- one 8-ounce package (250 grams) full-fat cream cheese, room temp
- 1/16 teaspoon salt
- 1/4 teaspoon vanilla extract
- 1 cup (120 grams) powdered sugar + more to taste
- cinnamon for dusting
For the bars:
For the frosting:
Directions
- Preheat the oven to 350 °F (175 °C), and line a 9” x 13” (23 cm x 33 cm) pan with parchment paper.
- In a large mixing bowl, mix together the dry ingredients (flour through salt).
- In another large bowl, mix together the remaining bar ingredients except the eggs. Stir until combined, and then beat in the eggs.
- Add the dry mixture to the wet mixture and mix just until combined. Do not over mix!
- Bake for 26-30 minutes or until a toothpick inserted in the middle comes out clean.
- Let cool completely on a cooling rack for about 2 hours.
- Beat the butter and cream cheese with an electric hand mixer or stand mixer until soft and smooth.
- Add the salt and vanilla and beat until combined. Add in the powdered sugar, 1/2 cup at a time, and beat until fluffy.
- Spread over the cooled cake and dust lightly with cinnamon.
- Once frosted, store your pumpkin bars in an airtight container in the refrigerator. They’ll stay fresh for about 4-5 days. If you prefer to serve them at room temperature, take them out of the fridge about 30 minutes before serving. They can also be frozen for up to 3 months.
Make the bars:
Make the frosting:
Notes
- These bars also came out great with King Arthur Flour Gluten-free Measure for Measure Flour. I can't say for sure whether or not other brands would work well without trying them myself.
- If you don't have pumpkin pie spice, you can use: 1 1/2 teaspoons ground cinnamon + 1 teaspoon ground ginger + 1 teaspoon ground nutmeg + 1/2 teaspoon ground cloves
Join over 12,400 readers and sweeten up
your inbox with new posts for free!
This subscription is free of charge and can be canceled at any time.


8 comments on “Gluten-free Pumpkin Bars” — Add one!
These have great flavor but mine turned out way too wet. I used almond flour and measured out all ingredients. Don’t know what I could’ve done differently.
I’m sorry to hear that! The post specifically says not to use almond flour, so that’s where you went wrong. :( It’s written under the “Flour type” section of the post.
Can you substitute apple sauce for the 3/4 oil?
I’ve never tried it in this recipe, so I can say for sure. I’d only sub half of it to be on the safe side.
I love your recipes so I made a double batch of these and am not regretting it one bit! They’re PERFECT. I made them the other day and they’re still so soft once they’ve been out of the fridge for a bit. Thank you as always! 5 hearts for you!
Oh, wow. That’s a lot! I’m glad you weren’t disappointed. :) You are so kind. Thanks for the kind words and hearts! Happy Thanksgiving. :)
These are wonderful – even without the frosting! I made them for my family and gave some to the neighbors and everyone Loved them!
That’s so nice to hear! I’m glad everyone loved them. :) Thanks a bunch for your feedback and happy Thanksgiving if you celebrate!