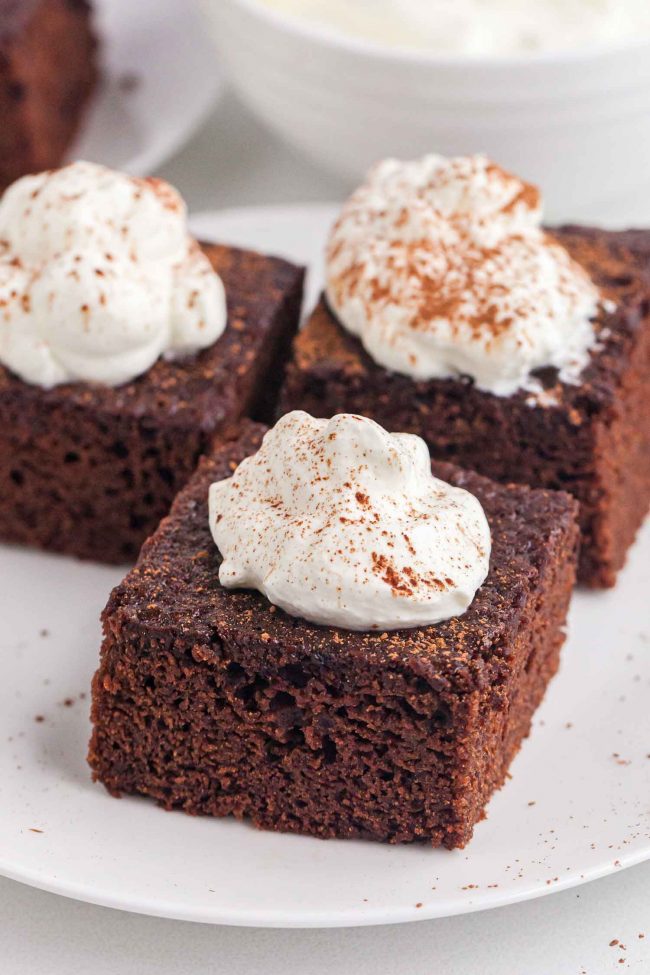
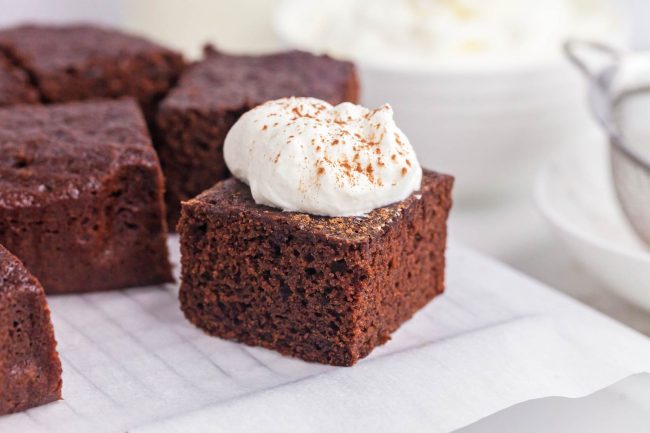
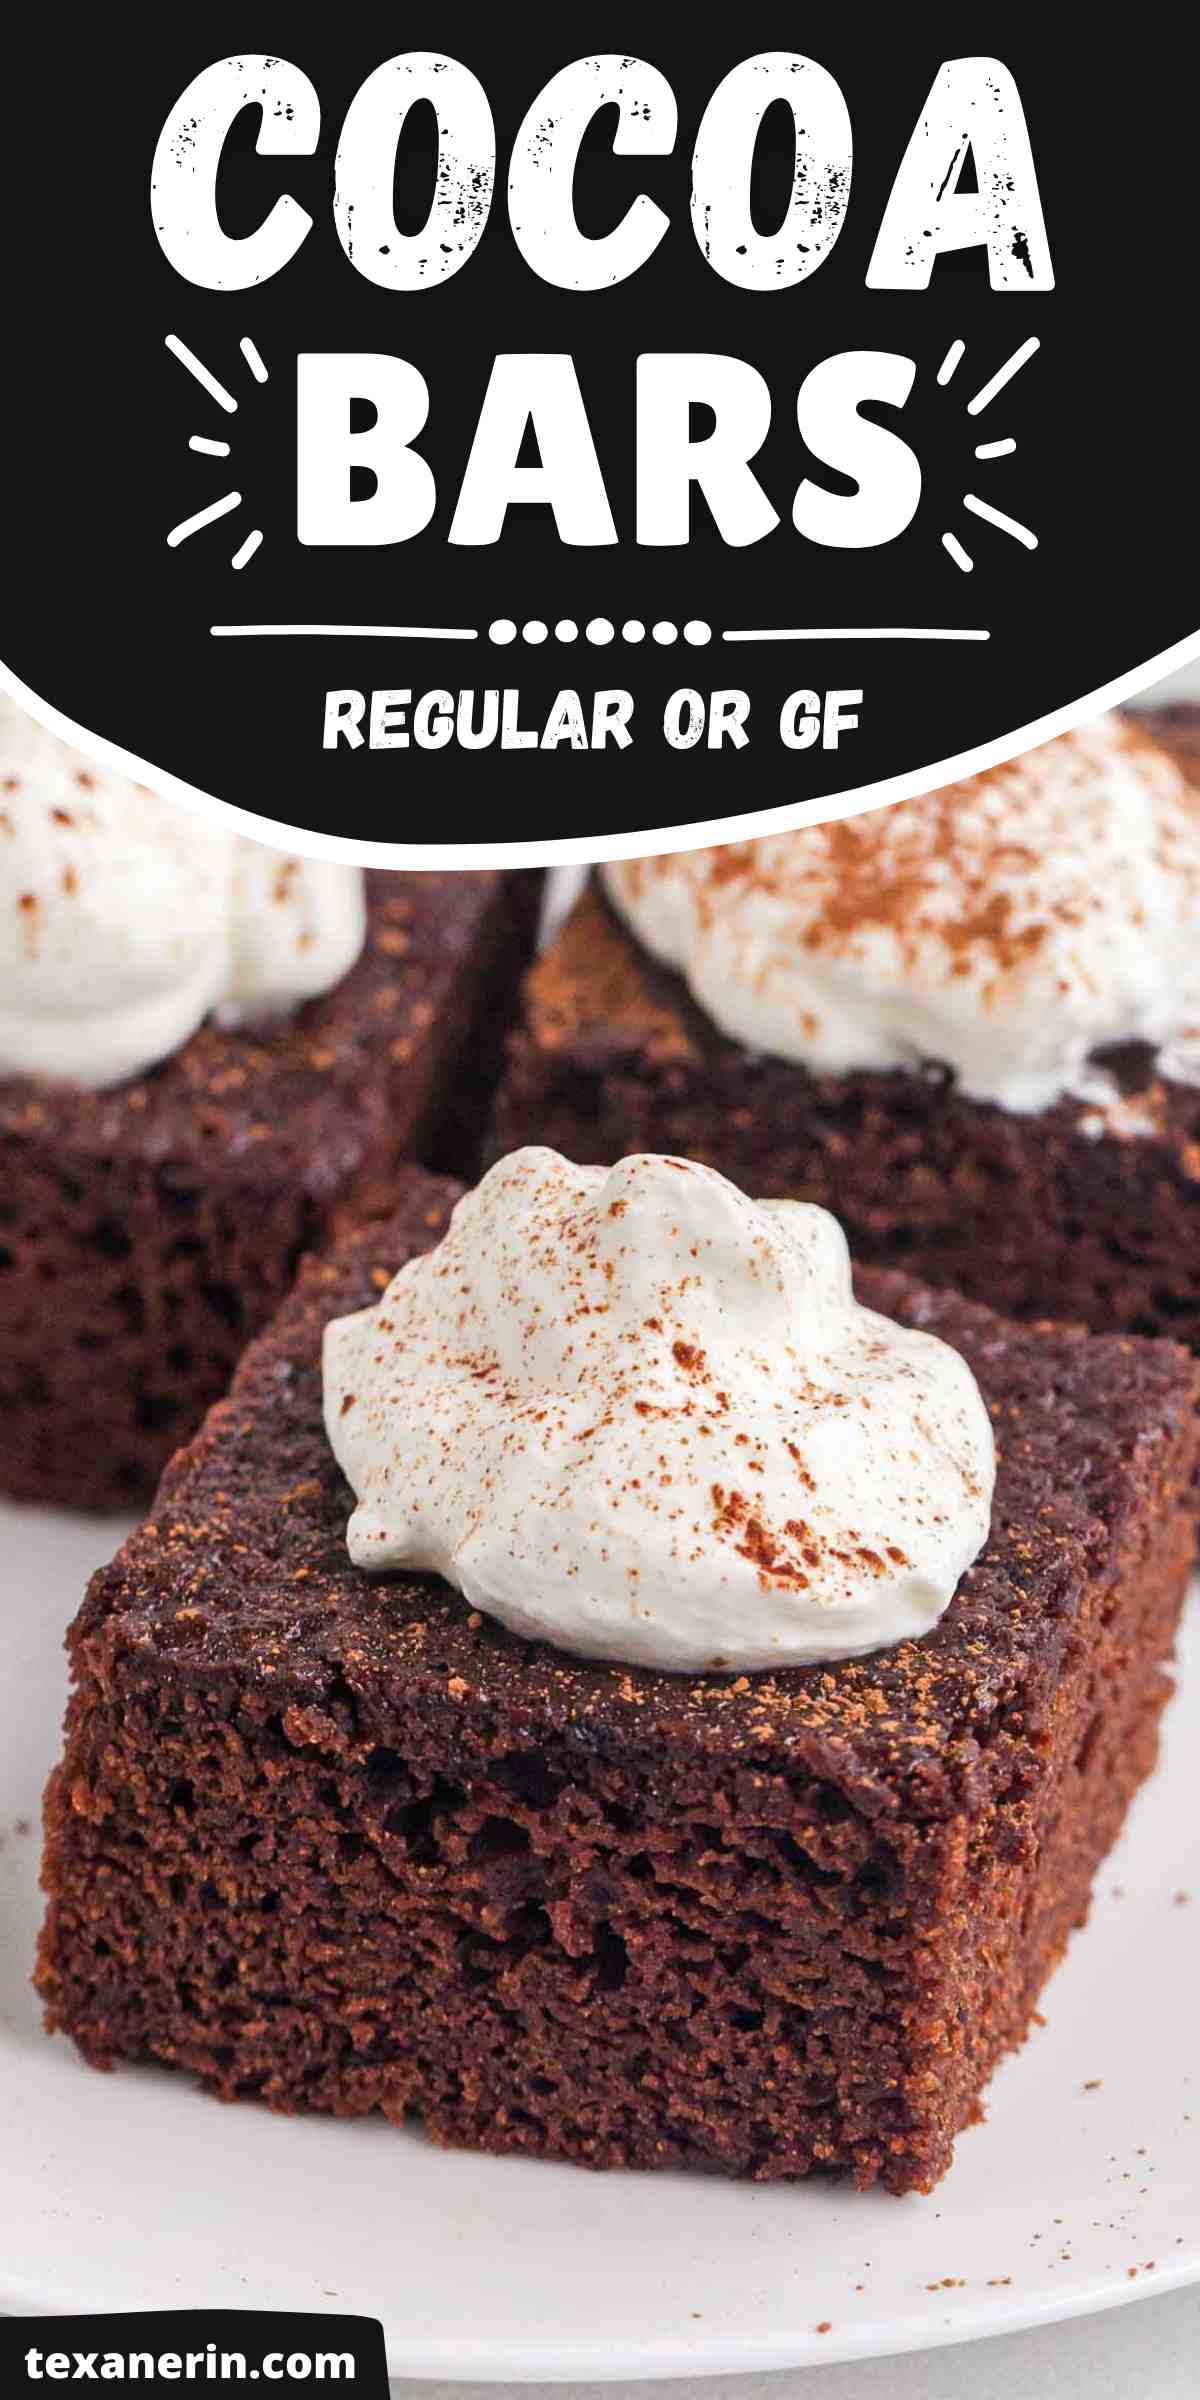
These cocoa bars have a hot cocoa flavor with a dense, cake-like texture making a satisfying and indulgent treat. You can make them traditionally, whole wheat or gluten-free.
The recipe is easy to make with simple ingredients you most likely already have in your pantry. And unlike a lot of the other Christmas desserts I’ve posted recently, they’re quick and fuss-free!
I think of them as a Christmas dessert because they kind of taste like hot chocolate. And that’s thanks to the natural cocoa powder, such as regular Hershey’s.
I almost always use Dutch-process in place of regular cocoa powder. The exceptions to that would be this Texas Sheet Cake and Chocolate Cocoa Pie, which is also reminiscent of hot chocolate.
The natural cocoa powder gives them a more nostalgic, comforting flavor. And it’s the same with this recipe.
If you’re looking for a simple yet festive treat with a cozy holiday vibe, these cocoa bars are a must-try. Whether you’re serving them at a party or enjoying them by the fire with a cup of coffee, they’re sure to be a hit!
Ingredients
Here’s an overview of everything you’ll need.
You won’t need the cream if you don’t want to top them with whipped cream, but I thought it was a good addition.

How to make them
To see the full recipe, scroll to the recipe box at the bottom of the page.
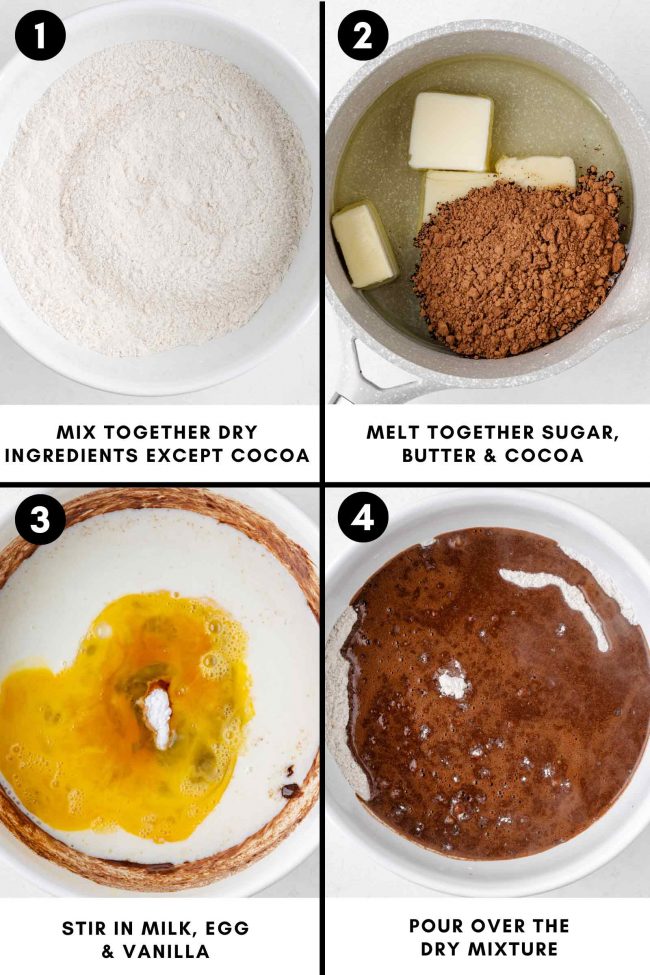
I’m pasting the text from the collages as text below for the people using text readers.
Mix together dry ingredients except cocoa powder in a mixing bowl. Melt together sugar, butter and cocoa in a medium saucepan.
Stir in milk, egg and vanilla. Pour over the dry mixture.
Pour into the prepared pan and bake.
Pour cold cream into a cold bowl and beat until you have stiff peaks.
Serve with whipped cream.

How to make ahead and how to store
You can easily make these cocoa bars ahead of time. Prepare the bars and allow them to cool completely.
Store your cocoa bars in an airtight container at room temperature. They’ll stay fresh for about 3 days.
Just wait to whip the cream until you’re ready to serve.
To keep them longer, you can refrigerate or freeze them. Just note that refrigerating may slightly change the texture, making them a bit denser. Let them come to room temp if you don’t like them dense.
How to freeze
You can freeze these cocoa bars for up to 3 months. Cut them into your desired portions which makes them easier to thaw.
Make sure the bars have completely cooled on a wire rack to prevent excess moisture from forming ice crystals.
Wrap each bar tightly in plastic wrap which helps maintain their flavor and prevent freezer burn.
Then transfer the wrapped bars in an airtight container or freezer bag. Be sure to remove as much as possible before sealing, and date them.
When you’re ready to eat the bars, let them thaw in the fridge overnight or at room temperature for a few hours.
Whip up some whipped cream and serve. Don’t freeze the whipped cream!
Can I use Dutch-process cocoa powder?
I haven’t tried it, but Dutch-process cocoa might not work here. It’s less acidic, which affects the rise and texture of the cocoa bars. It can also make the bars denser and less cakey.
In comparison, these Gluten-free Brownies use Dutch-process cocoa powder, but if you use regular cocoa powder, they’ll likely be more cakey.
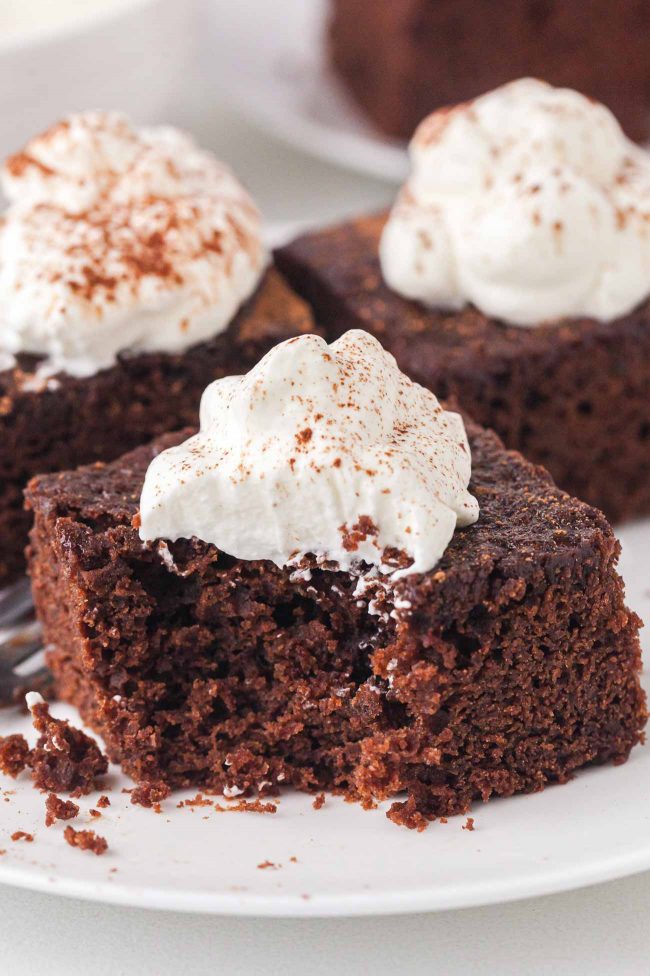
And this recipe is made to be more cakey than brownie-like.
Why use a room temperature egg?
A room temperature egg blends more easily into the batter, resulting in a smoother texture. It also helps the bars rise more evenly.
As an Amazon Associate, I earn from qualifying purchases. For more info, see my disclosure.
Gluten-free option
The only gluten-free flour I’ve tried in this recipe is Bob’s Red Mill 1-to-1 Gluten-free Baking Flour. It worked great! I’m pretty sure King Arthur Flour Gluten-free Measure for Measure Flour would also work well, but I can’t guarantee it without having tried it myself.
Other brands might result in bars that are denser or gritty. If you’re feeling adventurous and want to try out a different flour, make sure to use a blend designed to be a direct substitute for all-purpose flour.
So that means NO almond, coconut, oat or similar flours. They won’t work for this recipe. Those flours are not meant as direct subs for all-purpose flour.
More chocolaty bars
- Chocolate Flapjacks
- Chocolate Pecan Pie Bars
- Chocolate Peanut Butter Protein Bars
- Gluten-free Oatmeal Chocolate Chip Bars
I hope you’ll enjoy these cocoa bars. If you try them out, I’d love to hear your thoughts in the comments. Thanks! :)
Cocoa Bars
- Prep Time:
- Cook Time:
- Ready in:
- Yield: 9 bars
Ingredients
- 3/4 cup (94 grams) all-purpose flour, white whole wheat or for gluten-free, use Bob’s Red Mill 1-to-1 Gluten-free Baking Flour
- 1/2 teaspoon baking powder
- 1/4 teaspoon baking soda
- 1/4 teaspoon salt
- 3/4 cup (150 grams) granulated sugar
- 6 tablespoons (84 grams) unsalted butter
- 1/4 cup (29 grams) natural cocoa powder (like Hershey’s)
- 1/2 cup (120 ml) milk of choice1
- 1 large (50 grams, out of shell) egg, room temp
- 1 teaspoon vanilla extract
- 1/2 cup (120 ml) cold heavy cream
- cocoa powder to dust over the whipped cream
Bars:
To top the bars off:
Directions
- Preheat the oven to 350 °F (175 °C) and line an 8”x8” (20 cm) pan with a piece of parchment paper. Place a medium mixing bowl in the fridge for whipping the heavy cream later.
- In a medium mixing bowl, stir together the flour, baking powder, baking soda and salt. Set aside.
- In a medium saucepan over medium heat, stir and melt together the sugar, butter and cocoa powder.
- Once melted, remove from the heat and stir in the milk, egg and vanilla extract. Mix just until the egg is well combined.
- Fold the dry ingredients into the wet. It’s okay if there are small lumps - just not large ones.
- Pour into the prepared pan and bake for 13-15 minutes or until a toothpick inserted in the middle comes out with moist crumbs, but no raw batter. A toothpick inserted towards the sides will come out clean.
- Remove to a wire rack to cool completely, about 1 hour.
- Whip the cream using a hand mixer or stand mixer. Begin at low speed to avoid splattering and gradually increase the speed. You'll notice the cream thickening and increasing in volume. Be careful not to overwhip; you want stiff peaks.
- Cut into 9 or 12 bars. Dollop some whipped cream over one of the bars. Sift cocoa powder over the top of the whipped cream.
- Store your cocoa bars in an airtight container at room temperature. They’ll stay fresh for about 3 days. Only add the whipped cream before serving.
Notes
- You can use whatever milk you'd like except for canned coconut milk, which is too thick and would affect the flavor of the bars.


There are no responses on “Cocoa Bars” — Be the first one!
1 comment is awaiting moderation!