

Cherry Preserves
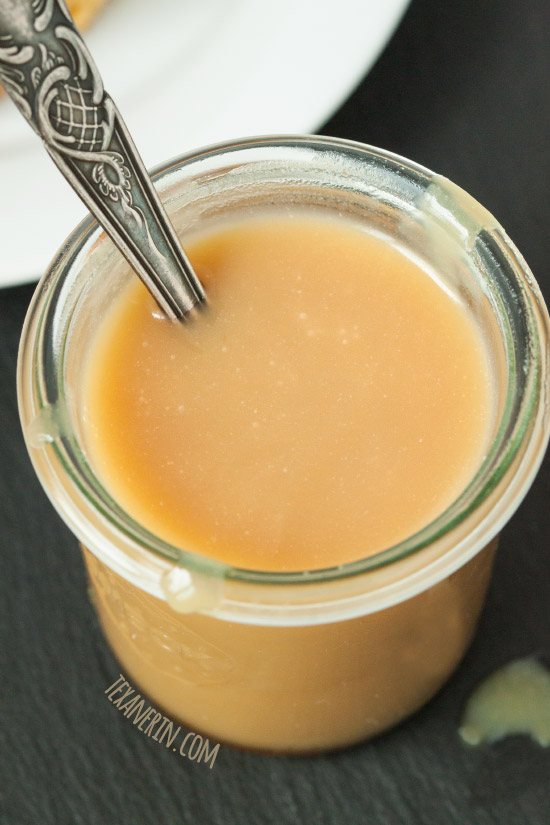
Cherry preserves, made with fresh or frozen sweet cherries, capture the essence of summer in a spoonful, making them the perfect way to savor the season’s sweetness year-round. Whether you’re spreading them on toast, swirling them into yogurt, or adding them to baked goods, cherry preserves are a versatile treat that brings a pop of flavor to any dish.
They can be sweetened with granulated sugar, maple syrup or honey, and they’re naturally gluten-free and vegan.
Sweet cherries offer a natural sweetness that balances perfectly with a hint of tartness. Frozen pitted sweet cherries are a great option, ensuring you can enjoy the taste of summer even in the off-season.
These preserves highlight the cherries’ flavor, enhanced with just a few simple ingredients.

Ingredients
Making cherry preserves is easier than you might think and only requires a handful of ingredients.
- Fresh or frozen pitted sweet cherries – I don’t recommend canned. If that’s what you want to use, then you need to find a recipe already calling for them.
- Sweetener – sweetener helps set the preserves while also (obviously) adding sweetness. I’ve tested this recipe with granulated sugar, honey and maple syrup. They were all delicious, but you can taste the honey. The sweetener, combined with the cherries, creates a beautiful syrup that thickens as it cooks, enveloping the fruit in a luscious, jammy consistency.
- Lemon juice – this not only adds a bright, zesty note but also helps balance the cherries’ sweetness and aids in the preservation process.
- Vanilla extract – introduces a warm, sweet fragrance that enhances the cherries and elevates the overall taste.
- Almond extract – offers a delicate, nutty flavor that pairs beautifully with both the cherries and vanilla. It also brings out the natural almond-like undertones in the cherries. You can omit it if you want or even double it! But start off with the amount listed in the recipe and then add more to taste.

Can I use tart cherries?
Yes! I have a recipe for tart cherry jam that I’ll be posting in a few days! I meant to post it a few months ago. You just need to add more sweetener if using tart cherries.
Why lemon juice?
Lemon juice plays several important roles in making cherry preserves and jams. It ensures your cherry preserves have the right texture, flavor, and longevity.
- Natural preservative – lemon juice is acidic, and its low pH helps inhibit the growth of bacteria, mold, and yeast, which extends the shelf life of the preserves.
- Balancing sweetness – the acidity of lemon juice balances the sweetness of the cherries and sugar, preventing the preserve from becoming overly sweet. This balance enhances the overall flavor, making it more complex and vibrant.
- Pectin activation – pectin is a natural substance found in fruit that helps jams and preserves thicken. Lemon juice lowers the pH, which is necessary to activate the pectin and achieve the right consistency. This is especially important in fruit like cherries, which have lower natural pectin levels.
- Maintaining color – the acidity in lemon juice also helps preserve the bright color of the cherries, preventing them from turning a dull brown during the cooking process.

What’s the difference between jam and preserves?
The primary difference between jam and preserves is their texture and the amount of fruit used.
Preserves are made with whole or large pieces of fruit, combined with sugar and sometimes pectin, and cooked until they achieve a thick, chunky consistency.
Jam, on the other hand, is made with crushed or pureed fruit, along with sugar and often pectin, and cooked until the fruit breaks down into a smooth, spreadable consistency.
Why no pectin?
Like I said above, pectin is a natural substance found in fruit that helps it gel and thicken, which is particularly important in making jams and jellies. Fruit like apples, citrus fruit, and certain berries have high pectin content, while sweet cherries and other fruit like peaches and strawberries have lower pectin levels.
Pectin isn’t necessarily bad, but it’s not something most people keep on hand, so I prefer not to use it in my jam recipes. While cherries are naturally low in pectin, I find that the preserves still turn out perfectly fine without it.
If you’re aiming for a more gel-like consistency, you might consider adding pectin. Just be sure to follow the package instructions for the correct proportions.
Using too much pectin can make the preserves too firm, while too little can lead to a runny texture.
How to make it
The full recipe is down below, but here you can see what each step should look like.

If you use a larger or smaller saucepan, keep in mind that your cooking time will be different. It’s better to pay attention to how thick the preserves are rather than the timer.

Can these homemade cherry preserves be canned?
I’m not well-versed in canning, and while many say it’s not something to be afraid of, I still find it intimidating. So here’s step-by-step guide on canning that might be useful for you!
As for whether these preserves can be canned, I’m not certain. I initially thought a specific amount of sugar was required for safe canning, but I recently learned that this is a myth. If you’re interested in canning, you might find this guide to guide to sugar-free jam helpful.
How to store
Once the preserves have completely cooled, transfer them to a clean, airtight jar and store them in the fridge. They should last for about 2 to 3 weeks.
To be on the safe side, I freeze any preserves I haven’t consumed after about a week. It’s even better to freeze them immediately after making them. If you don’t think you’ll consume all the preserves within a week, go ahead and freeze some once they’ve cooled.
I forgot about a jar of these cherry preserves that had gotten pushed to the back of the fridge. It was at least 4 weeks old when I found them, and they were still totally fine.

How to freeze
You can use the same methods I mentioned in my Frozen Bananas post.
Freeze the preserves in portions you typically use in recipes. For example, if a recipe calls for 1/2 cup of preserves or jam, freeze 1/2 cup portions in small Ziploc bags.
I use a silicone baby food mold to freeze smaller amounts to spread on toast.
To defrost, place one of the frozen preserve cubes in a small microwave-safe bowl and microwave it at half power for 10-20 seconds. This usually does the trick.
Alternatively, you can defrost them in the fridge overnight. The preserves don’t freeze rock-hard, so an hour at room temperature also works.
Using the silicone mold is also ideal for recipes that require small amounts of jam or preserves.
You can freeze preserves for up to 1 year. In my experience, freezing the preserves even longer is fine, as long as they are properly packaged and the quality remains intact.

Uses for cherry preserves
Their versatility is endless! I have loads of ideas below.
They also make a thoughtful homemade gift, perfect for sharing a taste of summer with friends and family.
- Spread on toast or bagels – start your morning with a burst of flavor by spreading cherry preserves on a warm slice of toast, a bagel, or even on croissants. The sweet-tart taste pairs beautifully with creamy butter or cream cheese.
- Swirled into yogurt or oatmeal – add a spoonful of cherry preserves to plain yogurt or oatmeal for a naturally sweetened, fruity twist. I love it on these Chocolate Protein Overnight Oats!
- Pancakes and waffles – drizzle cherry preserves over pancakes, waffles, or French toast for a delicious alternative to syrup.
- Filling for cakes and pastries – use cherry preserves as a filling for layer cakes, cupcakes, or tarts. Their rich flavor pairs especially well with vanilla, chocolate, or almond-flavored desserts.
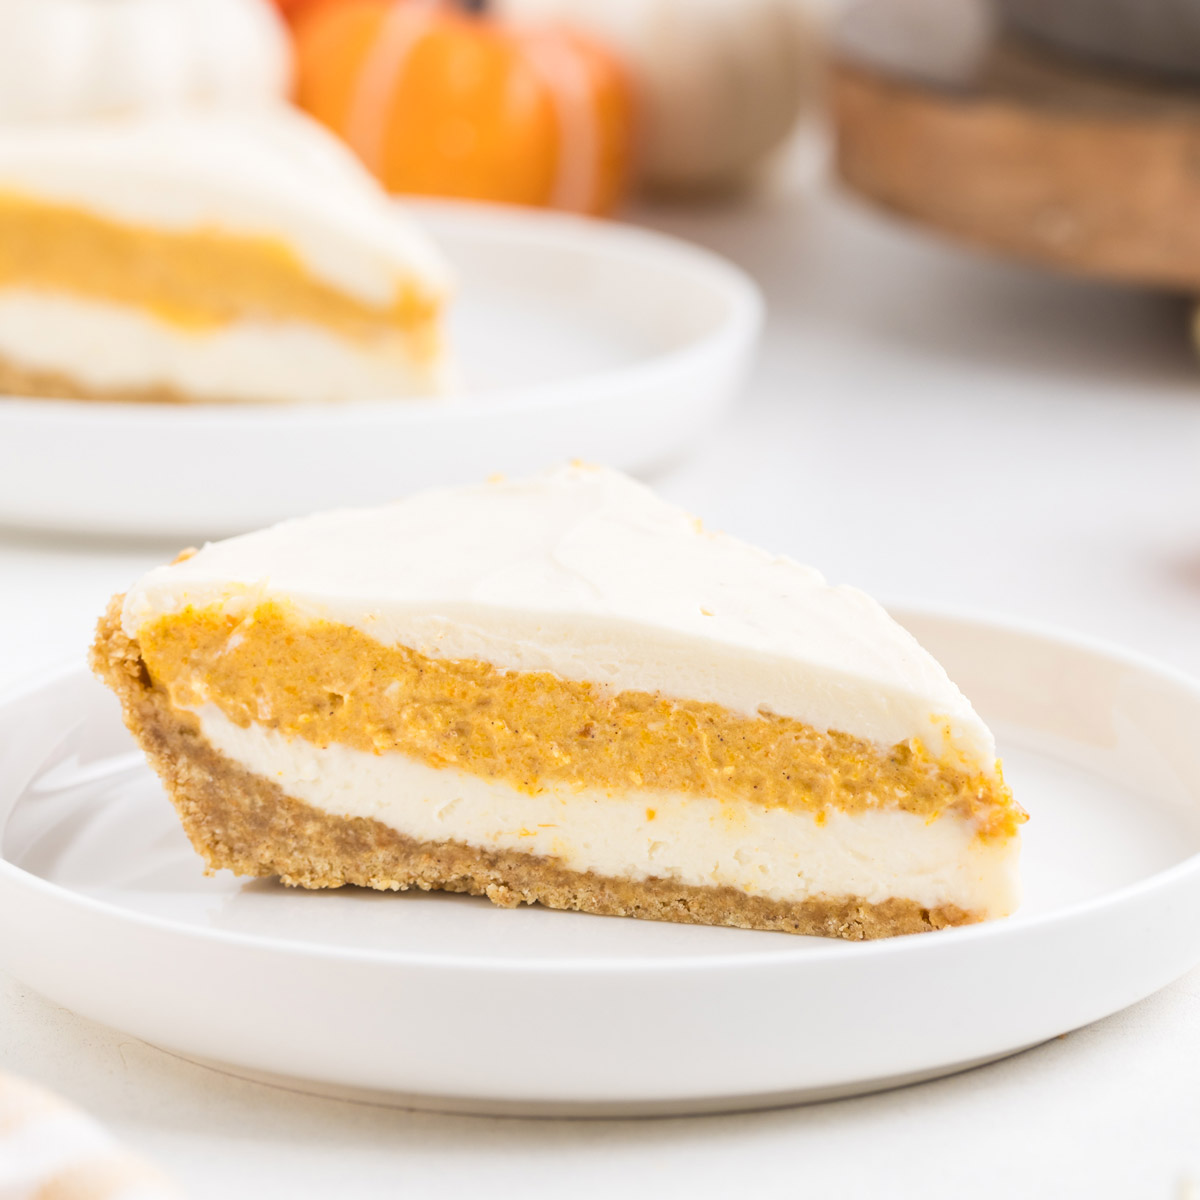
- Cheesecake topping – spoon cherry preserves over a slice of cheesecake for an elegant, fruity topping that complements the creamy texture of the dessert.
- Ice cream topping – warm the preserves slightly and drizzle over vanilla ice cream for a simple yet indulgent dessert.
- Cheese boards – cherry preserves add a sweet contrast to savory cheese boards. Pair them with sharp cheddar, creamy brie, or tangy goat cheese, along with some crusty bread or crackers.
- Glaze for meats – use cherry preserves as a glaze for roasted meats, such as pork or chicken. The sweetness of the preserves caramelizes beautifully in the oven, adding a rich, fruity flavor to the dish.
- Sandwiches – add a layer of cherry preserves to grilled cheese sandwiches, especially when paired with brie or gouda, for a gourmet twist.
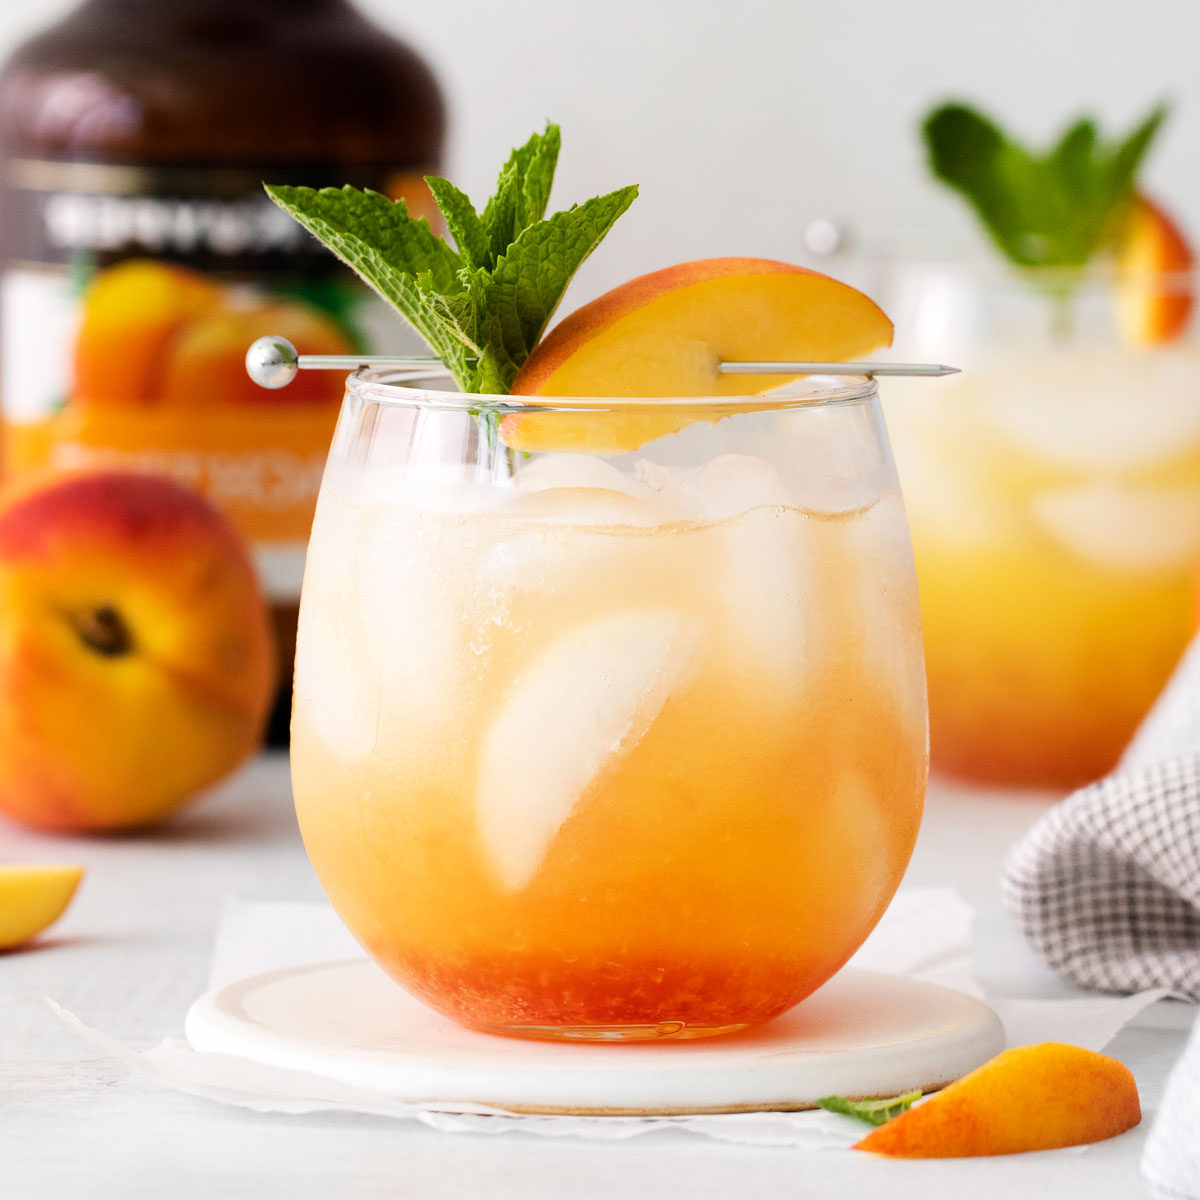
- Cocktails – stir a spoonful of cherry preserves into cocktails like a classic whiskey sour or a mimosa for a unique, fruity flavor.
- Tea or lemonade – mix a small amount into iced tea or lemonade for a refreshing, lightly sweetened drink with a hint of cherry.
So. That’s quite a bit. ;)
I hope you’ll enjoy these cherry preserves if you try them! I’d love to hear your thoughts below. :) Thanks!

Cherry Preserves
Ingredients
- 12 oz (340 grams) sweet cherries fresh or frozen pitted, see notes
- 3/4 cup (150 grams) granulated sugar or 2/3 cup (213 grams) maple syrup, or honey for a non-vegan version + more to taste
- 2 teaspoons lemon juice
- 1 teaspoon vanilla extract
- 1/2 teaspoon almond extract
Instructions
- Place a small plate in the freezer before you start cooking.
- In a medium saucepan, mix together the cherries, sweetener and lemon juice.12 oz (340 grams) sweet cherries, 3/4 cup (150 grams) granulated sugar, 2 teaspoons lemon juice
- Bring to a boil over medium-heat high while stirring frequently. This took me about 8-10 minutes. If you don’t want large chunks or cherries in your preserves, use a potato masher or a wooden spoon to smash some of the cherries a bit as it cooks. If making the maple syrup or honey version, carefully taste (it’ll be hot!) and add more sweetener, if needed.
- Turn the heat to the lowest you can to keep it at a boil. Let it boil for about 10-20 minutes, turning the heat down, if needed, towards the end to prevent the cherries from burning, until the sugar version reaches a temperature of 220 °F (104 °C) or the honey or maple syrup version reach 227 °F (108 °C). It’ll still be a bit runny but will thicken as it cools and more as it’s chilled.
- When you think the preserves are ready, drop a small spoonful onto the cold plate and let it sit for a minute. Push it with your finger – if it wrinkles and holds its shape, the preserves are done.
- When it’s done, stir in the vanilla and almond extract.1 teaspoon vanilla extract, 1/2 teaspoon almond extract
- Remove the saucepan to a wire rack to cool completely, about 2 hours. It can be refrigerated for up to 2-4 weeks, but I like to freeze what I don’t use after 1 week to be on the safe side.
Notes
- 12 ounces or 340 grams of cherries is about 2.88 cups.
- This recipe yields 1 1/3 cups (about 405 grams).
- The nutrition information provided is calculated as a courtesy and is only an estimate. I am not a licensed nutritionist or dietitian. For the most accurate nutritional data, consult a professional or use your preferred calculator. The nutritional values were calculated based on 1 tablespoon per serving.


I should try this. I love cherries and this looks super easy and delicious.
Thanks! I hope you’ll enjoy it if you do try it. :)
I love this cherry preserve. I made it with frozen cherries from this year’s cherry harvest (we live in a cherry growing area). It’s so easy to make and absolutely delicious. So great that I can use it in many different ways.