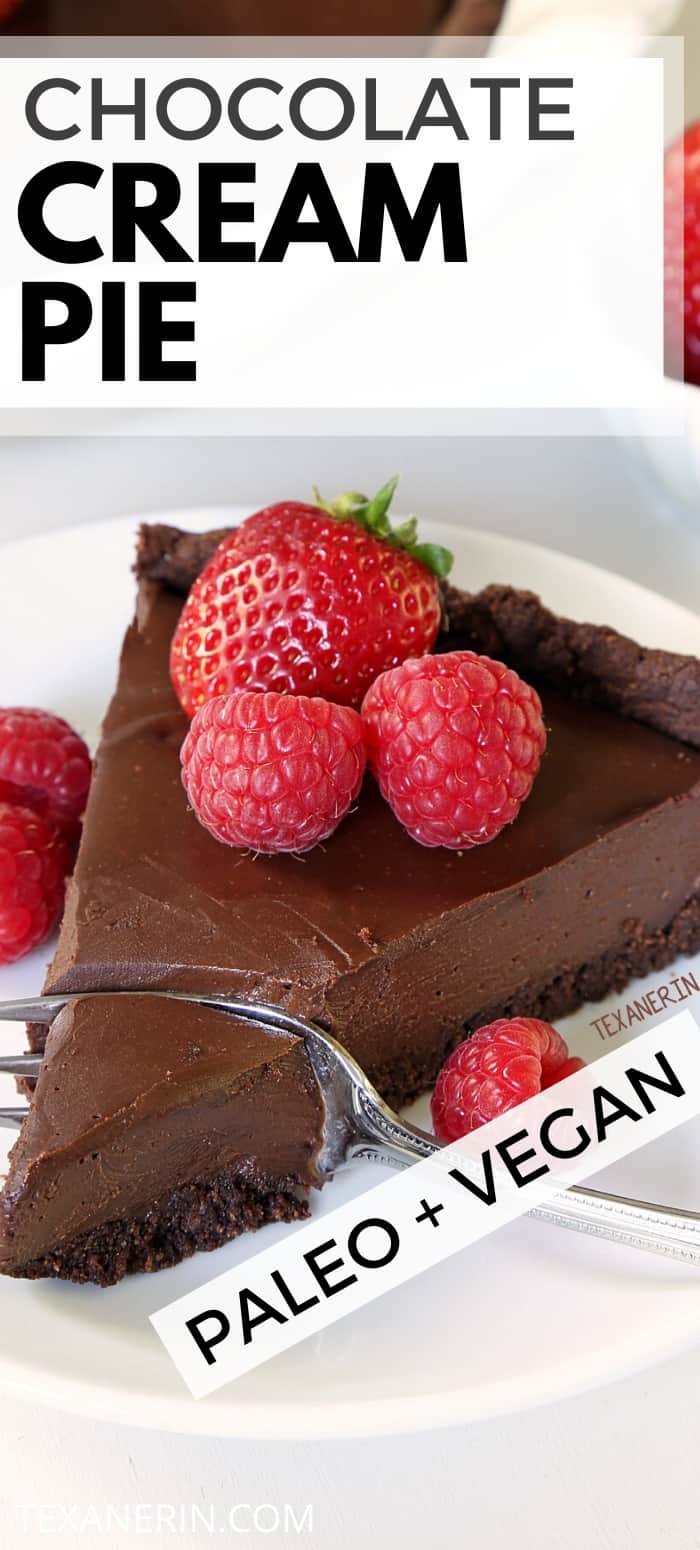
Paleo vegan chocolate cream pie with an ultra-silky chocolate filling and a chocolate cookie / brownie crust! Made without tofu. Prefer a chocolate fudge pie? Serve it cold for a fudgy texture.
Thanks to Bob’s Red Mill for making today’s post possible! I am beyond excited to be sharing this recipe with you today.
First of all, after making what I’m guessing to be over 200 grain-free crusts the last few years, I finally came up with one I love!
A chocolate cookie crust. It’s kind of soft, so it’s not crunchy like an Oreo crust, but something between that and a brownie. It cuts quite nicely, but still not perfectly, on the first day, which I think you can see in the video, but gets more crumbly and difficult to cut each additional day. For that reason, I recommend filling the pie the day of serving.
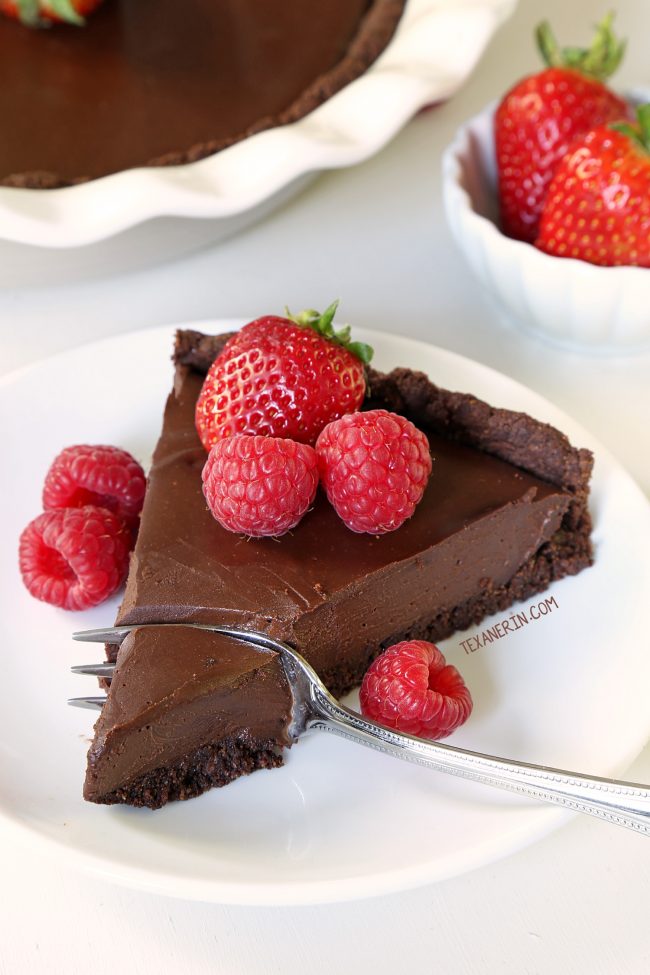
And it really tastes delicious on its own. I can say that for very few grain-free crusts I’ve tried. I have to admit that it probably tastes so good because there’s half a cup of sugar in there. ;)
The second reason I’m so excited about this pie that I can’t sleep and am writing this post at 3am is because of the filling. Oh my gosh. It’s perfect in every way.
I made a paleo chocolate fudge pie last year that was delicious but I love this one even more. The filling is softer and fudgier.
You can leave out the pie all day at room temperature and it doesn’t melt. It stays nice and creamy. At least in my 67 °F apartment you can. You probably can’t in the summer. If you want a thicker, fudgier texture (which I think I even prefer!), serve it straight from the fridge.
It also doesn’t taste coconutty at all. All I taste is chocolate. I can’t guarantee your pie won’t have any coconut flavor but with the brands I used, it didn’t.
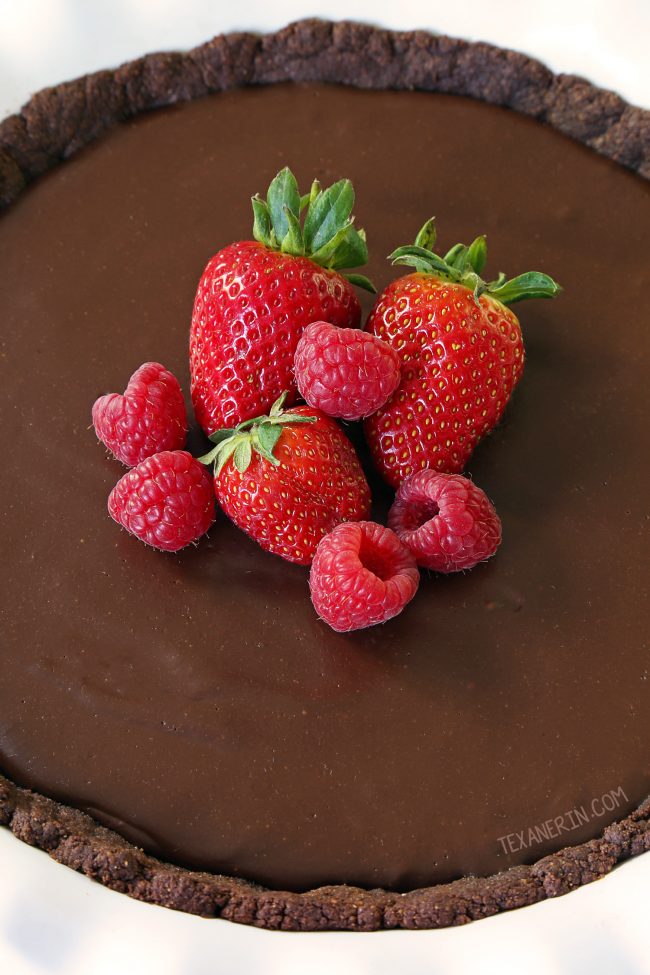
This vegan chocolate cream pie is one giant blob of brown so if you feel like livening it up, you’ve got a few options for decorating.
With Easter around the corner, you can use store-bought candy eggs, but I thought of a few ways to have totally junk-free Easter decorations!
The little nests you can see further down are made out of toasted coconut and melted chocolate. Super easy.
I wanted to make little truffle eggs but ran out of time. So I used raspberries! They don’t look a thing like eggs but I think they still look nice.
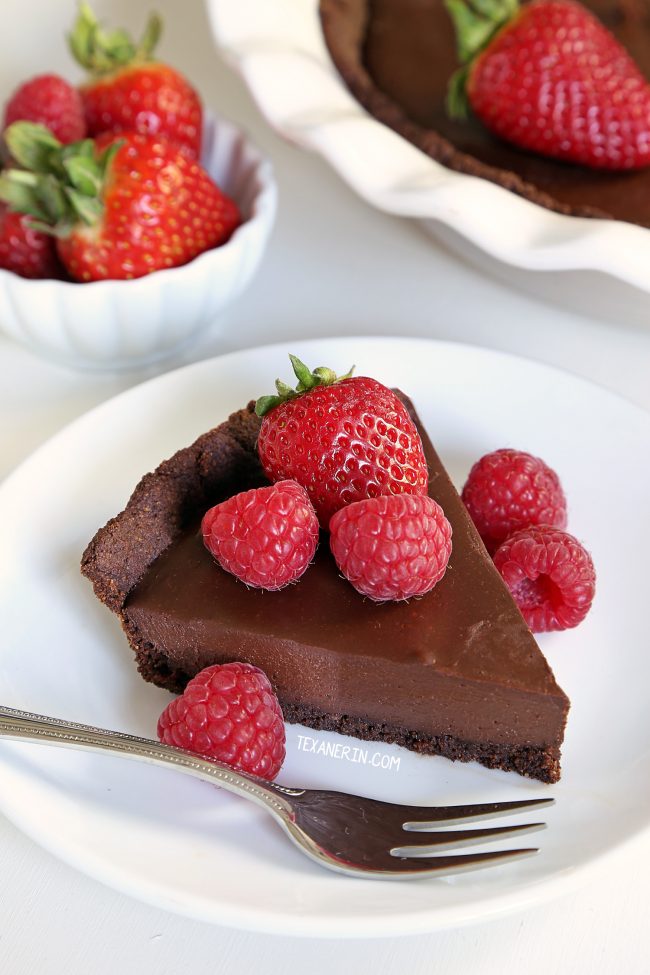
Or just bypass the Easter thing and decorate with berries. It’s certainly the easiest route and is also super tasty. For Christmas, add some mint leaves to the raspberries!
I know it’s hard to come across paleo recipes that are nut-free. The only nut product used in this recipe is almond butter in the crust, but if you use sunflower seed butter, then this vegan chocolate cream pie recipe is nut-free.
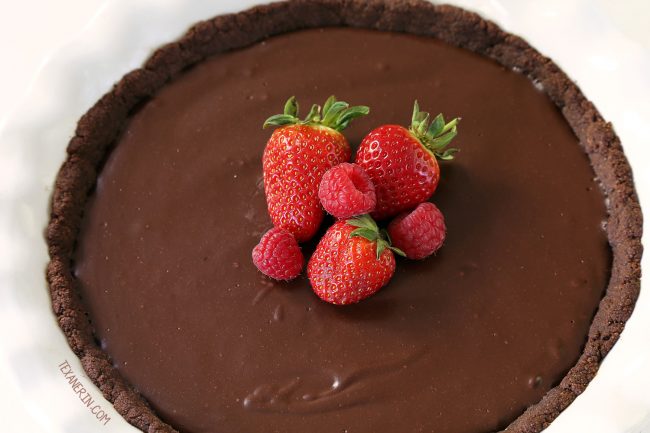
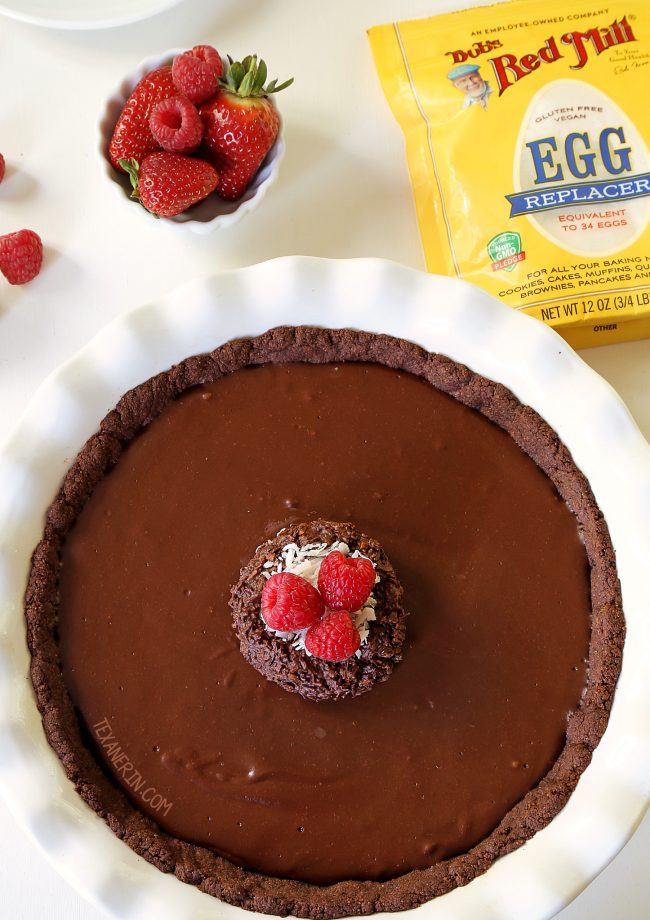
I’m also excited to be sharing this Gluten-free Vegan Egg Replacer from Bob’s Red Mill with you!
A lot of egg replacers out there aren’t gluten-free. This one is mixed and packaged in their dedicated gluten-free facility and batch tested in their quality control laboratory (just like all their gluten-free products).
Egg replacers usually also contain some funky ingredients. This one just consists of potato starch, tapioca flour, baking soda and psyllium husk fiber.
When I googled “Is psyllium husk paleo?” – some sources said yes, some no, and some maybe. So I’ll just say if you need this pie to be paleo, you can use a chia egg or a regular egg if you don’t need the pie to be vegan.
Like all other egg replacers (at least all the ones I’ve come across), it doesn’t work in recipes that require you to beat eggs (like angel food cake or meringue) but I’ve had a great experience with it so far!
The only thing that didn’t work was my paleo lemon curd. I thought it was a long shot but had to try, anyway. :) I also don’t think it’d be the best to use in things like mousse.
I also wouldn’t use it, or ANY egg replacer, in a recipe that calls for a whole bunch of eggs. If I see a recipe that calls for 4 or more eggs, but I don’t want to use eggs, I look for another recipe. I’m not saying that it wouldn’t work to replace 4 or more eggs, I’m just sharing a general egg replacer tip with you. Actually, I think I’m going to break my own advice and try it in my paleo chocolate cupcakes recipe soon, which calls for 4 eggs, and report back!
By the way, here’s a great resource on egg-free baking from Allergylicious! Tons of great info there.
Hope you all have a great Easter and that you’ll give this pie and the Gluten-free Vegan Egg Replacer a try! Thanks again to Bob’s Red Mill for sponsoring today’s post. They have lots of fun Easter baking ideas on their website as well as a free e-book with 14 delicious recipes to celebrate spring! I think I may give the Easter bunny cake a try. So cute!
Paleo Vegan Chocolate Fudge Pie (nut-free option, grain-free, gluten-free, dairy-free)

- Prep Time:
- Cook Time:
- Ready in:
- Yield: 8-12 slices
Ingredients
- 1/2 cup (100 grams) coconut sugar
- 1/4 cup (32 grams) coconut flour
- 1/4 cup (29 grams) cocoa powder
- 1/4 teaspoon salt
- 1/4 cup (64 grams) almond butter or sunflower seed butter for nut-free (make sure your nut / seed butter only consists of nuts / seed and salt - no added fat or sugar)
- 4 teaspoons (19 grams) coconut oil (shouldn't be melted but like the texture of softened butter)
- 1 tablespoon vanilla extract
- 1 egg made with Bob's Red Mill Gluten-free Vegan Egg Replacer or for paleo, use 1 chia egg or for a non-vegan version, 1 large egg (50 grams, out of shell)
- 1 1/2 cups (360 grams) warmed coconut cream from 1 1/2 14-ounce (400-gram) cans full-fat canned coconut milk, chilled overnight
- 1/2 cup (105 grams) pitted dates
- 2/3 cup (133 grams) coconut sugar
- 3/4 cup + 1 1/2 tablespoons (98 grams) cocoa powder (I used raw cacao powder)
- 2 tablespoons + 3/4 teaspoons (32 grams) coconut oil
- 2 1/4 teaspoons vanilla extract
- 1/2 teaspoon salt
- 3 tablespoons semi-sweet chocolate chips, melted
- 1/4 cup + 1 1/2 teaspoons shredded toasted coconut (sweetened or unsweetened is fine)
- pinch of salt
- 3 raspberries or Easter egg candies
For the filling:
For decoration:
Directions
- Preheat the oven to 350 degrees F (170 C) and grease a 9.5" (I'm guessing a little smaller or larger would be fine) pie plate with coconut oil. If you don't grease it, the crust will likely stick.
- In a medium mixing bowl, mix together the coconut sugar, coconut flour, cocoa powder and salt. Add the almond butter, coconut oil, and egg and mix with an electric hand mixer until as well combined as you can get it. Then switch to using your hands to get it fully combined. If using a normal egg, you can easily mix it together with just the hand mixer. The mixture will also be much wetter and stickier in that case than the mixture in the video. I use a silicone spatula to spread it into the pie plate. Whether you use an egg or egg sub, I don't recommend trying to crimp it or doing anything fancy with this crust.
- Press it up the sides and over the bottom of the prepared pie plate. Bake for 12 minutes or until it's slightly puffy. It won't be firm. Let cool completely, about 30-45 minutes, while you prepare the filling. I recommend filling the crust the day of serving.
- In the bowl of a food processor or a high-speed blender, add all the filling ingredients, in the order listed, and blend for about 30-60 seconds or until totally smooth and no lumps of dates remain. Pour the filling into the cooled crust and place the pie in the refrigerator for 2 hours or until the filling is firm and no longer jiggly. While it's chilling, prepare the chocolate nest.
- Mix together the melted chocolate, 1/4 cup coconut and salt until well combined and then scoop onto a piece of parchment paper (I put the paper on a small cutting board that I can fit in the fridge). Form it into a small nest. Create a little space for the eggs. Cover with additional 1 1/2 teaspoons coconut, if desired. Refrigerate for about 30 minutes or until firm and then top with Easter eggs or raspberries.
- Refrigerate pie for up to 2 days or freeze, very well packaged, for up to 1 month. For a soft cream pie texture, serve room temp. For a fudgier pie, serve cold. Note that the crust becomes softer and more crumbly when cutting after the first day. You can see in the video that it cuts pretty decently on the first day.


72 comments on “Vegan Chocolate Cream Pie (paleo, nut-free option)” — Add one!
2 comments are awaiting moderation!
I don’t know if our pallets are not used to these ingredients, but this was bitter, so strong and not enjoyable for me or my children. The texture was amazing and it looked so good. I really wanted to like it and tried a few different times over a couple of days, but couldn’t. I followed the ingredients and directions as you wrote them. Not sure what went wrong for me, as I see they many people loved this pie.
Just made this and used 3 tablespoons of the water from a can of garbonza beans (lightly whisked until foamy) as a egg replacement. Worked beautifully!!
Thank you for the delicious recipe!!
What an interesting sub! It’s great to know that it worked out well. Thanks for the tip! :)
Can the crust be made the day before serving?
Sorry for just now seeing your question! Yes, it can. :)
(but I’m also assuming you read the paragraph before the first picture for more info!)
This pie looks so moist, creamy and Yummy. I need to try this recipe ASAP. Also, look SO easy!
I hope you will! It really is. :)
This almost looks too good to be true. Love this recipe! 🙂
Thanks so much! Hope you get to try it. :)
The pie was delish. I made it for Valentines dinner in with my husband. Topped with whipped coconut cream and heart shaped strawberry slices.
My coconut milk was not cold and I only had one can so just measured the amount and warmed it. Worked fine. Thank for the recipe.
I guess with another’s comment that clean out the blender and the best part!😉
Haha. Cleaning out the blender is definitely a fun task with this recipe. :D So happy that you and your husband enjoyed it! I love the idea of heart-shaped strawberry slices. So cute. :) Thanks a bunch for your comment!
Hi, what can i use to replace the dates? I want to make it and the only thing I’m missing are the dates 😭
Hi! Maybe prunes? But I’m not sure as I haven’t tried it! You unfortunately can’t just omit them and add more sugar. They’re needed for the texture.
Hi,
I’m confused with the directions regarding using the coconut milk that has been chilled overnight & under the list of ingredients is says warmed coconut milk.
Should it be cold or warm?
Thank you!
Hi there! You chill 2 cans of coconut milk overnight, which causes the cream to rise to the top. Then you take 1 1/2 cups (360 grams) cream out and warm it up. Hope that makes sense!
Hi I’m new to baking and one question, what do you mean by (Should be melted but like the texture of softened butter) for the 4 tbsp of coconut oil in the ingredient list ? The coconut oil I got is already in liquid form.. may I ask what brand do you use for this coconut oil ? Thanks
Hi there! It says that it shouldn’t be melted. :) You know when you let butter sit out at room temperature for a few hours and it gets kind of soft? The coconut oil should be kind of soft like that, but not melted. And not super cold, as if it just came from the refrigerator. I live in Germany so the brand I use won’t help. Sorry about that! If you put your coconut oil in the refrigerator (take out the amount you need for this recipe), it’ll become firmer. It’s just melted right now because it’s so warm. Hope that helps!
Ahhh now I get it! thanks so much! My jar of coconut oil wasn’t kept in refrigerator but room temperature , that’s why it’s always in liquid form like olive oil etc. Thanks for your patient explanation!!
You’re welcome. :) I’m happy to have helped!
I made this recipe (among with a lot of others!) and absolutely everyone loved them! Thank you for these amazing recipes!
So happy that you liked it and the other recipes! Thanks for your comment. :) Are you Swedish, by the way? I’ve lived in Sweden two separate years. LOVE it there! :)
Could someone tell me calories?
I don’t have that info but you can copy and paste the recipe here for the nutritional profile, if you’d like. :)
Pinch me!! Is this Keto friendly??? I
I’m not really familiar with the keto diet but I don’t think it is with all the dates and coconut sugar. It’s lower-carb than a regular wheat flour based pie, though. :)
Thank you so much for a wonderful recipe!! I made this for a work birthday and it was a complete success! Cleaning the bowl of the processor after the filling was an exceptionally tasty benefit of being the chef ☺️
I used a flax egg in the crust to keep it vegan and it held together just fine.
So happy you liked the recipe! Thanks again for your feedback. :)
This is a dream come true!!
Thanks!
Erin you have the BEST recipes! Every time I get your email, I want to make them all lol thank you for coming up with such awesome recipes, that I can even sneak to my non-vegetarian/vegan 13 year old son 😂😉
Aww, thank you! What a nice comment. :) I’m thrilled that you want to make all the recipes and that you’re able to sneak some of them into your son! Thanks again for your comment and I hope you have a nice holiday. :)
Hi Erin :) Just a little update, I made this for Easter and it was awesome! My son had 3 pieces lol it really reminded me of chocolate cheese cake out of the fridge…so good!
I read the recipe wrong and only bought 1 can of coconut milk so I made 1/2 c. Cashew cream (just cashews and plain unsweetened almond milk on the Nutribullet) and added that to the coconut cream mixture and then just added a little extra coconut sugar. It really came out great 😊
Thanks again for all of your awesome recipes 😊
Hi Kerri! That’s awesome. I’m so happy that your son enjoyed it and that it reminded you of cheesecake! And ooh. That’s a delicious idea! I bet this pie is even better with 1/2 cup of cashew cream in there. I’m definitely going to try that! Thanks for the tip, your kind comment and for your feedback. :)
Erin,
Just wanted to say thanks for all the effort you put into these desserts, trying to accommodate everyone! This is one beautiful pie and when I have friends/family over this summer, I will be presenting it to many oohs and aahs, I’m sure.
Hi Carla! Thanks a bunch for your nice comment. :) I hope you, your friends and family will enjoy the pie just as much as we did! Hope you have a great Easter. :D
Oh wow, this looks absolutely luscious!!! The texture of the crust sounds perfect and that filling…so velvety! <3
Thanks a bunch! It’s definitely nice and velvety. :)
I would never guess that this was vegan! You are seriously THE master baker.
Aww, thanks! :)
Wow! This looks amazing! I want a slice now!
Come over! We’ll make another one. :D
This looks amazing! I love chocolate sweetened with dates…they add such incredible richness and flavor! Can’t wait to try this!
Thanks so much! I hope you’ll enjoy it. :)
This looks SO creamy and fudgey!!!!
Thanks!
This pie looks fantastic and is vegan! Can’t believe it!
Hot dang, that looks good! You know I love my Bob’s.
Lol. I love that you said hot dang. :D
Hey Erin, I know it’s not Paleo, but do you think using Bob’s Red Mill Gluten free 1-1 baking flour in the crust would work? Any suggestions how much to substitute for the coconut flour? If not, totally ok, I know it’s a lot of effort to develop a recipe as written, and it looks scrumptious!
And EGG FREE! I’m not vegan, but have an egg allergy, so this is all kinds of exciting!
Hi Lea! Coconut flour is unfortunately not interchangeable with any other flour as it absorbs so much more liquid. Sorry about that! If I were you, I’d look for a regular all-purpose crust and use Bob’s 1 to 1 flour in that. :) And I’m with you – I’m also definitely not vegan but I’m not supposed to eat eggs so I was super excited to have found out that the egg replacer. I hope you’ll like it!
I am just drooling over here! I love that you include sunflower seed butter as an ingredient. My oldest is allergic to peanuts so there are a lot of desserts like this that I can’t make, but this is one that would totally win at my house!!
Your video are the best – they are so fun! This looks amaze.
Thanks a bunch! :)
Hi Erin! Great recipe! Do you think I could substitute Xylitol for the coconut sugar? I’m also sugar free!
Cheers
Hi Lisa! Thanks. :) I’ve experimented with low-carb sweeteners in the past and I’ve had a terrible time with them. So I’m no help. I’m sorry! If you try it out, I’d love to hear how it goes.
Hi Erin! Could a can of coconut cream be used instead of getting the cream from a chilled can of coconut milk? Thanks!! Shana
Hi there! I’ve never used it but if it’s the same stuff, then I don’t see why not. :) I hope you’ll enjoy the pie! I’d love to hear how it comes out.
This pie is absolutely gorgeous, and I definitely need to share it with my paleo friends!
Thanks so much! And thanks for sharing. :)
Will it come out the same way if I decrease the amount of cocoa powder in the filling I don’t want it as dark?
It’d probably just taste less chocolaty. I don’t like dark chocolate (I much prefer milk!) and the way the recipe is, it’s just perfect. Definitely not too dark!
This looks absolutely wonderful! So good!
Thanks! :)
This would be so perfect for Easter and I love how you chose to decorate it!
Thanks a bunch! :)
Oh wow, this looks decadent!
It really is! :D
Hello, Erin! Wow, this really looks and sounds awesome. Especially the “no tofu”-part, the use of egg replacer AND being gluten free makes it a perfect match for everybody around here. It’ on the list for Easter brunch already! Thanks for sharing! Christine
Hi Christine! Haha. I’m happy you appreciate the no tofu part. When looking at vegan pies, I saw so many with tofu. I don’t like tofu and my body hates it so… ;) I hope you and your family will enjoy the pie! I’d love to hear how it comes out. Thanks for your comment. :)
Hi! Same here. I used to eat tofu a long time ago, but now that I have read more about nutrition in general I avoid soy products. Right now I have to bake a spinach quiche, something green for today’s green Thursday… but then. I will tell how it comes out. Greetings!
Pie sounds much more fun than spinach quiche. Hehe. ;) Hope you have a great Easter!