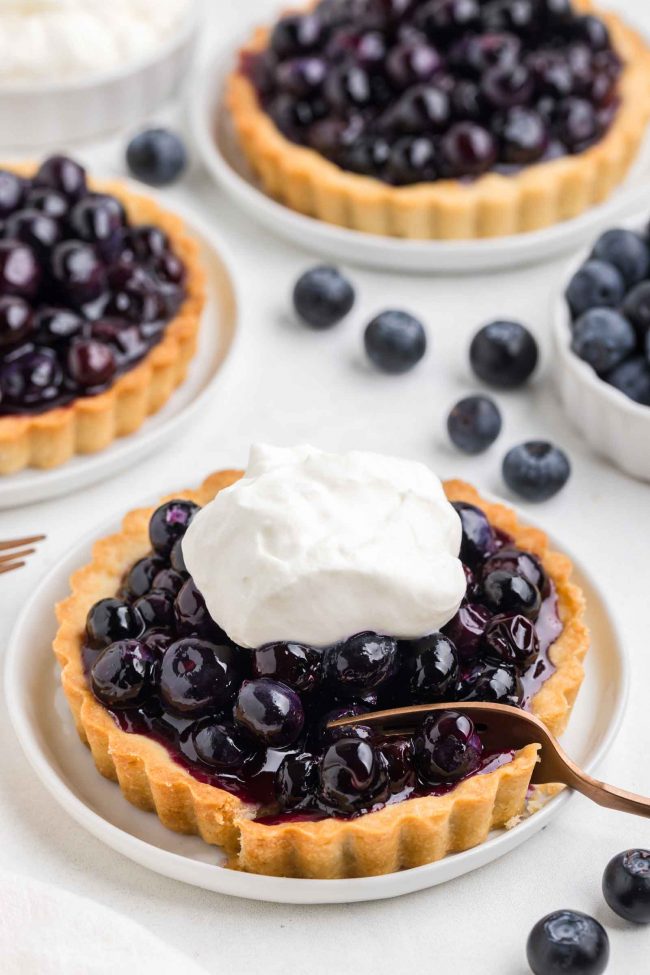
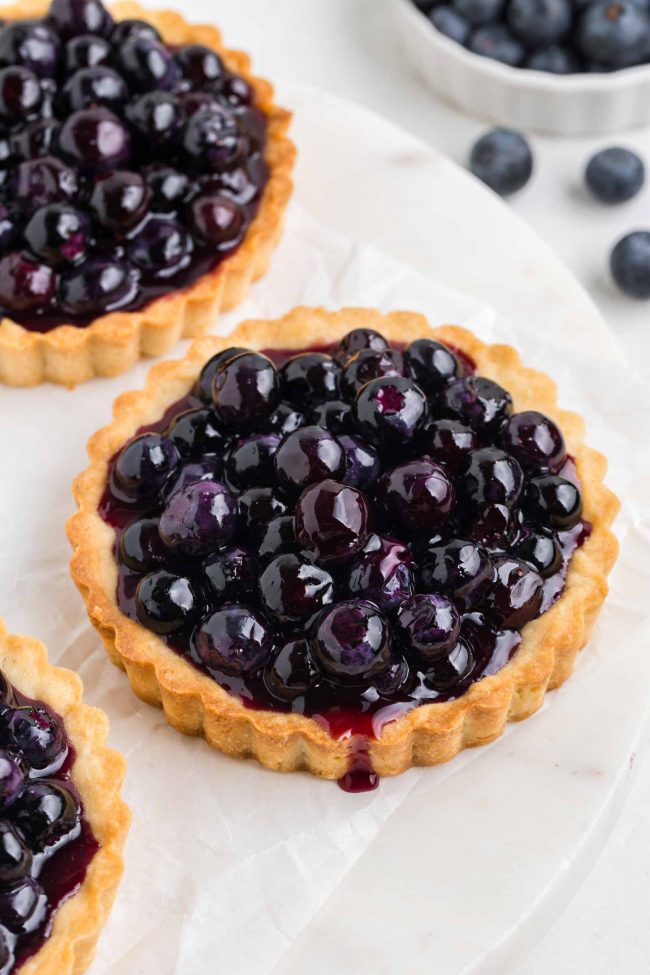
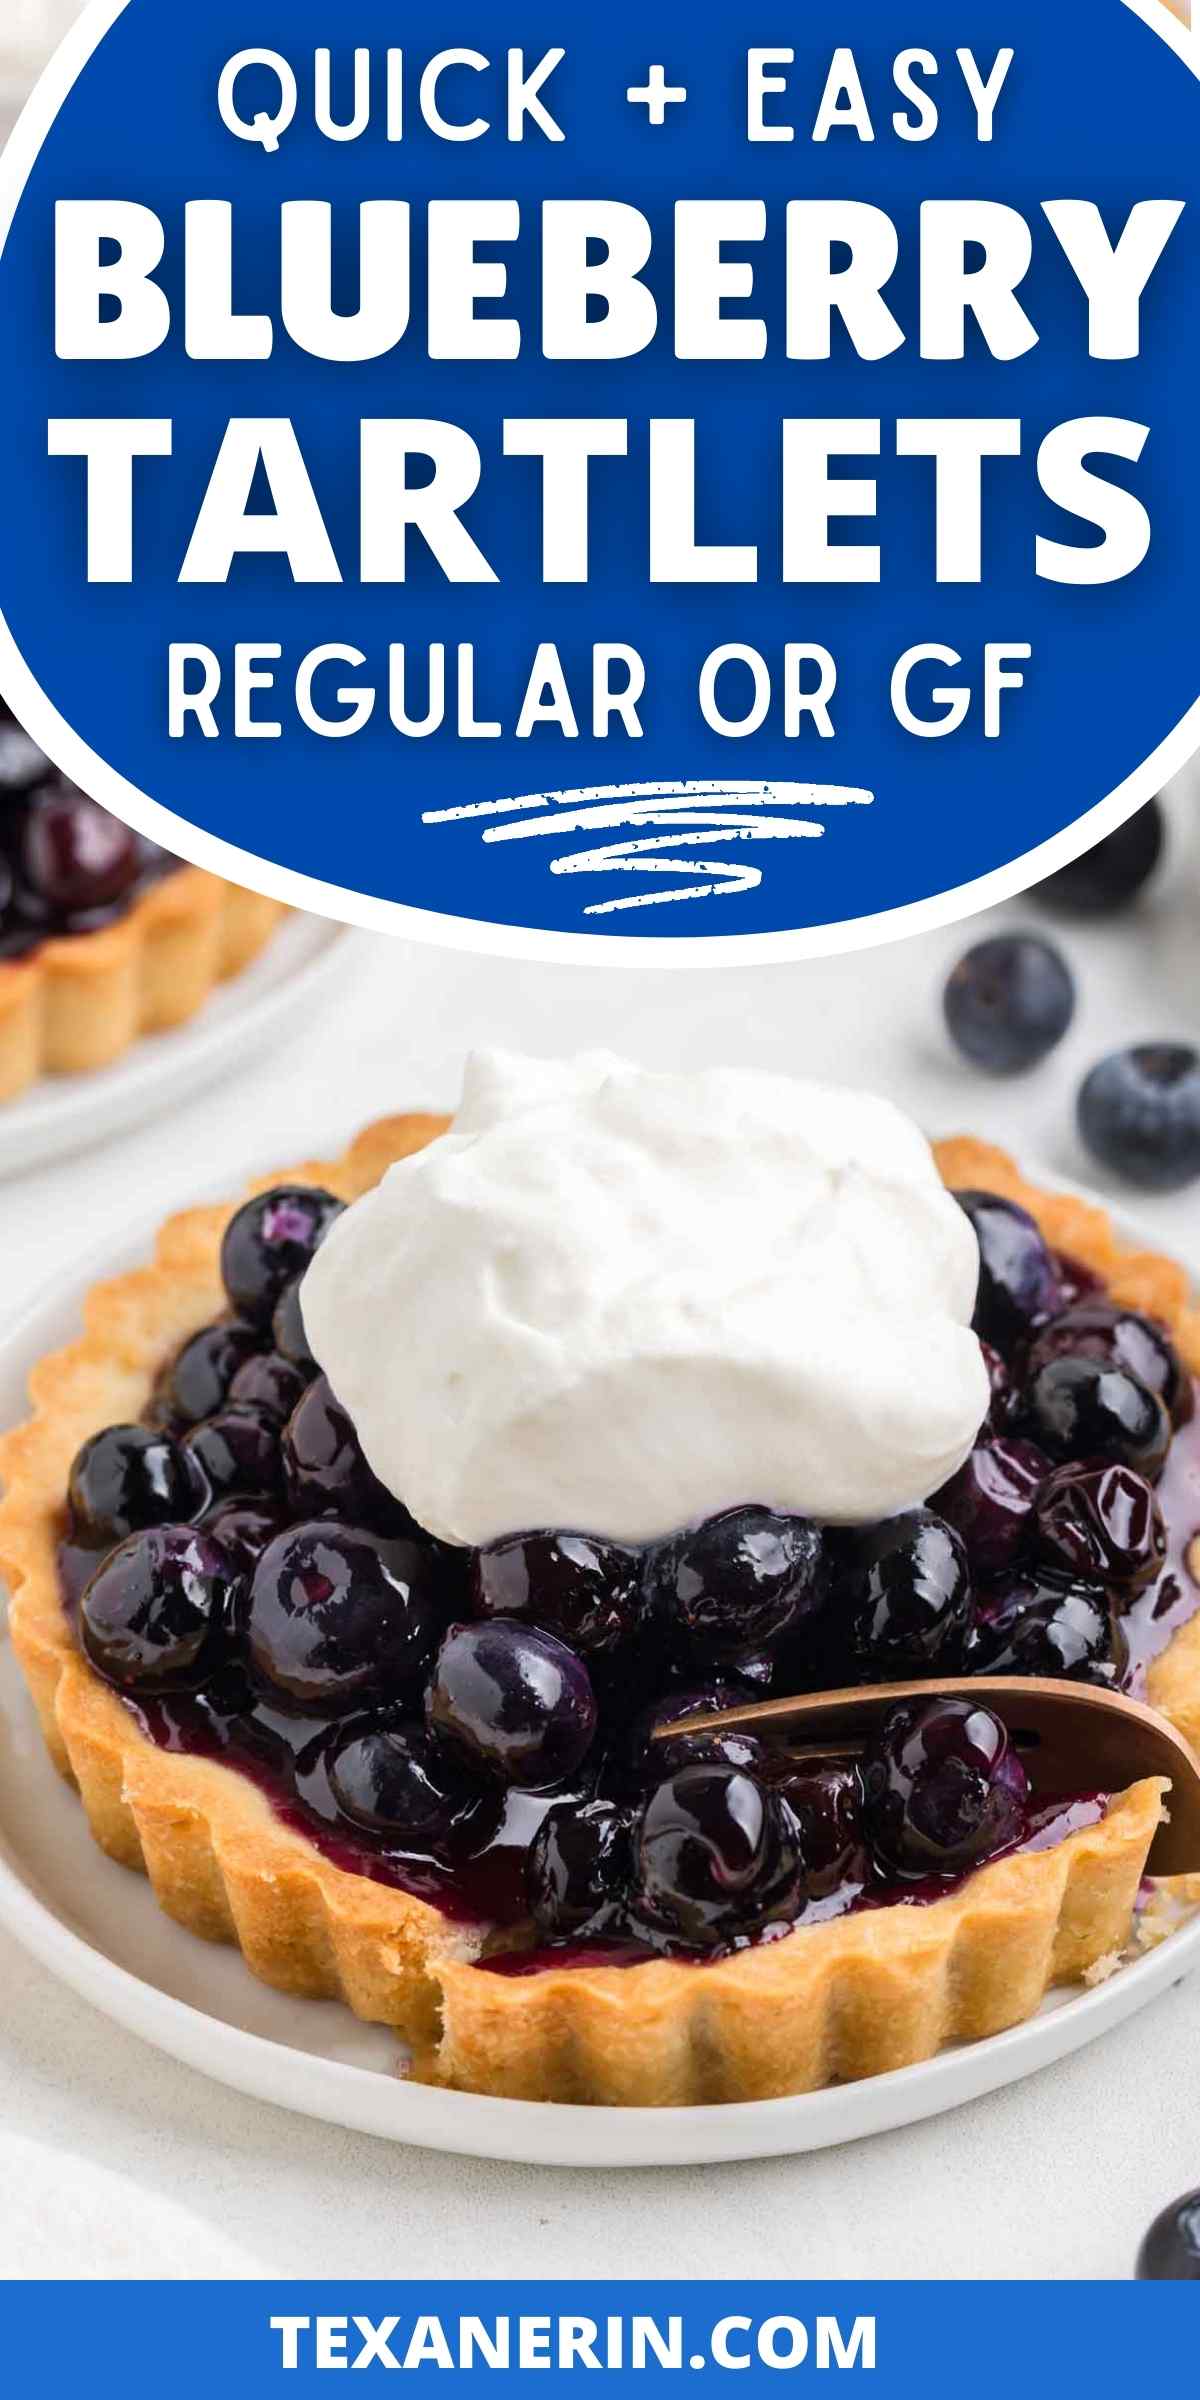
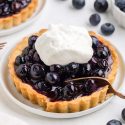
These blueberry tartlets have a sweet, buttery crust and are filled with an easy homemade blueberry sauce. You can make the tart shells with all-purpose or gluten-free flour, and the filling can be sweetened with granulated sugar or maple syrup.
Ingredients
I used almond extract in my filling, but you can use lemon extract and zest in place of it if you’d like. Start with 1 tablespoon of zest, taste it before adding the fresh blueberries to the sauce, and add up to another tablespoon of zest.

Fresh vs frozen blueberries
To make the blueberry filling, you make blueberry sauce and then stir in fresh blueberries.
You can use either fresh or frozen blueberries when making the blueberry sauce. But the blueberries you stir into the sauce need to be fresh.
Frozen ones don’t have a pleasant texture. They’re great in baked goods and smoothies but not to eat without cooking or blending.
They’d also release a lot of liquid, whereas fresh blueberries won’t release any as they stay whole in the filling.
Maple syrup option
Blueberries and maple syrup are a magical combination.
If using maple syrup, you may want to omit the almond extract.
I meant to test out the maple syrup + almond extract combination, but I forgot to add the extract. 🙈 After making this sauce 7 times in a week, I couldn’t bring myself to go buy even more blueberries.
Perhaps it’s fantastic, but blueberry + maple flavor + almond extract sounds a little strange to me. Just remove a small amount of the filling, add a teeny tiny amount of almond extract, and see how you like it before adding the extract to the rest of the blueberry filling.

Can I use other fruit?
A different type of fruit would require a different amount of sugar. And you’d need a slightly different amount of water and cornstarch.
You can definitely experiment, but keep in mind that you’d probably have to adjust those 2 things.
Tart crust
I went through an absurd number of tart crust recipes before realizing I should just try one from King Arthur Flour.
It was perfect. But I made a few changes.
They write that chilling the dough is optional, but I think it’s necessary. The dough is much easier to work with if you chill it.
They also use pie weights and dock the crust (so prick holes all over the bottom with a fork).
None of that is necessary for these tartlets.
And I also tested out a gluten-free option!
All of the other tart crust recipes I tried were too crumbly, not sweet enough, tasted like nothing or were cakey or got soggy after filling.
These were perfection and were so tasty that we ate a few unfilled. Hands down the best tart crust I’ve ever had.
If you look at their recipe, it has a strangely low rating. So I read the reviews before making it for the first time. And I can say with certainty that you can ignore the rating and reviews. ;)
One person poured rice directly over the unbaked crust and then said that the rice stuck to the crust. Another claimed that the gram measurements were wrong. They said they always weigh their flour, and 133 grams is less than 1 cup (note: 1 cup of flour = 120-125 grams). So if they can’t measure flour properly, it’s not a surprise it didn’t come out.
Some said the dough was too dry, some said it was too wet. I think there’s a bit of user error going on there.
In conclusion – this tart crust is amazing. 🤩 And ignore the reviews.
Blueberry filling
There isn’t much to say about this filling that I haven’t already said.
But here’s an overview of how you make it.

As an Amazon Associate, I earn from qualifying purchases. For more info, see my disclosure.
Mini tart pans
I used these Wilton Perfect Result 4.75″ (12 cm) Tart Pans. They come in a 6-pack.
I’ve had this set for 10 years, and they’re still in perfect condition. Just like with other tart pans, you should remove the tart from the pan to cut it. Don’t cut the mini tarts in the pans or you’ll scratch up the pans.
If you can’t find those, make sure to get mini tart pans with removable bottoms so that the shells are easy to remove.
Can I make 5 instead of 4 tarts?
This is what I originally did. It works, but I preferred the shells to be a bit thicker and to have more blueberry filling.
Can I roll it out instead of press it in?
The original recipe says you can, but I think it’s much easier and quicker to just press it in.
Do I need to use pie weights?
Not when using this recipe for mini tart pans! I’ve also used this recipe for a 9″ tart, and for that, you do need pie weights.
The crust slumped down without them.
Make ahead and how to freeze
These are great to make in advance!
The dough
You can prepare the tart dough up to 3 days in advance. Or you can freeze it for up to 3 months.
Wrap the disc tightly in plastic wrap and then place it in a Ziploc. Thaw the dough overnight in the fridge before using. Do not use the microwave to thaw it!
Unbaked tart shells
You can press the dough into the tart pans, cover them up properly, and refrigerate for up to 3 days.
Baked tart shells
Once they’re baked, you can put them in an airtight container and store at room temp for up to 3 days or refrigerate for 5 days.
The filling
The blueberry filling can be made up to 3 days in advance and stored in an airtight container in the refrigerator. If it’s too firm after chilling to transfer it to the tart shells, you can gently warm it over low heat. Stir constantly – but very carefully so you don’t smush the blueberries!
How to store
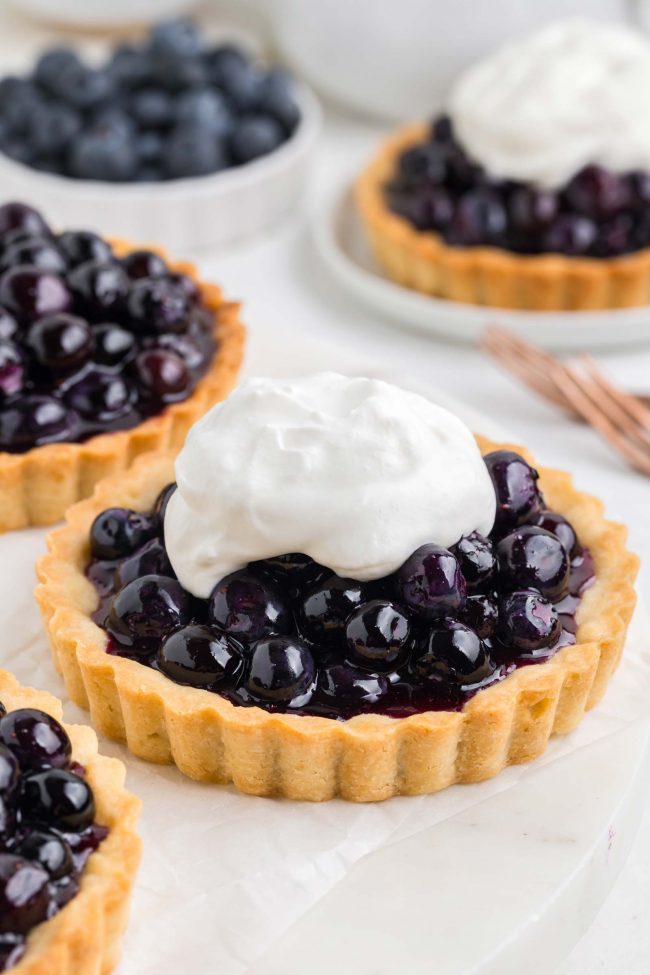
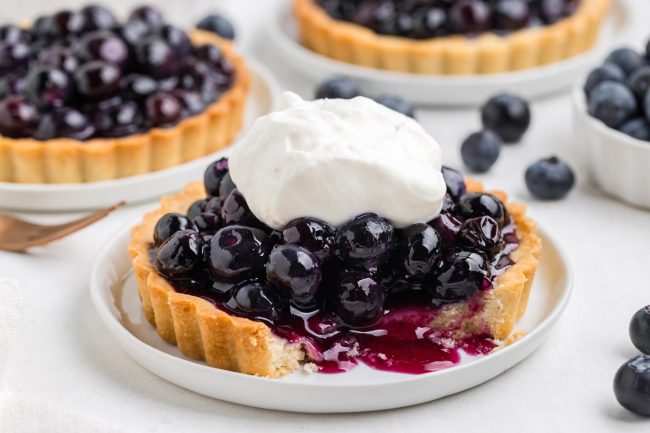
Once you’ve filled the tarts, they can be refrigerated for up to 3 days. They amazingly don’t get soggy (thanks to the great crust recipe!), and I think I even prefer them on the 2nd day.
The crust sucks up just a little bit of moisture from the filling, making the tarts completely irresistible.
Can I freeze them?
You can freeze the crusts, as I wrote above, but you won’t want to freeze the filling. Because (as I also wrote above) the blueberries won’t have the right texture once defrosted.
You might be able to make just the sauce, freeze, defrost, and then stir in the fresh blueberries. But I haven’t tried it, so I can’t say for sure.
Gluten-free option
So far, I’ve only tried the crust with King Arthur Flour Gluten-free Measure for Measure Flour.
It’s just as delicious as the all-purpose flour version.
That’s it. I hope you’ll enjoy these blueberry tartlets! I’d love for you to leave a comment down below if you try them out. :) Thanks!
Blueberry Tartlets
- Prep Time:
- Cook Time:
- Ready in:
- Yield: 4 tarts
Ingredients
- 1 1/4 cups (150 grams) all-purpose flour or for gluten-free, use King Arthur Flour Gluten-free Measure for Measure Flour
- 1/4 cup (50 grams) granulated sugar
- 1/2 teaspoon salt
- 1/2 cup (113 grams) unsalted butter, cold, cut into 1/2" cubes
- 1 large egg yolk
- 1 teaspoon vanilla extract
- 1-2 tablespoons milk1
- 1 1/2 cups (225 grams) fresh or frozen blueberries + 2 cups (300 grams) fresh blueberries
- 1/4 cup (60 ml) to 1/3 cup (80 ml) water
- 2/3 cup (113 grams) granulated sugar or 2/3 cup (213 grams) maple syrup
- pinch of salt
- 1 1/2 tablespoons (14 grams) cornstarch + 2 tablespoons water
- 1 teaspoon almond extract (omit if using maple syrup)
- 1/2 teaspoon vanilla extract
For the crust:
For the filling:
Directions
- In a medium bowl, whisk together the flour, sugar, and salt.
- Cut in the cold butter until the mixture resembles coarse breadcrumbs.
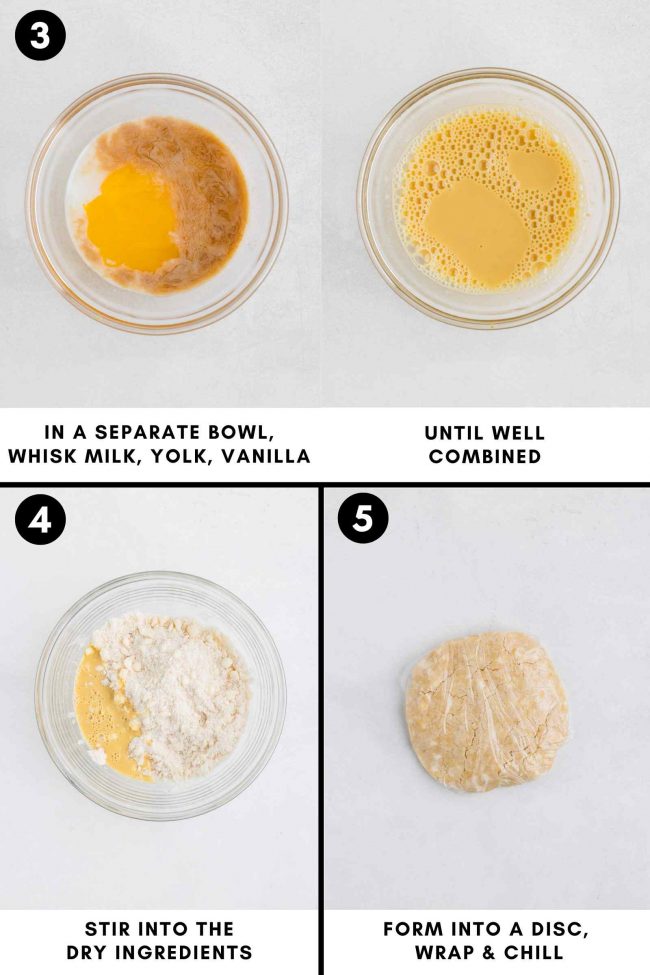
- In a separate small bowl, whisk the egg yolk, vanilla, and just 1 tablespoon of milk. Stir this into the dry ingredients.
- Use your hands to work the dough a bit and to bring the dough together. The dough should be crumbly but cohesive when squeezed. It won’t form a ball or a loose ball like with pie dough.
- I placed a piece of plastic wrap in a mixing bowl and then dumped the dough into there and wrapped it up into a very loose, crumbly disc.
- Chill for 1 hour or up to 3 days.
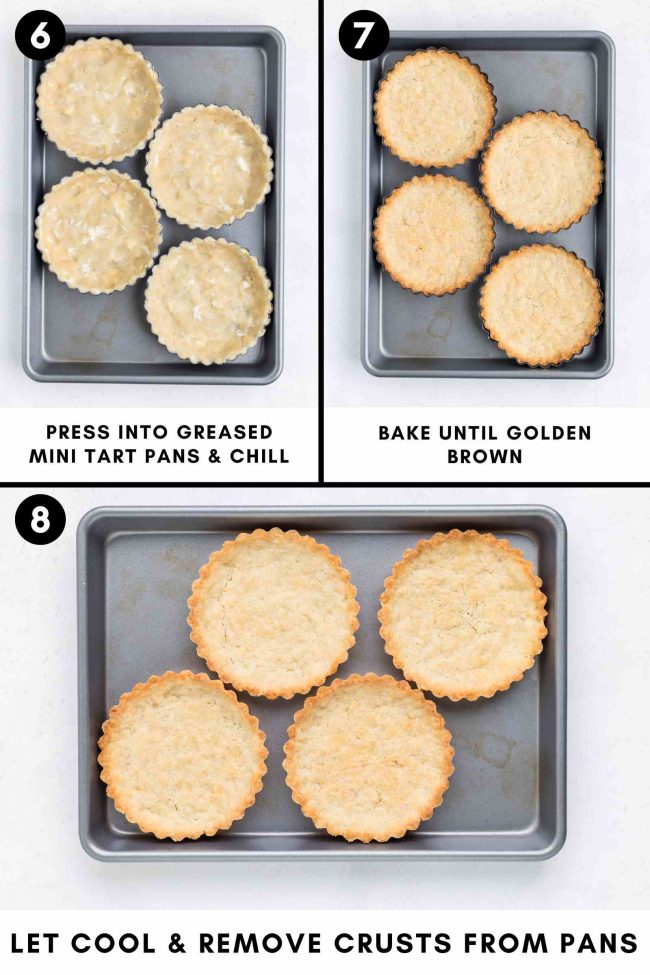
- Grease 4 mini tart pans with removable bottoms.
- Take a fourth of the dough crumbles (I used 91 grams, but I used the extra tablespoon of milk - if you follow the recipe exactly, you can use 88 grams) and place in the pan.
- Press up the sides and evenly over the bottom of the pan. Do the same with the other 3 tart pans.
- Place in the fridge for at least 30 minutes or cover and refrigerate for up to 3 days.
- Towards the end of the chill time, preheat the oven to 375 °F (190 °C) and place a baking sheet large enough to fit all 4 tartlets in the lower third of your oven.
- After 30 minutes of chilling, place the tartlets directly onto the hot baking sheet and bake for 18-22 minutes, rotating halfway through if you notice them browning too quickly in certain areas, until the sides are nicely browned and the bottom has browned a bit.
- Remove the baking sheet and tartlets from the oven and place them on a wire rack to cool completely, about 1 hour (get started on Step 15 during this time). The crusts will crumble if you try to remove them from their pans while still warm. If making ahead of time, you can put the cooled crusts in an airtight container and store at room temp for up to 3 days or refrigerate for 5 days.
- Once cooled, unmold the crust - the removable bottom is going to stick to the bottom for now, and that’s okay.
- After about 40 minutes of cooling (or sooner if they cool more quickly in your kitchen), start the filling.
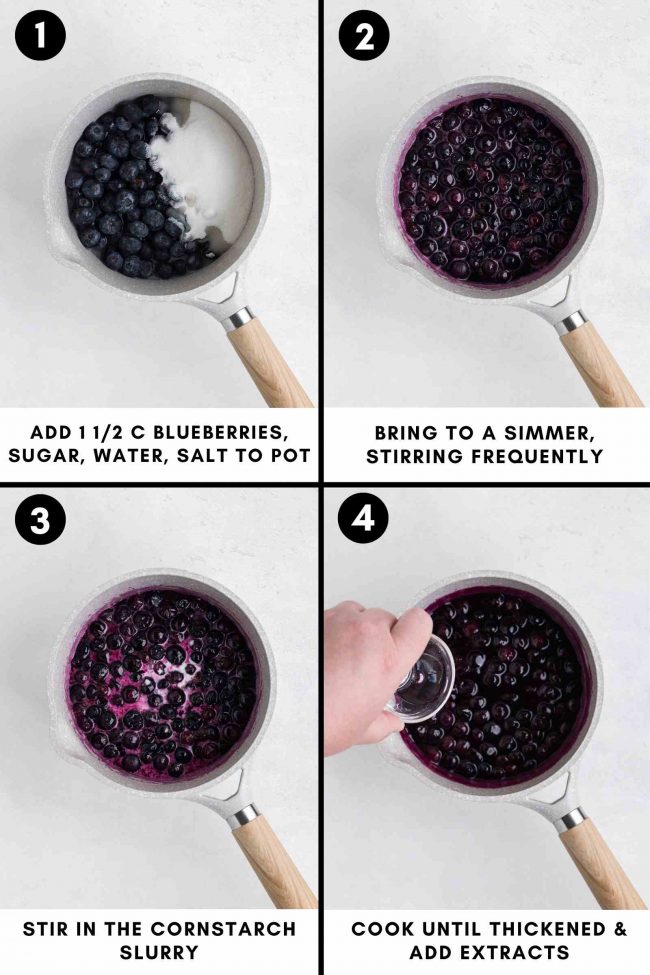
- In a 1-quart (1-liter) saucepan, add 1 1/2 cups (225 grams) of blueberries, 1/3 cup (80 ml) water if using granulated sugar or 1/4 cup (120 ml) water if using maple syrup, granulated sugar and salt.
- Bring to a simmer over medium-high heat while stirring occasionally. When it’s almost simmering, mix together the cornstarch and water in a small bowl.
- Once the blueberries start simmering, stir in the cornstarch slurry.
- Turn the heat down to low and let it cook until it’s thickened - anywhere from 20-60 seconds. You don’t want it gloopy or too runny.
- Remove from the heat and stir in the almond and vanilla extracts.
- Carefully stir in 2 cups (300 grams) of blueberries.
- Let the sauce cool for about 10 minutes. It can be warm, but not steaming hot.
- Divide the filling between each cooled crust. Use 5 tablespoons (82 grams) per tart, and if there’s any left, add it. The exact amount the filling yields depends on your blueberries and exactly how thick the sauce is - I got different amounts every time, but always had at least 5 tbsp worth per tart.
- If you chill the filled tarts for 4+ hours and let the filling soak in a bit, then you'll be able to easily remove the tart pan's removable bottom from the tartlet. I think they're most delicious after they've chilled for 4+ hours or the next day.
- Once you've filled the tarts, they can be refrigerated for up to 3 days. You can freeze the unbaked or baked tart shells, but not the filling.
To make the crust:
To make the blueberry filling:
How to store:
Notes
Join over 12,400 readers and sweeten up
your inbox with new posts for free!
This subscription is free of charge and can be canceled at any time.


9 comments on “Blueberry Tartlets” — Add one!
1 comment is awaiting moderation!
What a lovely recipe! I have an abundance of blueberries making your recipe tomorrow.
One look at those luscious blueberries and I was hooked! Luckily my blueberry tarts turned out exactly like yours and we are thrilled. Thank you for this easy to follow recipe.
These blueberry tarts are so cute and the perfect size! I’m going to add strawberries on top and serve them on the 4th of July. Thanks for sharing!
Oh gosh, these are the best blueberry tartlets I’ve ever had! They turned out so delicious! The combination of the sweet blueberries and the buttery crust made a perfect balance. SO GOOD!
I’m so glad that you enjoyed them! And I totally agree with you. 😋 Thanks a bunch for your comment!
I made these for a BBQ last minute and they were so easy. I made even smaller tarts and they were perfect to share among lots of people. Thanks so much! They were 🧑🍳😚
You’re welcome! And what a great idea to make smaller tarts. I’ll have to try that! Thanks so much for your feedback. :)
I know from your posts over the years that we have the same taste in crusts. So I knew I had to make these ASAP! I used frozen blueberries for the sauce and fresh to stir in and it was incredible. I can’t even say what’s better – the crust or filling? Because both were out of this world! Thanks so much, Erin.
Woohoo! I love that you felt the need to make them immediately. :D I’m thrilled that you liked them so much! I totally agree with it hard being to pick a favorite part. Thanks for your comment!